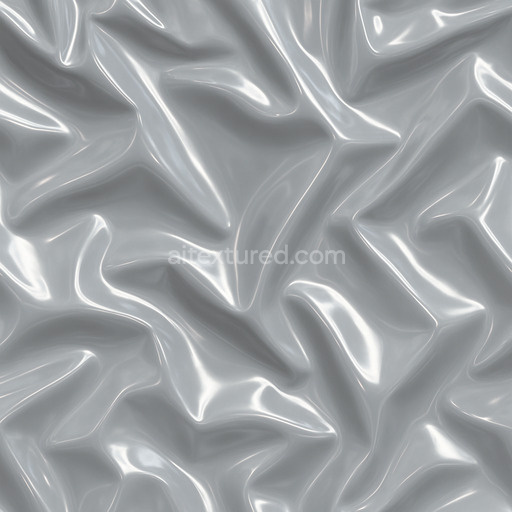
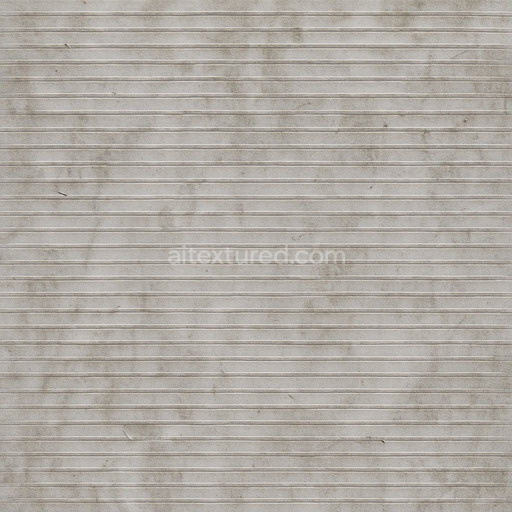
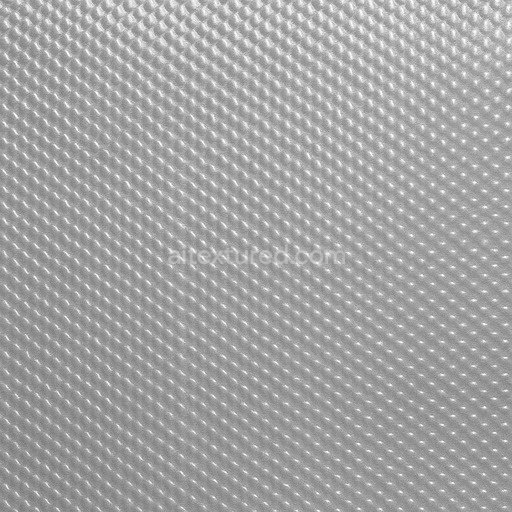
Polished Polyethylene Seamless Texture
Seamless texture (tileable) · PNG, WEBP, PBR ZIP. License: AITextured Free Commercial License (FCL) v1.1. Free personal and commercial use. Raw resale, standalone redistribution, mirroring/scraping, competing asset packs, and AI/ML training are not allowed without written permission. Attribution is not required, but appreciated..

| ID | detailed-acrylic-texture-seamless |
|---|---|
| Category | Plastic |
| Formats | PNG, WEBP, PBR ZIP |
| Size | 1k (1024x1024px), 2k (2048x2048px), 4k (4096x4096px), 8k (8192x8192px) |
| Color | sRGB |
| Tileable | Yes |
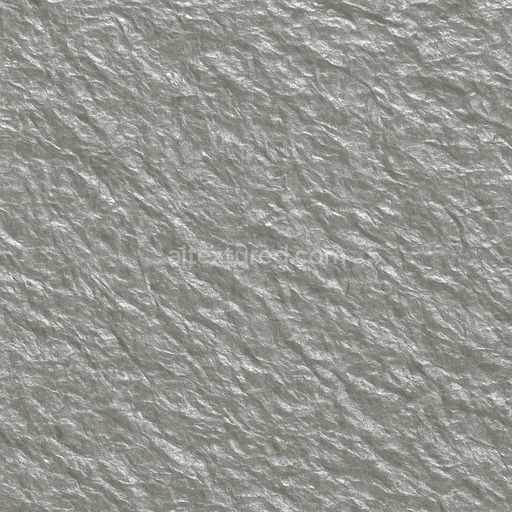
The detailed acrylic texture seamless high resolution up to 8K is a meticulously engineered generated material that authentically replicates the intrinsic properties of acrylic plastic a synthetic polymer renowned for its clarity toughness and smooth surface finish. At its core this texture simulates a polymer matrix—characterized by transparent binders that securely hold the material’s structural integrity—exhibiting subtle grain orientation and minimal porosity typical of high-quality cast acrylic sheets. Pigments and dyes are seamlessly integrated into the base substrate producing a uniform and consistent color spread that is clearly visible in the BaseColor/Albedo channel. The polished surface finish is enhanced with delicate micro-scratches and softly diffused reflections which are accurately conveyed through finely balanced Normal and Roughness maps to elevate realism while effectively avoiding the repetitive artifacts often seen in auto-generated textures.
This tileable detailed acrylic texture seamless high resolution up to 8K is designed to meet the demanding standards of modern 3D workflows supporting ultra-high fidelity rendering up to 8K resolution. Its PBR channel setup is carefully optimized: the Normal map captures minute surface undulations and natural imperfections giving the material a lifelike tactile quality. The Roughness map modulates surface reflectivity to emulate the semi-gloss slightly diffused finish typical of acrylic plastics while the Metallic channel remains minimal as acrylic is inherently non-metallic. Ambient Occlusion adds realistic depth to crevices and edges grounding the texture visually in complex scenes. Height and Displacement maps subtly represent gentle surface irregularities without compromising the smooth polished look enabling enhanced parallax effects for added dimensionality. This comprehensive material representation ensures seamless compatibility and predictable results across industry-standard software such as Blender Unreal Engine and Unity.
Ideal for applications in architectural visualization environment artistry concept prototyping and quick look development this seamless detailed acrylic texture high resolution up to 8K offers both exceptional versatility and consistent quality. It supports creative pipelines that require high-resolution plastic textures maintaining visual integrity under diverse lighting conditions and rendering engines. For optimal results it is recommended to carefully adjust the roughness intensity to suit your scene’s lighting and to scale UV coordinates properly to avoid visible tiling or stretching artifacts. Whether applied to expansive surfaces or intricate details this tileable detailed acrylic texture seamless high resolution up to 8K provides a stable high-fidelity solution for realistic plastic materials enabling accurate 3D previews that reflect the true composition and finish of acrylic polymers.
Import the texture maps into Blender with sRGB color space for albedo/base color and Non-Color for normal, roughness, metallic, AO, height, and ORM maps. Connect normal maps through a Normal Map node, then adjust UV scale with a Mapping node so the material repeats naturally on your model.
For the full step-by-step setup, see How to Use Seamless Textures in Blender. Browse related material examples in wood, concrete, and metal.
Yes. This texture is designed as a seamless tileable PBR material, so it can repeat across large surfaces without visible borders.
You can download PNG/WEBP versions and use 1K, 2K, 4K and 8K download options when available on the page.
Yes. The download options and engine-mapped ZIP workflow are designed for Blender, Unreal Engine, Unity Standard, URP and HDRP material pipelines.
Yes. The texture is available under the AITextured free commercial license. Review the license page for redistribution and AI-training restrictions.


Generate, preview, and export seamless PBR materials for Blender, Unity, and Unreal Engine—directly in your browser.
AI text-to-texture: type a prompt and get a seamless, tileable base image ready for PBR workflows (great starting point for materials).
Create a full PBR set (Normal, Roughness, AO, Metallic, etc.) from a single image. Seamless and tiling-friendly.
Instant WebGL viewer: inspect materials on a sphere, plane, and cube. Check tiling and lighting in real time.
Re-packages maps per engine: Unreal (BaseColor + ORM), Unity (Mask/MetallicSmoothness), Blender (separate channels).
PNG ↔ JPG ↔ SVG: fast convert, SVG rasterize, embed/trace options, quality & background controls.