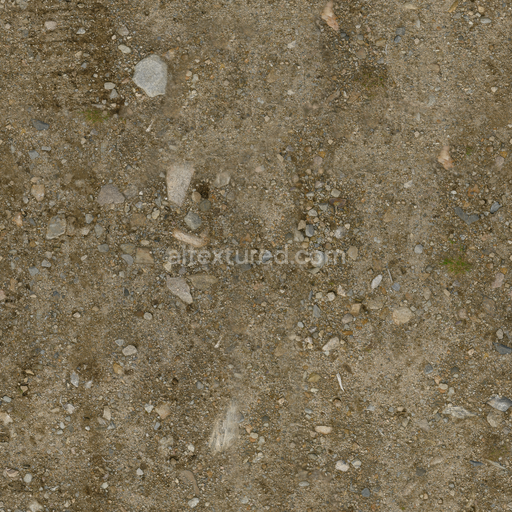
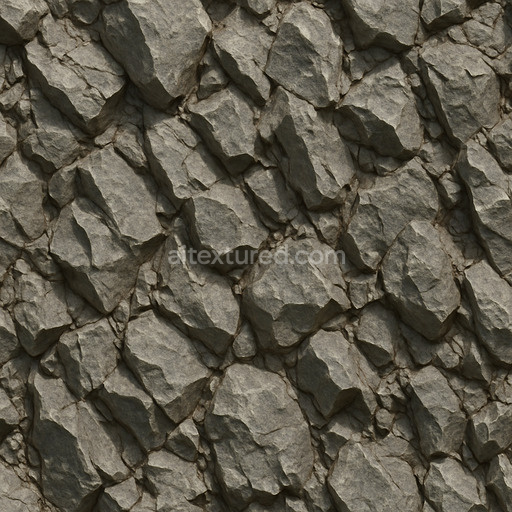
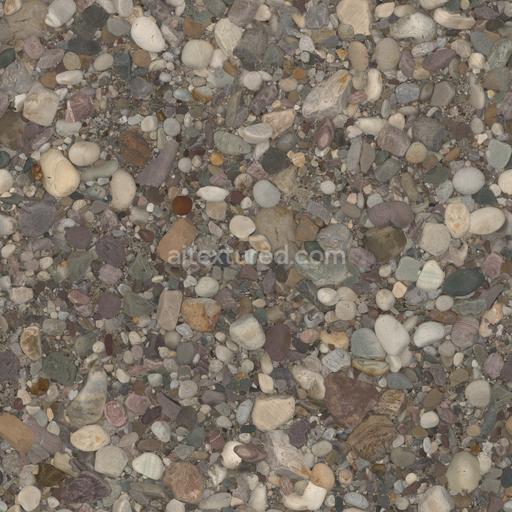
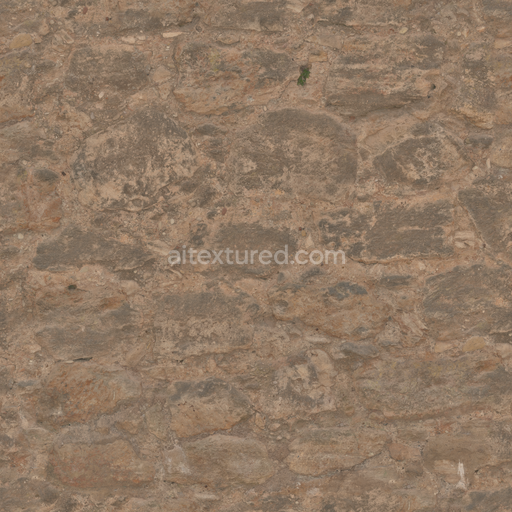
Rocks Rough Stones - Rocks Ground Rocks Stones Uneven Pebbles
Seamless texture (tileable) · PNG, WEBP, PBR ZIP. License: AITextured Free Commercial License (FCL) v1.1. Free personal and commercial use. Raw resale, standalone redistribution, mirroring/scraping, competing asset packs, and AI/ML training are not allowed without written permission. Attribution is not required, but appreciated..

| ID | polished-sandstone-seamless-texture |
|---|---|
| Category | Rock |
| Formats | PNG, WEBP, PBR ZIP |
| Size | 1k (1024x1024px), 2k (2048x2048px), 4k (4096x4096px), 8k (8192x8192px) |
| Color | sRGB |
| Tileable | Yes |
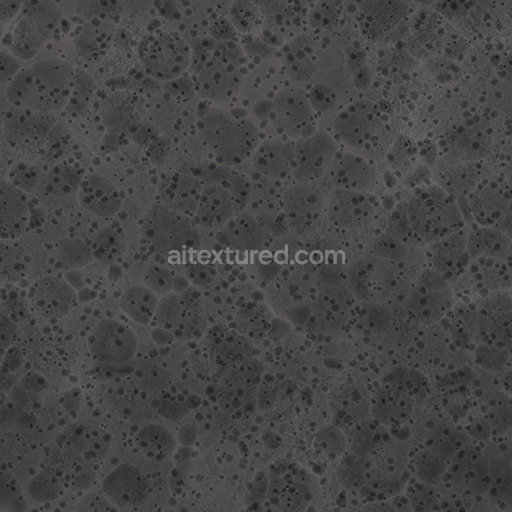
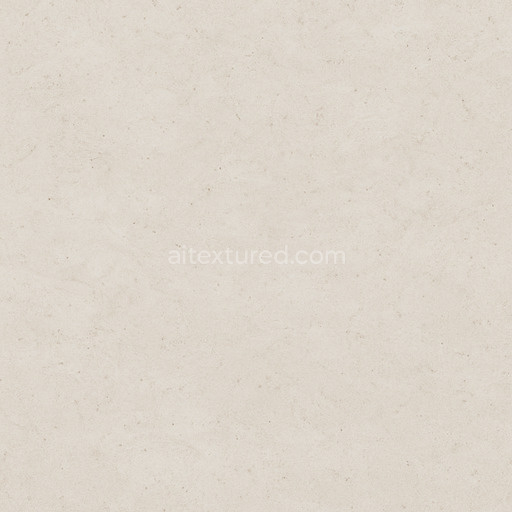
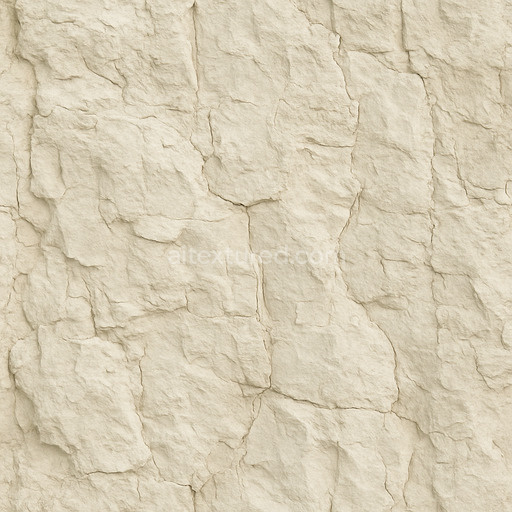
The polished sandstone seamless texture is a finely crafted material that mimics the natural beauty and geological complexity of sandstone rock refined to a smooth glossy finish. This texture represents a sedimentary stone composed primarily of quartz and feldspar grains bound together by mineral cements such as silica or calcite with subtle iron oxide pigments lending warm earthy tones ranging from soft beige to deeper amber hues. Its polished surface finish reveals a low-porosity structure where weathering effects are minimized highlighting the stone’s intricate grain orientation and stratified layers. These details translate into a realistic BaseColor channel rich with natural variations and subtle color shifts while the Normal map captures the delicate undulations and micro-facets of the polished surface providing depth without excessive roughness. The Roughness map reflects the smooth reflective qualities of polished stone offering low roughness values that enhance specular highlights whereas the Metallic channel remains neutral as sandstone is non-metallic by nature. Ambient Occlusion subtly enhances crevices and grain intersections adding dimensionality and the Height or Displacement map provides realistic surface elevation changes that complement parallax effects in 3D rendering engines.
Rendered at up to 8K resolution this tileable polished sandstone seamless texture ensures exceptional clarity and cohesion even when applied to large UV islands making it ideal for high-fidelity real-time scenes cinematic renders and detailed level dressing in modern pipelines. Its seamless tiling capability guarantees that repetition artifacts are virtually eliminated delivering consistent results across expansive surfaces. Designed to integrate smoothly with popular 3D software such as Blender Unity and Unreal Engine this generated texture seamlessly fits into diverse workflows allowing artists and developers to drop it directly into their projects with predictable and repeatable outcomes. Its stability and fine tuning address common issues found in auto-generated rock textures maintaining visual integrity under various lighting conditions and camera angles.
To optimize usage it is recommended to carefully adjust the roughness and normal intensity parameters to match your scene’s specific lighting rig and desired material response ensuring the stone remains grounded and realistic rather than artificially glossy or flat. Scaling the UVs appropriately will also preserve the texture’s natural grain size and avoid stretching artifacts especially important for architectural visualization or natural environment assets. This polished sandstone seamless texture is a versatile asset that enhances any project requiring authentic rock materials with a polished finish delivering both aesthetic appeal and technical reliability across platforms and rendering engines.
The polished sandstone seamless texture offers a highly detailed generated polished sandstone seamless texture with realistic PBR properties allowing for an accurate 3D preview of its seamless polished sandstone seamless texture composition.
Import the texture maps into Blender with sRGB color space for albedo/base color and Non-Color for normal, roughness, metallic, AO, height, and ORM maps. Connect normal maps through a Normal Map node, then adjust UV scale with a Mapping node so the material repeats naturally on your model.
For the full step-by-step setup, see How to Use Seamless Textures in Blender. Browse related material examples in wood, concrete, and metal.
Yes. This texture is designed as a seamless tileable PBR material, so it can repeat across large surfaces without visible borders.
You can download PNG/WEBP versions and use 1K, 2K, 4K and 8K download options when available on the page.
Yes. The download options and engine-mapped ZIP workflow are designed for Blender, Unreal Engine, Unity Standard, URP and HDRP material pipelines.
Yes. The texture is available under the AITextured free commercial license. Review the license page for redistribution and AI-training restrictions.


Generate, preview, and export seamless PBR materials for Blender, Unity, and Unreal Engine—directly in your browser.
AI text-to-texture: type a prompt and get a seamless, tileable base image ready for PBR workflows (great starting point for materials).
Create a full PBR set (Normal, Roughness, AO, Metallic, etc.) from a single image. Seamless and tiling-friendly.
Instant WebGL viewer: inspect materials on a sphere, plane, and cube. Check tiling and lighting in real time.
Re-packages maps per engine: Unreal (BaseColor + ORM), Unity (Mask/MetallicSmoothness), Blender (separate channels).
PNG ↔ JPG ↔ SVG: fast convert, SVG rasterize, embed/trace options, quality & background controls.