Slate Roof Tiles - Red Slate Roof Green Roof Roofing
Seamless texture (tileable) · PNG, WEBP, PBR ZIP. License: AITextured Free Commercial License (FCL) v1.1. Free personal and commercial use. Raw resale, standalone redistribution, mirroring/scraping, competing asset packs, and AI/ML training are not allowed without written permission. Attribution is not required, but appreciated..

| ID | weathered-metal-roofing-texture-seamless |
|---|---|
| Category | Roofing |
| Formats | PNG, WEBP, PBR ZIP |
| Size | 1k (1024x1024px), 2k (2048x2048px), 4k (4096x4096px), 8k (8192x8192px) |
| Color | sRGB |
| Tileable | Yes |
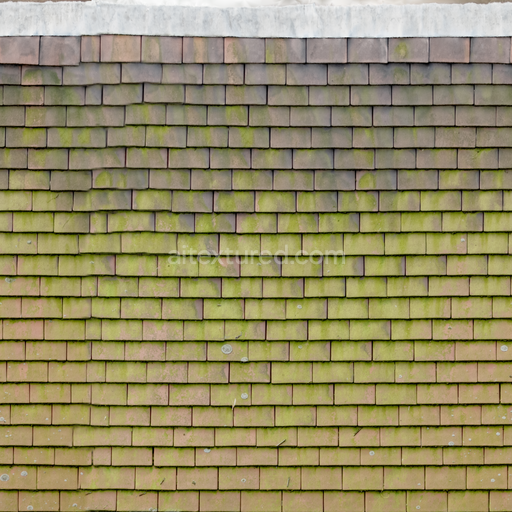
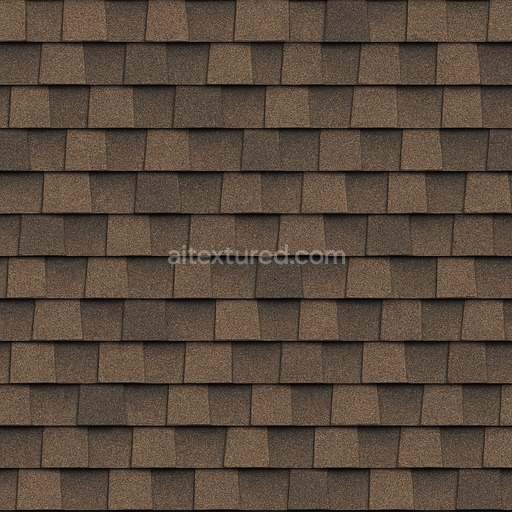
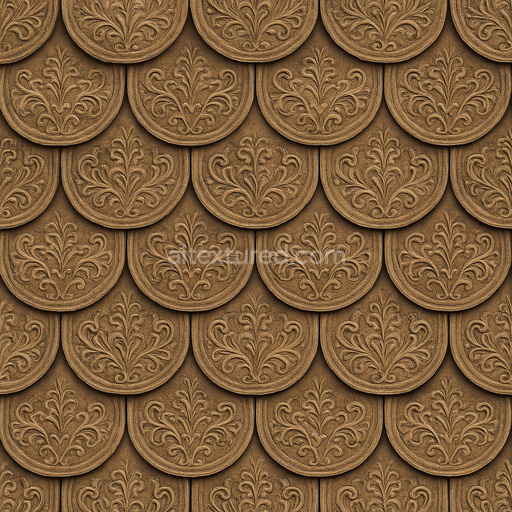
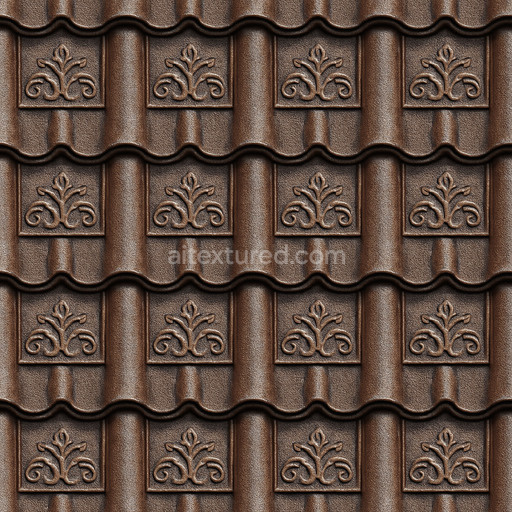
Discover the Weathered Metal Roofing Texture Seamless high resolution up to 8K a meticulously crafted material designed to replicate the authentic appearance of aged metal roofing surfaces. This texture showcases a base metal substrate characterized by subtle oxidation and surface wear typical of long-term environmental exposure. The metal’s patina results from a blend of mineral-based corrosion layers and oxide compounds creating natural variations in color and reflectivity. The surface finish combines slight roughness with patches of oxidized metal capturing a weathered yet durable look. Fine details such as grain orientation and minor corrosion pits are preserved enhancing the visual complexity and realism. These characteristics are accurately represented across PBR channels: the BaseColor/Albedo map reveals nuanced pigment shifts and oxide layers the Normal map encodes surface imperfections and subtle dents Roughness controls vary to simulate polished versus matte areas Metallic reflects the underlying metal content Ambient Occlusion adds depth in crevices and Height/Displacement captures the micro-relief of weathering and seam lines.
This seamless weathered metal roofing texture high resolution up to 8K is tileable and optimized for smooth repetition across large surfaces without visible seams or distracting patterns. It is perfectly suited for diverse applications such as architectural visualization game environments product mockups and interior staging where realistic roofing materials are essential. The texture files come in widely compatible formats like PNG and WEBP ensuring seamless integration with major 3D software including Blender Unity and Unreal Engine. Thanks to its high 8K resolution this material maintains exceptional clarity even on close-up views allowing you to achieve photorealistic renders and immersive 3D previews with minimal setup. The asset is tuned to avoid repetitive artifacts that commonly affect auto-generated textures preserving natural randomness and surface authenticity.
For optimal results a practical tip is to adjust the UV scale thoughtfully during application: scaling the UVs too small can cause the texture to lose detail and appear blurry while excessively large scaling may exaggerate repetitive features. Additionally fine-tuning the roughness map intensity can help balance the weathered metal’s reflectivity enhancing subtle highlights on oxidized patches without oversharpening the surface. Combining this texture with a gentle ambient occlusion pass and a light normal map can further break up uniformity adding depth and realism to your roofing materials. Incorporate the Weathered Metal Roofing Texture Seamless high resolution up to 8K into your material library to accelerate your creative workflow with a reliable high-quality roofing texture that performs seamlessly across your projects.
The seamless weathered metal roofing texture offers a tileable AI-generated surface with seamless high resolution up to 8K providing realistic roofing textures with detailed PBR appearance for advanced material composition.
Import the texture maps into Blender with sRGB color space for albedo/base color and Non-Color for normal, roughness, metallic, AO, height, and ORM maps. Connect normal maps through a Normal Map node, then adjust UV scale with a Mapping node so the material repeats naturally on your model.
For the full step-by-step setup, see How to Use Seamless Textures in Blender. Browse related material examples in wood, concrete, and metal.
Yes. This texture is designed as a seamless tileable PBR material, so it can repeat across large surfaces without visible borders.
You can download PNG/WEBP versions and use 1K, 2K, 4K and 8K download options when available on the page.
Yes. The download options and engine-mapped ZIP workflow are designed for Blender, Unreal Engine, Unity Standard, URP and HDRP material pipelines.
Yes. The texture is available under the AITextured free commercial license. Review the license page for redistribution and AI-training restrictions.


Build, preview, and export seamless PBR materials. Generate full map sets from a single image, inspect them in a real-time WebGL viewer, and re-package maps for Unreal, Unity, and Blender—directly in your browser.
AI text-to-texture: type a prompt and get a seamless, tileable base image ready for PBR workflows (great starting point for materials).
Create a full PBR set (Normal, Roughness, AO, Metallic, etc.) from a single image. Seamless and tiling-friendly.
Instant WebGL viewer: inspect materials on a sphere, plane, and cube. Check tiling and lighting in real time.
Re-packages maps per engine: Unreal (BaseColor + ORM), Unity (Mask/MetallicSmoothness), Blender (separate channels).
PNG ↔ JPG ↔ SVG: fast convert, SVG rasterize, embed/trace options, quality & background controls.