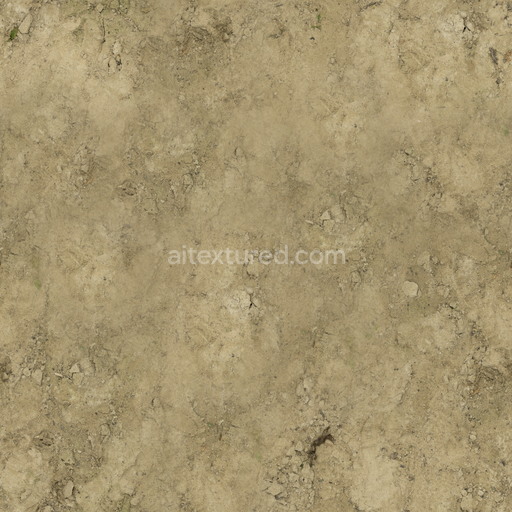
Park Sand - Sand Trampled Tracks Brown Ground Sand
Seamless texture (tileable) · PNG, WEBP, PBR ZIP. License: AITextured Free Commercial License (FCL) v1.1. Free personal and commercial use. Raw resale, standalone redistribution, mirroring/scraping, competing asset packs, and AI/ML training are not allowed without written permission. Attribution is not required, but appreciated..

| ID | fine-desert-sand-texture-seamless |
|---|---|
| Category | Sand-soil |
| Formats | PNG, WEBP, PBR ZIP |
| Size | 1k (1024x1024px), 2k (2048x2048px), 4k (4096x4096px), 8k (8192x8192px) |
| Color | sRGB |
| Tileable | Yes |
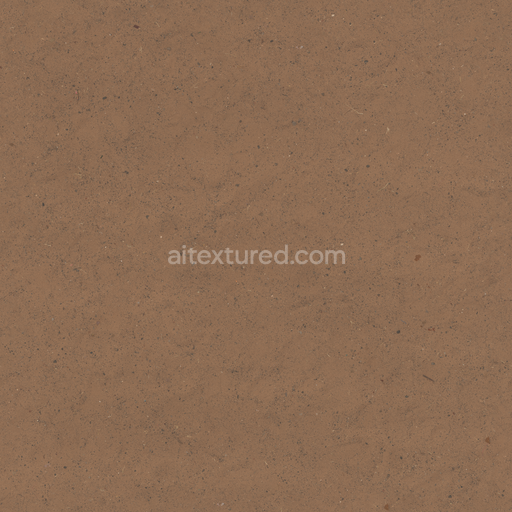
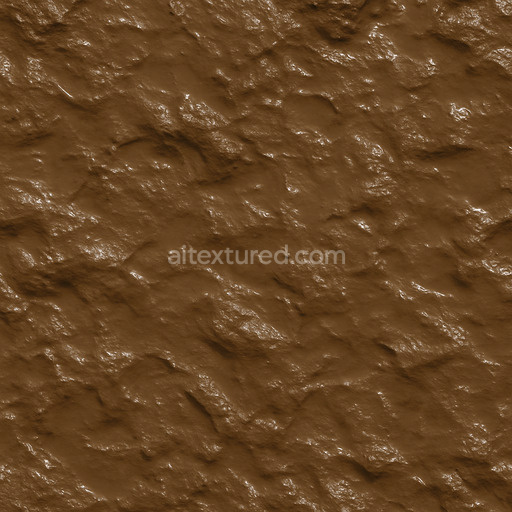
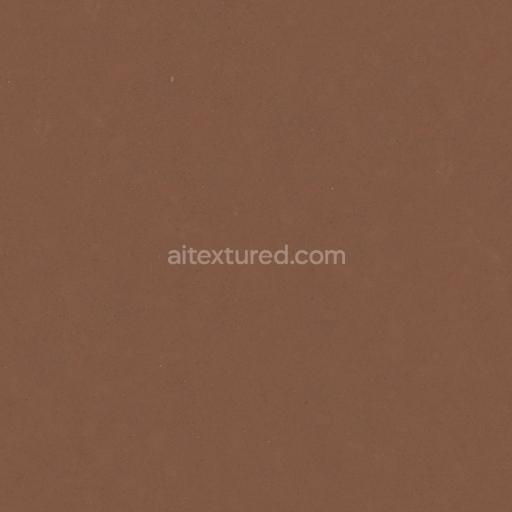
The Fine Desert Sand Texture Seamless high resolution up to 8K presents an intricately detailed and naturalistic representation of arid sand-soil surfaces intricately designed through advanced AI-generated processes. This seamless fine desert sand texture captures the subtle complexity of desert environments by emphasizing a base substrate primarily composed of fine mineral grains with quartz and feldspar predominating. These mineral components are naturally bound together by minute amounts of clay and organic matter which act as natural adhesives lending structural cohesion to the granular assembly. The texture’s granular structure exhibits consistent fine grain orientation punctuated by slight variations that realistically reflect natural wind-driven deposition and gentle weathering effects typical of desert terrains. The surface finish is matte and subtly rough mirroring the unpolished sun-dried character of desert sand while faint oxide layers introduce warm earth tones that enhance the realistic color palette visible in the BaseColor/Albedo map.
Within physically based rendering (PBR) workflows this texture fine desert sand texture seamless high resolution up to 8K excels by providing a comprehensive material set tailored for photorealistic 3D preview and game engine integration. The Normal map reveals micro-relief features such as tiny ridges and grain edges which interact convincingly with light to create a pronounced sense of surface depth and texture. The Roughness channel captures the coarse yet uniform nature of sun-bleached sand offering nuanced variations that influence glossiness in a realistic manner. Metallic values are minimal consistent with the non-metallic composition of sand and soil minerals while the Ambient Occlusion map deepens shadowing in the interstitial spaces between grains highlighting porosity and enhancing volumetric depth. The Height/Displacement map subtly elevates portions of the texture to reinforce tactile realism making it ideal for close-up renders and detailed environment art.
Engineered for seamless application across large surfaces without visible repetition this tileable fine desert sand texture seamless high resolution up to 8K integrates effortlessly with popular 3D software such as Blender Unreal Engine and Unity. Its high resolution up to 8K ensures exceptional detail even in expansive scenes making it a versatile asset for architectural visualization environment creation and concept prototyping where naturalistic sand-soil textures are crucial. For optimal results maintaining consistent UV scale across assets is recommended to avoid distortion of the delicate grain pattern. Additionally adjusting the roughness map can simulate varying environmental conditions from dry sunlit sand to subtly damp or compacted soil surfaces allowing tailored reflectivity that enhances realism in different lighting scenarios.
Import the texture maps into Blender with sRGB color space for albedo/base color and Non-Color for normal, roughness, metallic, AO, height, and ORM maps. Connect normal maps through a Normal Map node, then adjust UV scale with a Mapping node so the material repeats naturally on your model.
For the full step-by-step setup, see How to Use Seamless Textures in Blender. Browse related material examples in wood, concrete, and metal.
Yes. This texture is designed as a seamless tileable PBR material, so it can repeat across large surfaces without visible borders.
You can download PNG/WEBP versions and use 1K, 2K, 4K and 8K download options when available on the page.
Yes. The download options and engine-mapped ZIP workflow are designed for Blender, Unreal Engine, Unity Standard, URP and HDRP material pipelines.
Yes. The texture is available under the AITextured free commercial license. Review the license page for redistribution and AI-training restrictions.


Build, preview, and export seamless PBR materials. Generate full map sets from a single image, inspect them in a real-time WebGL viewer, and re-package maps for Unreal, Unity, and Blender—directly in your browser.
AI text-to-texture: type a prompt and get a seamless, tileable base image ready for PBR workflows (great starting point for materials).
Create a full PBR set (Normal, Roughness, AO, Metallic, etc.) from a single image. Seamless and tiling-friendly.
Instant WebGL viewer: inspect materials on a sphere, plane, and cube. Check tiling and lighting in real time.
Re-packages maps per engine: Unreal (BaseColor + ORM), Unity (Mask/MetallicSmoothness), Blender (separate channels).
PNG ↔ JPG ↔ SVG: fast convert, SVG rasterize, embed/trace options, quality & background controls.