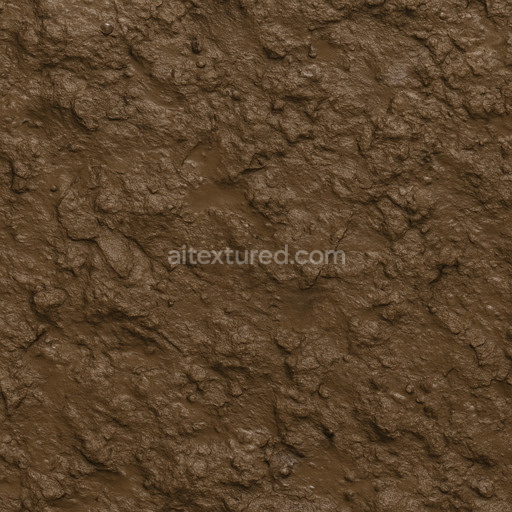
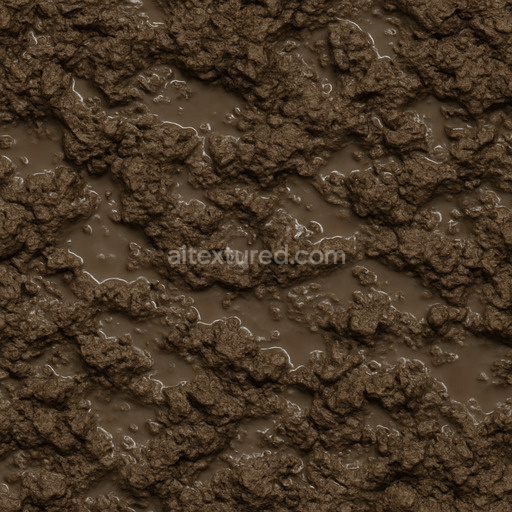
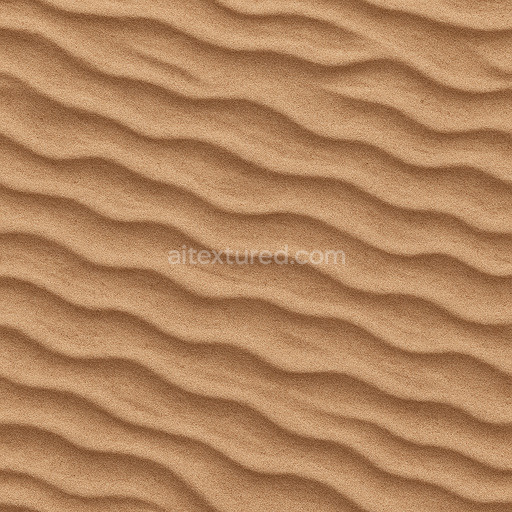
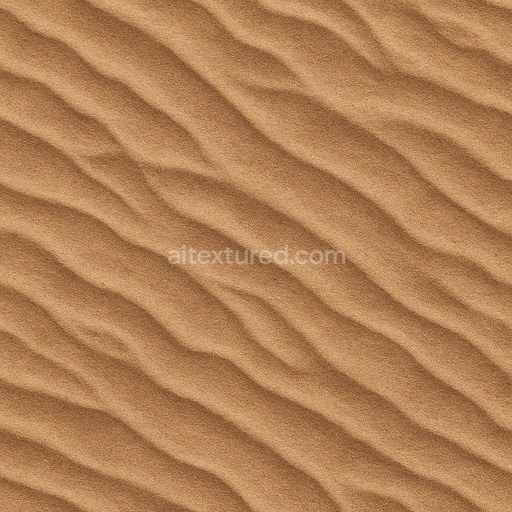
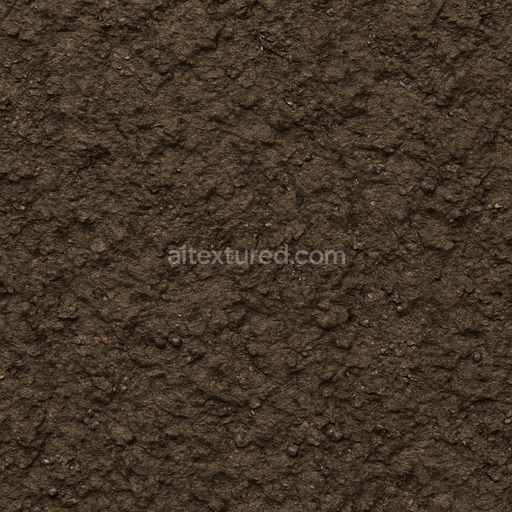
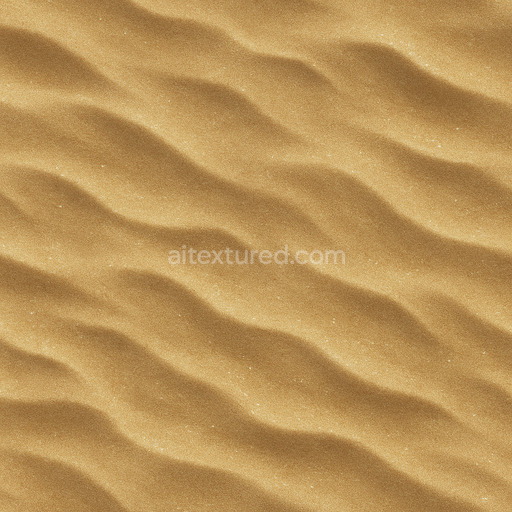
Weathered Wet Soil Seamless Texture
Seamless texture (tileable) · PNG, WEBP, PBR ZIP. License: AITextured Free Commercial License (FCL) v1.1. Free personal and commercial use. Raw resale, standalone redistribution, mirroring/scraping, competing asset packs, and AI/ML training are not allowed without written permission. Attribution is not required, but appreciated..

| ID | polished-soil-seamless-texture |
|---|---|
| Category | Sand-soil |
| Formats | PNG, WEBP, PBR ZIP |
| Size | 1k (1024x1024px), 2k (2048x2048px), 4k (4096x4096px), 8k (8192x8192px) |
| Color | sRGB |
| Tileable | Yes |
The Polished Soil Seamless Texture is a meticulously crafted tileable PBR texture designed specifically within the sand-soil category to provide a highly realistic and versatile material base. The underlying substrate resembles fine mineral soil particles tightly compacted and polished to a smooth finish reflecting natural aggregates with subtle grain orientation. This soil texture exhibits minimal porosity suggesting a well-weathered densely packed surface where organic binders and clay minerals form a cohesive matrix. The polished surface finish enhances the natural sheen creating gentle light reflections that contribute to a clean yet dynamic appearance. Colorants inherent to this texture include muted earth tones with warm ochres and soft browns accented by subtle oxide layers that enrich the soil’s depth and natural variation without overpowering the base color.
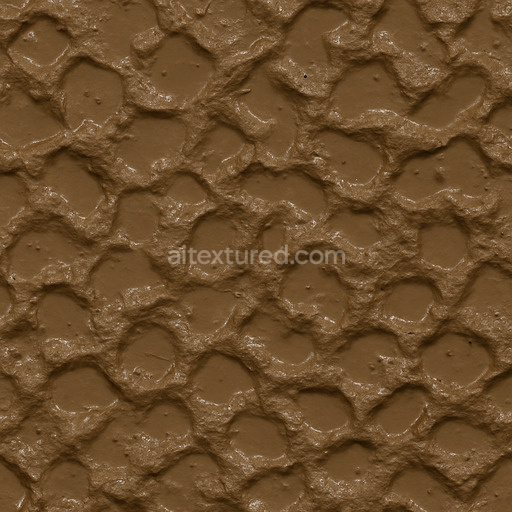
In physically based rendering (PBR) channels this texture excels with a high-resolution BaseColor (Albedo) map capturing the nuanced pigment variations and subtle gradients typical of polished soil. The Normal map introduces fine micro-detail of the soil’s compacted grain and polished surface irregularities enhancing realism by simulating light interactions at a micro-level. The Roughness channel defines a mostly smooth surface with slight variations to mimic the polished finish while the Metallic channel remains near zero consistent with the organic and mineral composition of soil. Ambient Occlusion gently emphasizes crevices and natural indentations supporting depth in shadowed areas. Height and Displacement maps provide subtle elevation changes that replicate gentle soil compaction and polishing effects perfect for adding dimensionality in 3D scenes.
Available in ultra-high resolution up to 8K this tileable polished soil seamless texture is optimized for seamless repetition across large surfaces without visible seams making it ideal for real-time applications and cinematic renders alike. It integrates effortlessly into popular platforms like Blender Unreal Engine and Unity enabling fast iteration cycles for artists and developers working on level dressing environmental studies or material experiments. To maintain a natural and grounded look within your scene it is recommended to adjust the roughness intensity according to your lighting setup and carefully scale UV coordinates to balance detail density and surface coverage. This approach ensures the polished soil texture retains its realistic qualities without appearing stretched or overly uniform.
The AI-generated polished soil seamless texture offers a highly detailed seamless polished soil seamless texture with realistic sand-soil textures and an accurate 3D preview for enhanced PBR material representation.
Import the texture maps into Blender with sRGB color space for albedo/base color and Non-Color for normal, roughness, metallic, AO, height, and ORM maps. Connect normal maps through a Normal Map node, then adjust UV scale with a Mapping node so the material repeats naturally on your model.
For the full step-by-step setup, see How to Use Seamless Textures in Blender. Browse related material examples in wood, concrete, and metal.
Yes. This texture is designed as a seamless tileable PBR material, so it can repeat across large surfaces without visible borders.
You can download PNG/WEBP versions and use 1K, 2K, 4K and 8K download options when available on the page.
Yes. The download options and engine-mapped ZIP workflow are designed for Blender, Unreal Engine, Unity Standard, URP and HDRP material pipelines.
Yes. The texture is available under the AITextured free commercial license. Review the license page for redistribution and AI-training restrictions.


Build, preview, and export seamless PBR materials. Generate full map sets from a single image, inspect them in a real-time WebGL viewer, and re-package maps for Unreal, Unity, and Blender—directly in your browser.
AI text-to-texture: type a prompt and get a seamless, tileable base image ready for PBR workflows (great starting point for materials).
Create a full PBR set (Normal, Roughness, AO, Metallic, etc.) from a single image. Seamless and tiling-friendly.
Instant WebGL viewer: inspect materials on a sphere, plane, and cube. Check tiling and lighting in real time.
Re-packages maps per engine: Unreal (BaseColor + ORM), Unity (Mask/MetallicSmoothness), Blender (separate channels).
PNG ↔ JPG ↔ SVG: fast convert, SVG rasterize, embed/trace options, quality & background controls.