
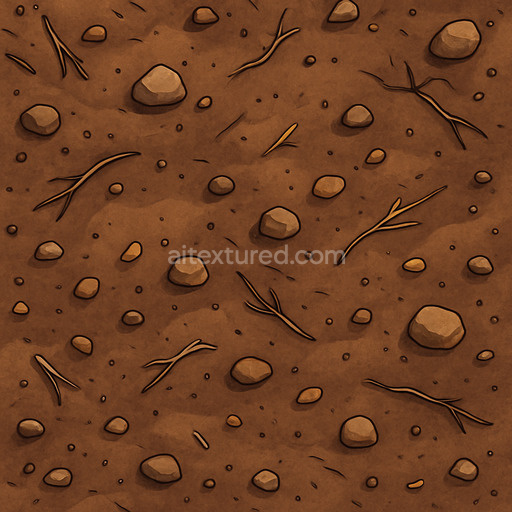
Sand Leaves Dirt — Leaves Dirt Floor Dirt Floor Dirty — PBR seamless 3D texture
. Formats: WEBP, PNG . Free for personal & commercial use.

| ID | aerial-beach-01-beach-wavy-costal-ocean-seaside-terrain |
|---|---|
| Sand-soil | |
| WEBP, PNG | |
| Size | 1k (1024x1024px), 2k (2048x2048px), 4k (4096x4096px), 8k (8192x8192px) |
| sRGB | |
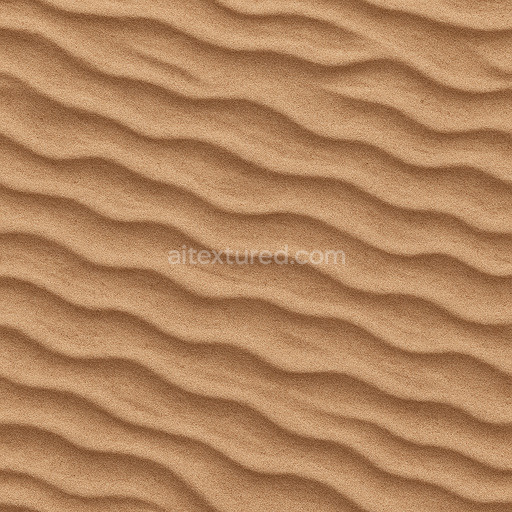
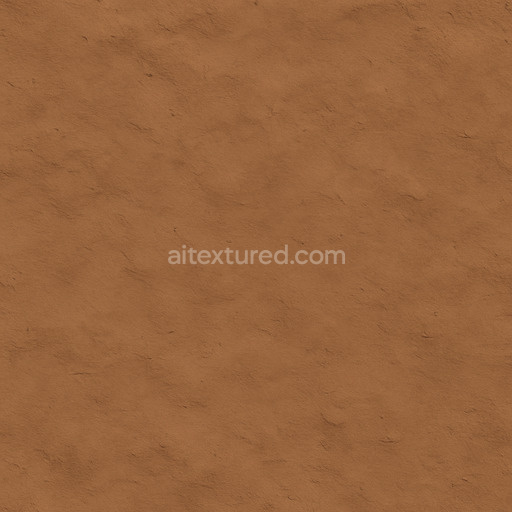
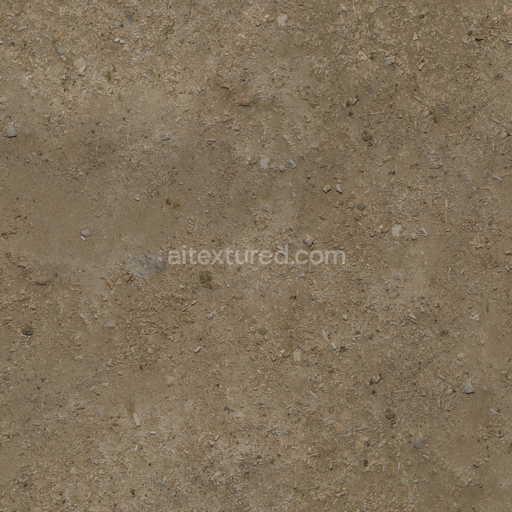
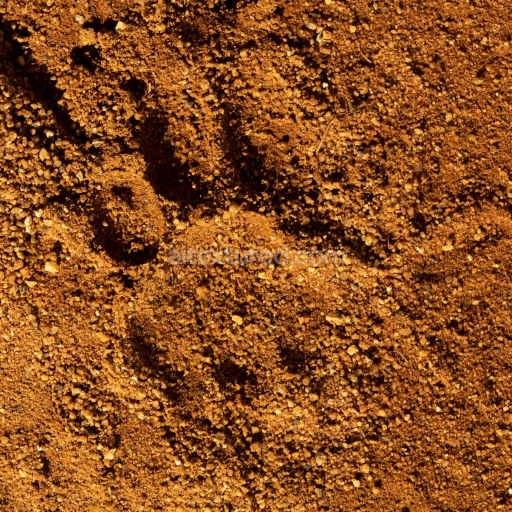
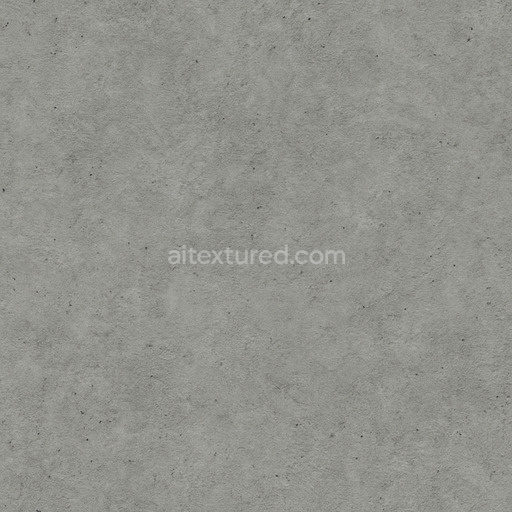
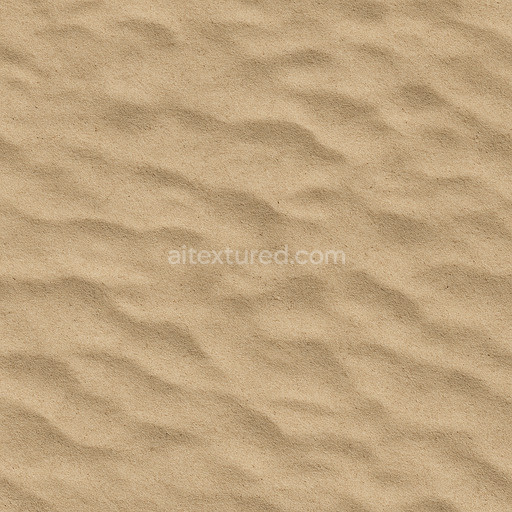
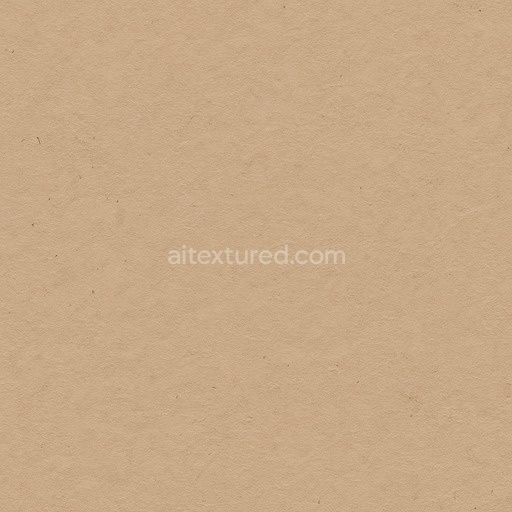
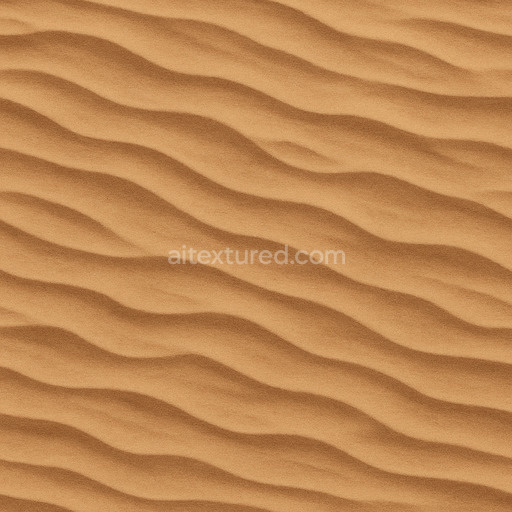
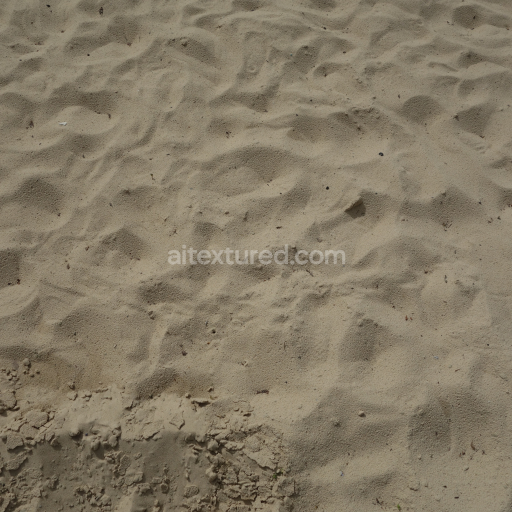
The Aerial Beach — Beach Wavy Costal Terrain Sand Outdoor PBR seamless 3D texture captures the intricate composition and natural complexity of a coastal sand terrain seen from an aerial perspective. This material simulates fine mineral grains and organic particles bound by natural moisture and weathering processes creating a subtly wavy surface typical of seaside environments. The base substrate consists primarily of quartz and feldspar aggregates mixed with organic detritus while natural binders such as salt deposits and moisture adhesion contribute to the texture’s cohesion. The surface finish reflects a lightly roughened weathered sand with minimal gloss featuring a soft gradient of warm beige and muted ochre pigments that evoke a natural sun-bleached look. Microscale porosity and occasional grain orientation variations are carefully encoded to enhance realism across lighting conditions without compromising performance.
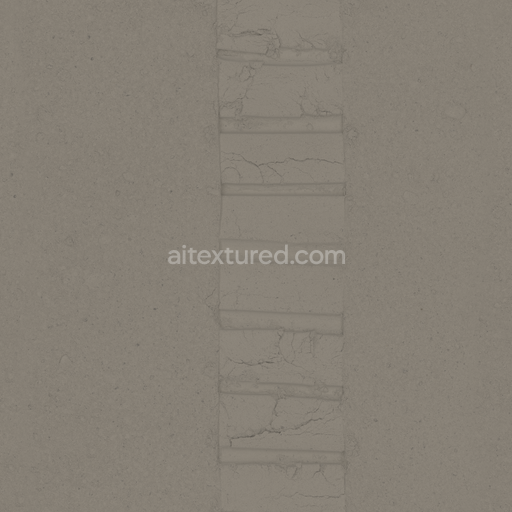
In terms of physically based rendering channels the Albedo (BaseColor) map conveys the warm natural sand hues and subtle color shifts caused by moisture and mineral diversity. The Normal map intricately represents the wavy surface undulations and fine granular details enhancing depth and tactile realism in real-time and offline renderers. Roughness controls the matte finish typical of dry sand with localized variations that simulate occasional damp patches or compacted areas. Ambient Occlusion subtly emphasizes crevices and grain clustering enhancing shadow depth and visual coherence. The Height (displacement) map supports parallax and displacement effects providing additional volumetric detail to simulate the uneven terrain without manual tweaking. The Metallic channel is unused to maintain physical accuracy reflecting the organic and non-metallic nature of natural sand.
This texture is optimized for seamless tiling and designed for modern content creation pipelines ensuring consistent reliable results across Blender Unreal Engine and Unity. Offered in 4K resolution with an optional 8K upgrade it supports high-end use cases requiring detailed close-ups and large-scale environments. The included PNG and EXR formats facilitate flexibility in workflow and color fidelity. For best results it is recommended to adjust the UV scale to match the intended scene scale and to fine-tune roughness settings slightly for variations in wetness or wind effects enhancing realism. The metal/rough workflow calibration ensures predictable shading behavior across diverse rendering engines making this texture a balanced choice for outdoor natural terrain coastal landscapes and aerial visualization projects.
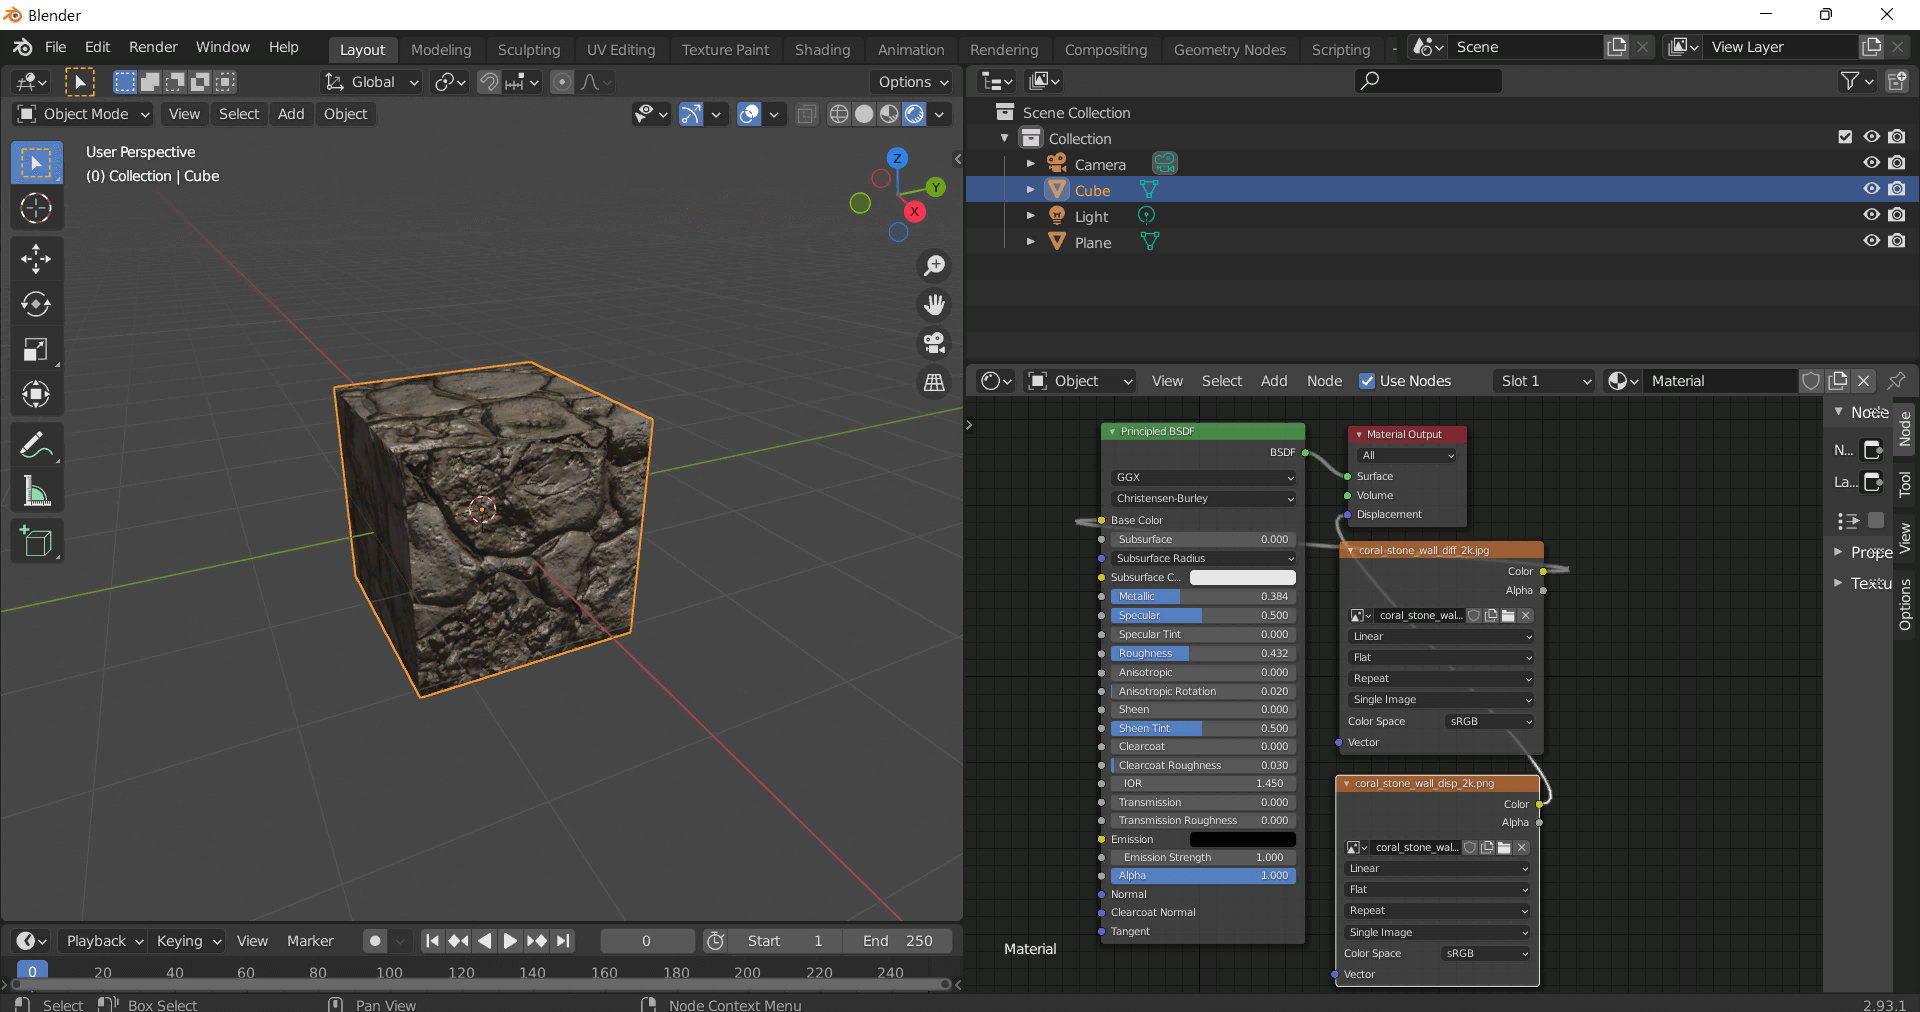
This guide shows how to connect a full PBR texture set to Principled BSDF in Blender (Cycles or Eevee). Works with any of our seamless textures free download, including PBR PNG materials for Blender / Unreal / Unity.
*_albedo.png — Base Color (sRGB)*_normal.png — Normal map (Non-Color)*_roughness.png — Roughness (Non-Color)*_metallic.png — Metallic (Non-Color)*_ao.png — Ambient Occlusion (Non-Color)*_height.png — Height / Displacement (Non-Color)*_ORM.png — Packed map (R=AO, G=Roughness, B=Metallic, Non-Color)
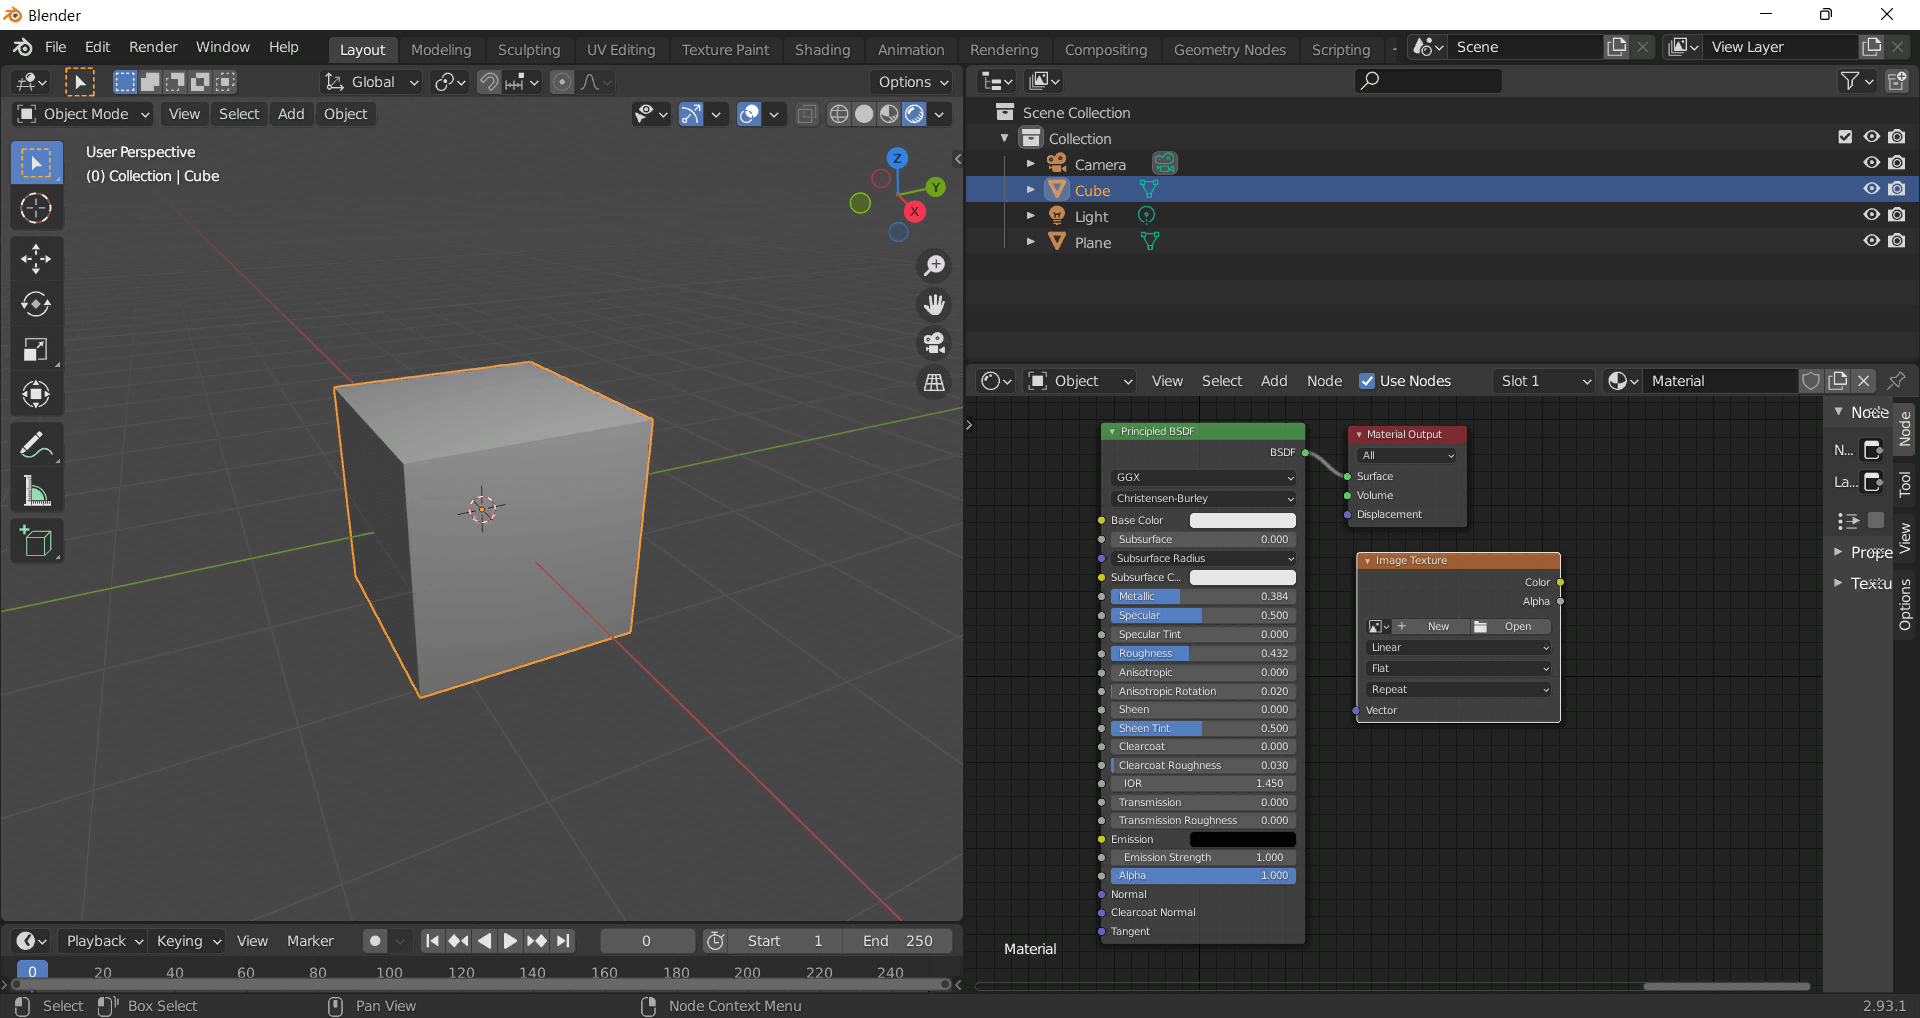
albedo → Base Colorroughness → Roughnessmetallic → Metallic (for wood this often stays near 0)normal → Normal Map node (Type: Tangent Space) → Normal of Principled.
If details look “inverted”, enable Invert Y on the Normal Map node.albedo, Input B = ao, Factor = 1.0.height → Height, set Midlevel = 0.5, Scale = 0.02–0.08 (tune to taste).height → Height.ORM texture (optional)Instead of separate AO/Roughness/Metallic maps you can use the single *_ORM.png:
Example: Download Wood Textures and instantly apply parquet or rustic planks inside Blender for architectural visualization.
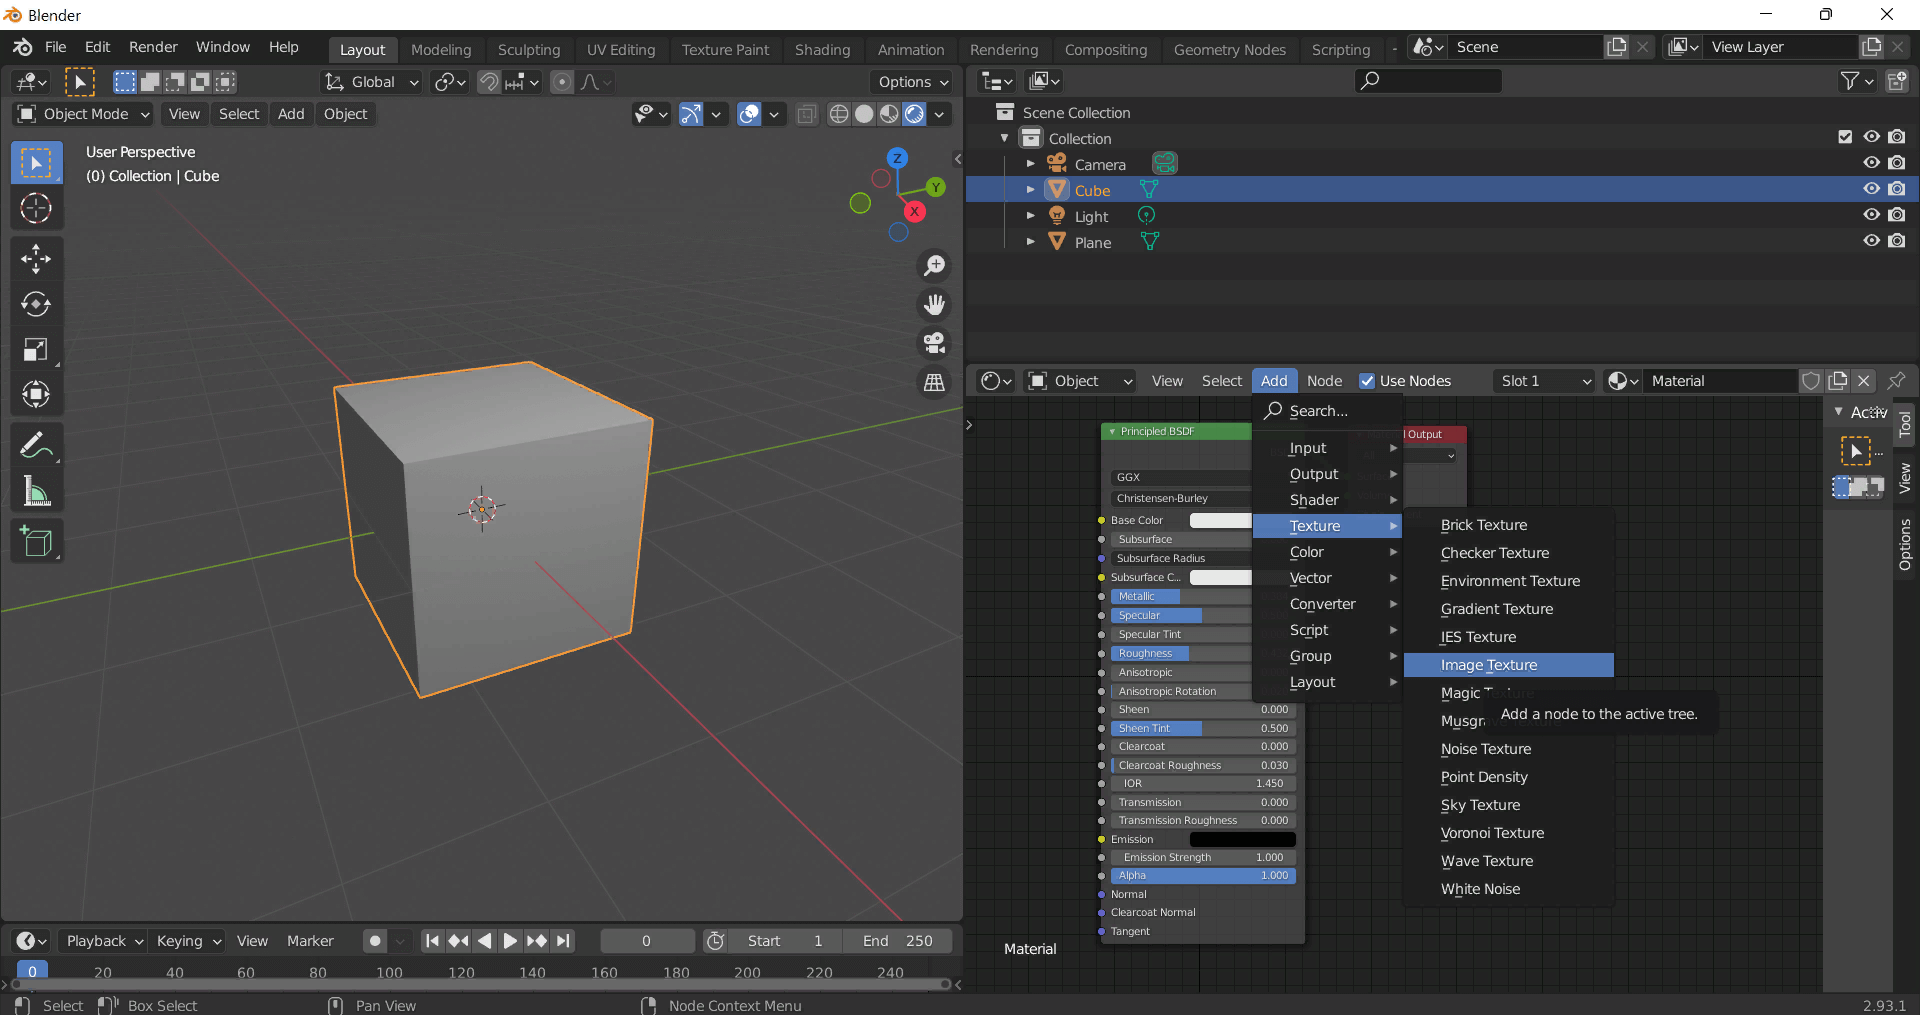
To add the downloaded texture, go to Add — Texture — Image Texture.
Build, preview, and export seamless PBR materials. Generate full map sets from a single image, inspect them in a real-time WebGL viewer, and re-package maps for Unreal, Unity, and Blender—directly in your browser.
AI text-to-texture: type a prompt and get a seamless, tileable base image ready for PBR workflows (great starting point for materials).
Create a full PBR set (Normal, Roughness, AO, Metallic, etc.) from a single image. Seamless and tiling-friendly.
Instant WebGL viewer: inspect materials on a sphere, plane, and cube. Check tiling and lighting in real time.
Re-packages maps per engine: Unreal (BaseColor + ORM), Unity (Mask/MetallicSmoothness), Blender (separate channels).
PNG ↔ JPG ↔ SVG: fast convert, SVG rasterize, embed/trace options, quality & background controls.