Regolith Dusted Extraterrestrial - Dusted Extraterrestrial Lunar Moon Dusted
Seamless texture (tileable) · PNG, WEBP, PBR ZIP. License: AITextured Free Commercial License (FCL) v1.1. Free personal and commercial use. Raw resale, standalone redistribution, mirroring/scraping, competing asset packs, and AI/ML training are not allowed without written permission. Attribution is not required, but appreciated..

| ID | muddy-ground-boot-prints |
|---|---|
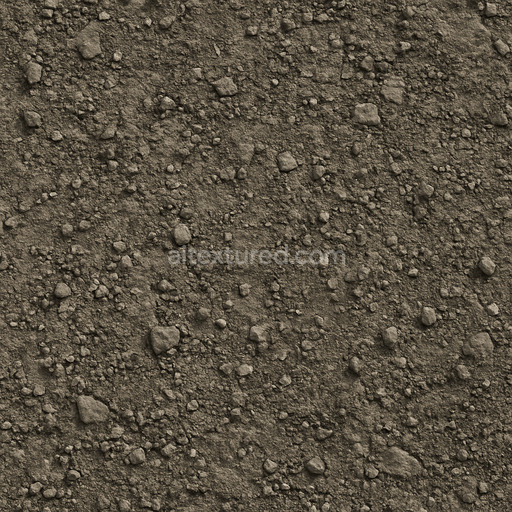
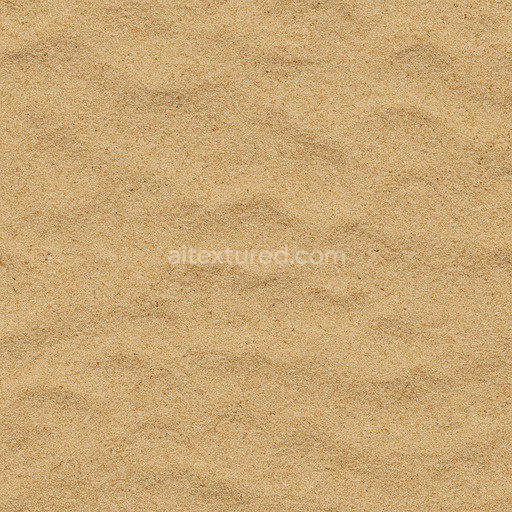
| Category | Sand-soil |
| Formats | PNG, WEBP, PBR ZIP |
| Size | 1k (1024x1024px), 2k (2048x2048px), 4k (4096x4096px), 8k (8192x8192px) |
| Color | sRGB |
| Tileable | Yes |
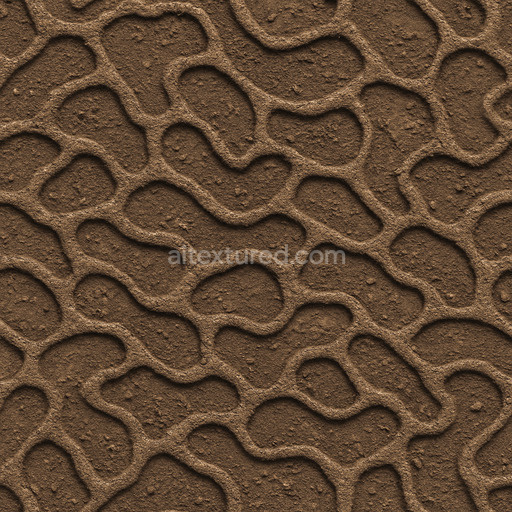
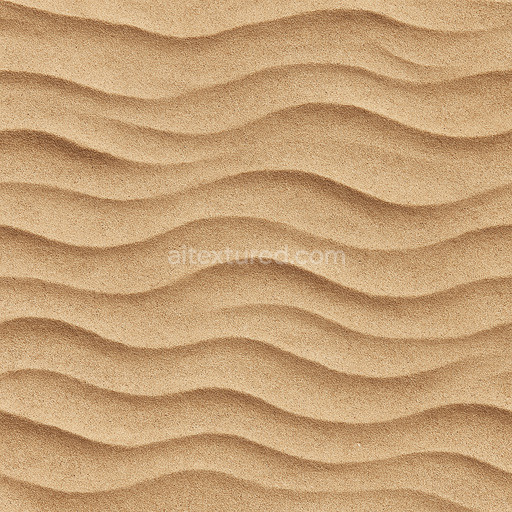
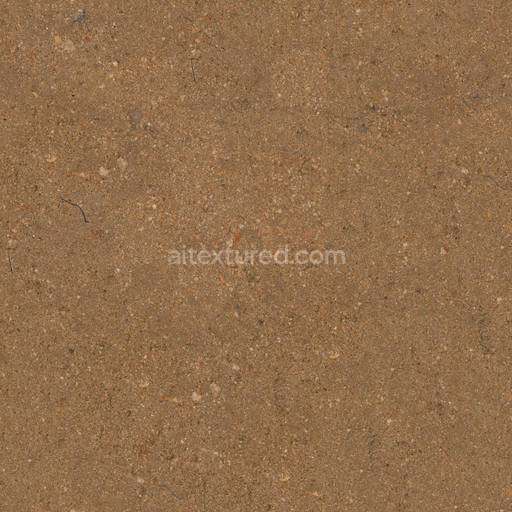
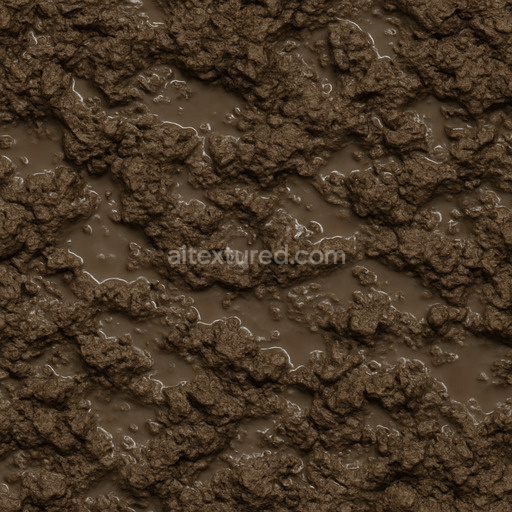
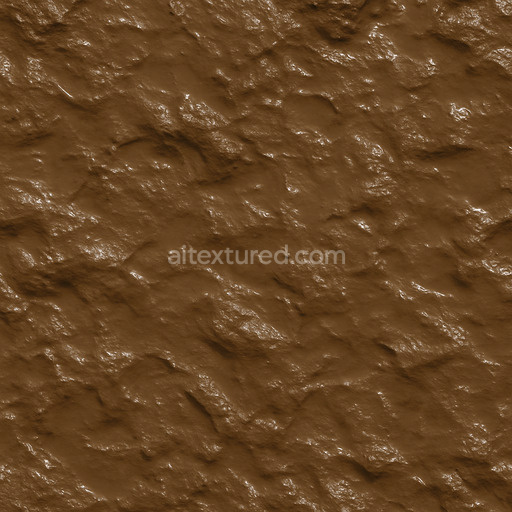
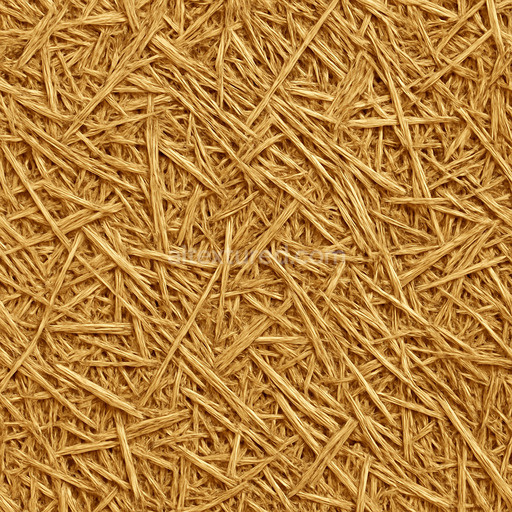
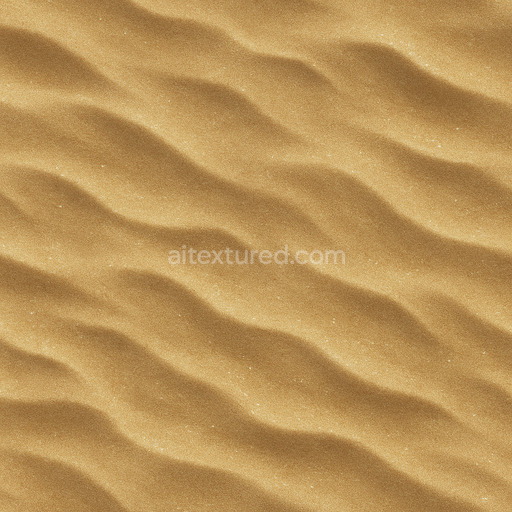
The Muddy Ground Boot Prints texture is a meticulously crafted seamless muddy ground boot prints pattern that authentically replicates the natural impressions left by boots on damp malleable soil surfaces. This premium PBR texture belongs to an extensive sand-soil textures collection and features a complex material composition that closely mimics organic terrain substrates. The base is formed from fine mineral grains combined with clay-based binders creating a slightly porous and cohesive soil matrix. Scattered throughout are organic debris elements such as decomposed plant fibers which contribute to the texture’s natural irregularity and subtle depth. The surface finish presents a matte appearance with nuanced wetness capturing the interplay between water-saturated mud and uneven earth compaction. Rich earthy colorants including deep browns muted ochres and dark iron oxide layers provide authentic chromatic variation enhancing the realism of the muddy ground boot prints texture.
Across the PBR channels this tileable muddy ground boot prints texture demonstrates exceptional detail and material accuracy. The BaseColor/Albedo map reveals a natural gradient of soil tones highlighting mud patches interspersed with exposed mineral grains and moist earth hues. The Normal map intricately conveys the micro-relief of boot sole impressions tread patterns and subtle surface irregularities giving tactile depth to the terrain. Roughness values are carefully calibrated to reflect the damp uneven surface—compacted mud areas exhibit lower roughness with a slight sheen while drier patches show higher roughness and a matte finish. The Metallic channel remains neutral consistent with the non-metallic organic nature of soil. Ambient Occlusion enhances shadowed crevices within the boot prints emphasizing volume and depth while Height/Displacement maps provide precise vertical relief that supports convincing parallax effects and three-dimensional surface deformation in real-time engines or offline renders.
Rendered at an impressive 8K resolution this seamless muddy ground boot prints texture delivers outstanding clarity for close-up views without visible tiling or pixelation. It integrates seamlessly with popular 3D platforms such as Blender Unreal Engine and Unity supporting efficient workflows in architectural visualization game environment design and product mockups. For optimal realism maintaining consistent UV scaling across terrain assets is recommended to preserve the natural size and proportion of the boot prints. Additionally fine-tuning the roughness map helps balance the muddy soil’s wetness realistically while adjusting height or displacement intensity can enhance the tactile impression of boot tracks adding subtle depth variations crucial for immersive and natural terrain aesthetics.
Import the texture maps into Blender with sRGB color space for albedo/base color and Non-Color for normal, roughness, metallic, AO, height, and ORM maps. Connect normal maps through a Normal Map node, then adjust UV scale with a Mapping node so the material repeats naturally on your model.
For the full step-by-step setup, see How to Use Seamless Textures in Blender. Browse related material examples in wood, concrete, and metal.
Yes. This texture is designed as a seamless tileable PBR material, so it can repeat across large surfaces without visible borders.
You can download PNG/WEBP versions and use 1K, 2K, 4K and 8K download options when available on the page.
Yes. The download options and engine-mapped ZIP workflow are designed for Blender, Unreal Engine, Unity Standard, URP and HDRP material pipelines.
Yes. The texture is available under the AITextured free commercial license. Review the license page for redistribution and AI-training restrictions.


Build, preview, and export seamless PBR materials. Generate full map sets from a single image, inspect them in a real-time WebGL viewer, and re-package maps for Unreal, Unity, and Blender—directly in your browser.
AI text-to-texture: type a prompt and get a seamless, tileable base image ready for PBR workflows (great starting point for materials).
Create a full PBR set (Normal, Roughness, AO, Metallic, etc.) from a single image. Seamless and tiling-friendly.
Instant WebGL viewer: inspect materials on a sphere, plane, and cube. Check tiling and lighting in real time.
Re-packages maps per engine: Unreal (BaseColor + ORM), Unity (Mask/MetallicSmoothness), Blender (separate channels).
PNG ↔ JPG ↔ SVG: fast convert, SVG rasterize, embed/trace options, quality & background controls.