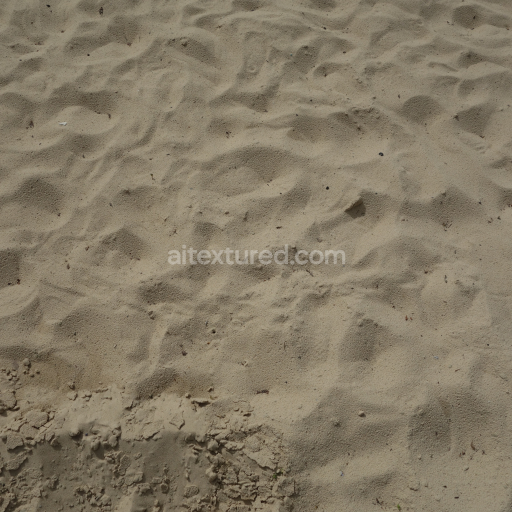
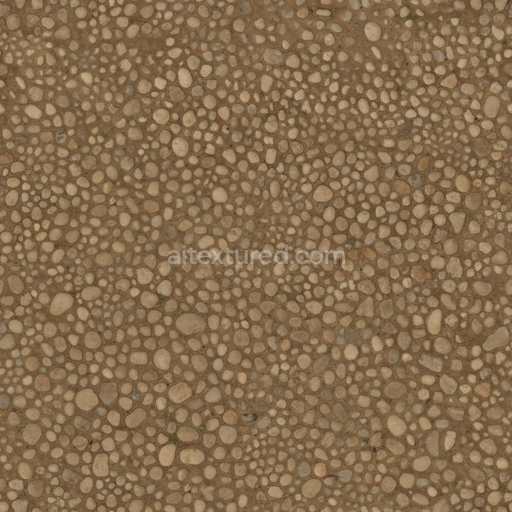
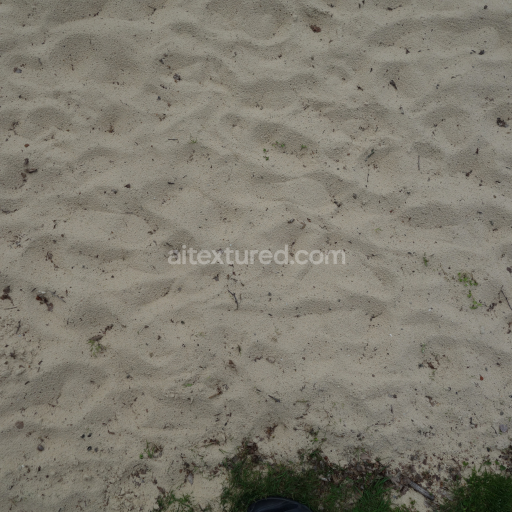
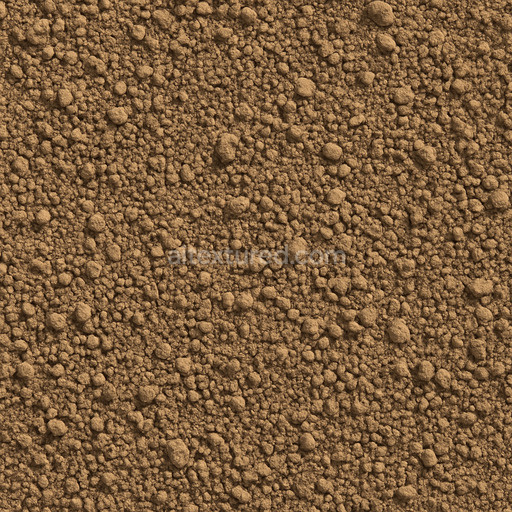
PBR Sand Texture with Natural Footprints and Debris
Seamless texture (tileable) · PNG, WEBP, PBR ZIP. License: AITextured Free Commercial License (FCL) v1.1. Free personal and commercial use. Raw resale, standalone redistribution, mirroring/scraping, competing asset packs, and AI/ML training are not allowed without written permission. Attribution is not required, but appreciated..

| ID | pebbly-riverbed-damp |
|---|---|
| Category | Sand-soil |
| Formats | PNG, WEBP, PBR ZIP |
| Size | 1k (1024x1024px), 2k (2048x2048px), 4k (4096x4096px), 8k (8192x8192px) |
| Color | sRGB |
| Tileable | Yes |
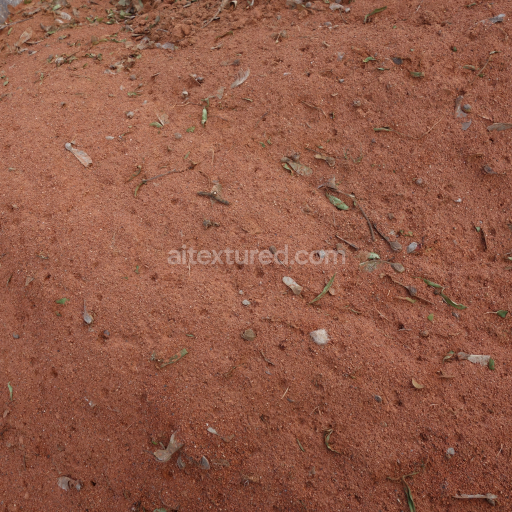
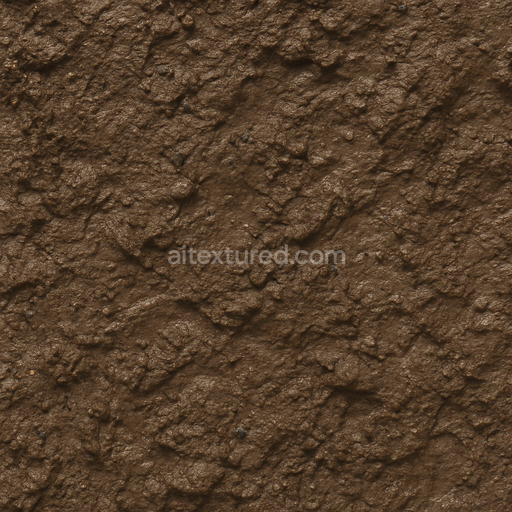
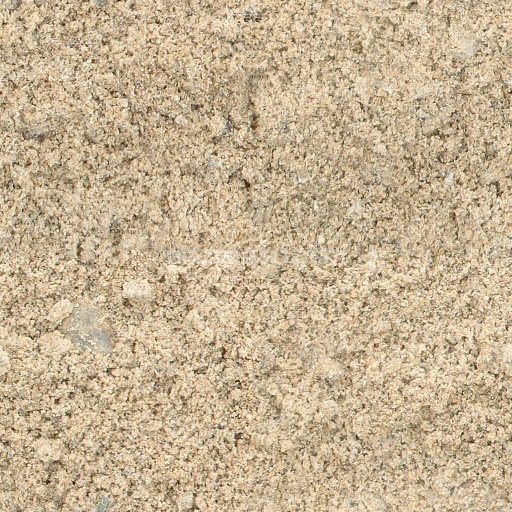
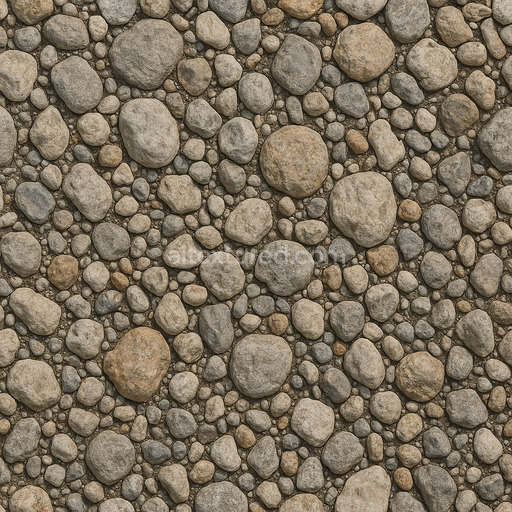
The pebbly riverbed damp texture is an expertly crafted AI-generated seamless material that authentically replicates the intricate composition of a natural sand-soil substrate found in slightly wet pebbly riverbeds. This texture simulates a complex blend of fine mineral grains and small rounded pebbles all bound together by moist organic and mineral-rich sediments. The surface finish reflects a weathered damp environment where subtle water retention affects the tactile quality creating a nuanced balance between rough sandy patches and smoother water-saturated stones. Earthy pigments and oxide layers contribute to a muted natural color palette with gentle variations in tone that mirror the diverse mineral deposits and sediment layers typical of riverbed environments. The texture’s porosity and subtle roughness become evident through the interplay of fine sand particles and larger aggregates while controlled specular highlights and moderate glossiness convey the presence of moisture saturating the substrate and pebbles.*
Designed for photorealistic applications this tileable pebbly riverbed damp texture comes with a comprehensive PBR map set optimized up to an impressive 8K resolution ensuring exceptional detail and realism for high-end architectural visualizations game environments and product mockups. The BaseColor (Albedo) map captures the subtle tonal shifts and natural coloration of wet sand-soil and pebbles while the Normal map enhances the perception of granular surfaces and the rounded contours of individual stones. The Roughness map expertly balances the diffuse rough sandy areas against the smoother damp stone surfaces enhancing realistic light scattering and reflection. As natural materials are non-metallic the Metallic channel remains neutral whereas the Ambient Occlusion map accentuates shadows and crevices between pebbles adding depth and dimensionality. The Height/Displacement map provides fine elevation details that work seamlessly with tessellation and parallax workflows to amplify the immersive three-dimensional effect of a damp riverbed.*
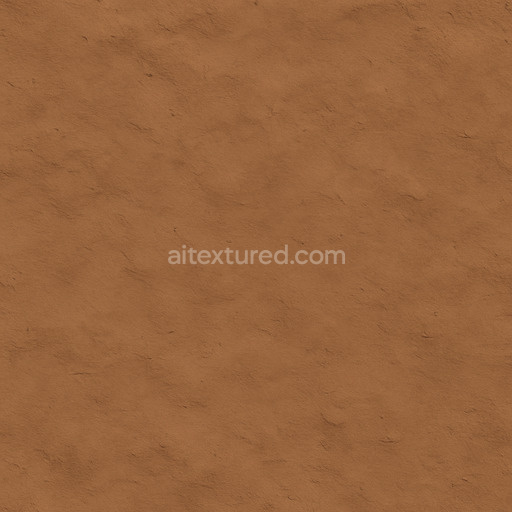
Fully tileable and optimized for seamless application across large surfaces without visible repetition this PBR material pebbly riverbed damp is compatible with major 3D engines such as Blender Unreal Engine and Unity facilitating smooth integration into diverse workflows. For optimal results adjusting the UV scale to maintain natural pebble sizes prevents distortion and preserves realism. Additionally fine-tuning the Roughness map intensity can further enhance the damp appearance by controlling how light reflects off wet surfaces while employing the Height/Displacement map with parallax or tessellation techniques adds convincing depth and tactile realism to your scenes. The seamless pebbly riverbed damp texture offers a faithful representation of sand-soil surfaces with detailed variations supported by a real-time 3D preview that aids material evaluation and ensures accurate PBR material application.*
Import the texture maps into Blender with sRGB color space for albedo/base color and Non-Color for normal, roughness, metallic, AO, height, and ORM maps. Connect normal maps through a Normal Map node, then adjust UV scale with a Mapping node so the material repeats naturally on your model.
For the full step-by-step setup, see How to Use Seamless Textures in Blender. Browse related material examples in wood, concrete, and metal.
Yes. This texture is designed as a seamless tileable PBR material, so it can repeat across large surfaces without visible borders.
You can download PNG/WEBP versions and use 1K, 2K, 4K and 8K download options when available on the page.
Yes. The download options and engine-mapped ZIP workflow are designed for Blender, Unreal Engine, Unity Standard, URP and HDRP material pipelines.
Yes. The texture is available under the AITextured free commercial license. Review the license page for redistribution and AI-training restrictions.

Build, preview, and export seamless PBR materials. Generate full map sets from a single image, inspect them in a real-time WebGL viewer, and re-package maps for Unreal, Unity, and Blender—directly in your browser.
AI text-to-texture: type a prompt and get a seamless, tileable base image ready for PBR workflows (great starting point for materials).
Create a full PBR set (Normal, Roughness, AO, Metallic, etc.) from a single image. Seamless and tiling-friendly.
Instant WebGL viewer: inspect materials on a sphere, plane, and cube. Check tiling and lighting in real time.
Re-packages maps per engine: Unreal (BaseColor + ORM), Unity (Mask/MetallicSmoothness), Blender (separate channels).
PNG ↔ JPG ↔ SVG: fast convert, SVG rasterize, embed/trace options, quality & background controls.