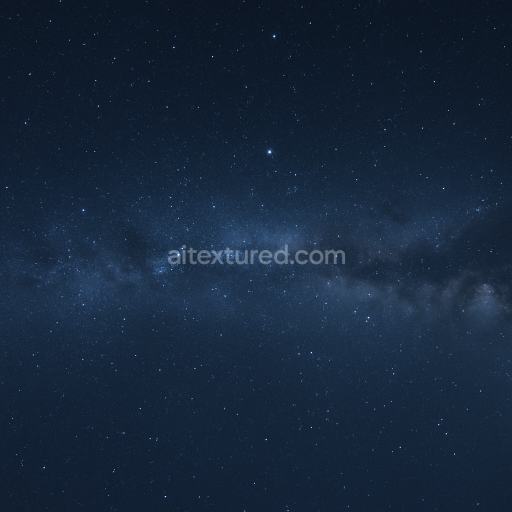
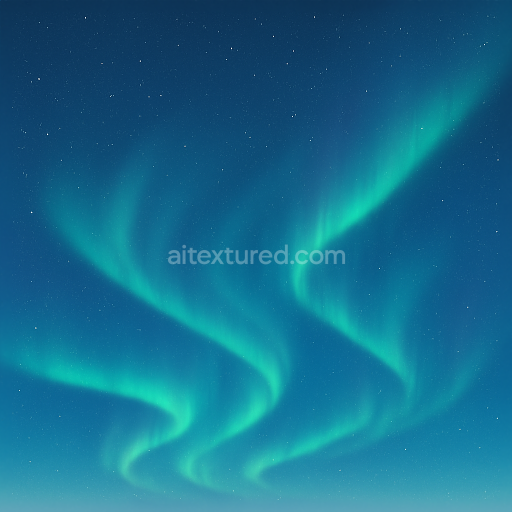
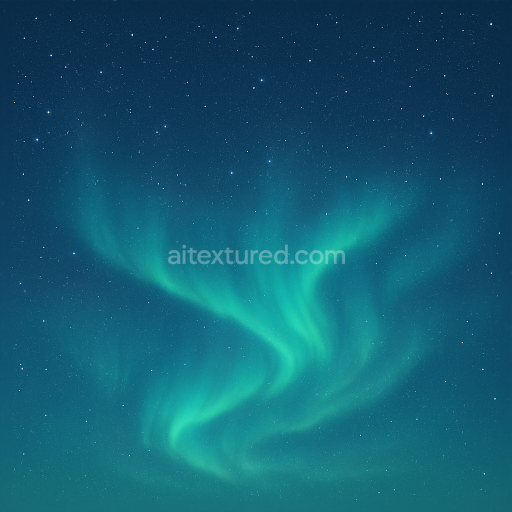
Seamless 8K PBR 3D texture of night starry sky with milky way for realistic space scenes
Seamless texture (tileable) · PNG, WEBP, PBR ZIP. License: AITextured Free Commercial License (FCL) v1.1. Free personal and commercial use. Raw resale, standalone redistribution, mirroring/scraping, competing asset packs, and AI/ML training are not allowed without written permission. Attribution is not required, but appreciated..

| ID | seamless-8k-pbr-3d-texture-of-crescent-moon-night-sky-with-subtle-twilight-glow-and-stars |
|---|---|
| Category | Sky |
| Formats | PNG, WEBP, PBR ZIP |
| Size | 1k (1024x1024px), 2k (2048x2048px), 4k (4096x4096px), 8k (8192x8192px) |
| Color | sRGB |
| Tileable | Yes |
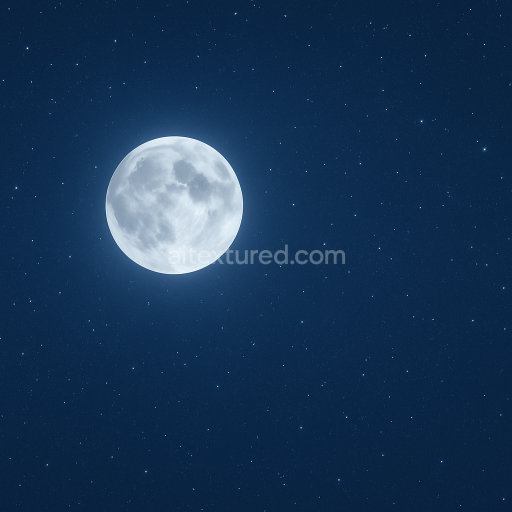
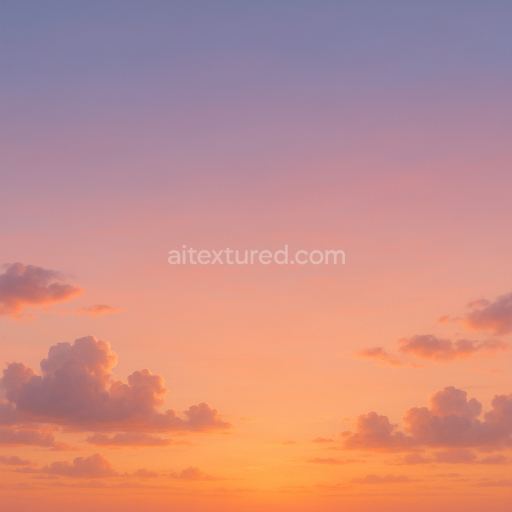
This seamless 8k PBR 3d texture depicts a crescent moon suspended against a night sky that transitions softly into a twilight horizon enriched by a delicate scatter of stars. The base material simulates a finely grained sky dome surface akin to a smooth matte ceramic substrate chosen for its even light diffusion and subtle textural variation. Embedded within this base are faint irregular fiber-like patterns that emulate atmospheric haze and subtle cloud veiling providing a natural depth without overwhelming the celestial elements. The texture’s form is essentially planar but rendered with a slight curvature implied by the gradient and shading reinforcing the immersive sky dome effect in 3D environments.
The composition is carefully layered: a non-metallic base layer represents the sky’s vast expanse utilizing deep indigo and muted navy pigments blended with a soft violet twilight glow near the horizon. This base is combined with a translucent binder that simulates atmospheric moisture enhancing the perceived depth and contributing to a gentle roughness that diffuses light realistically. Small strategically placed emissive points recreate distant stars while the crescent moon features a slightly elevated height map to suggest subtle surface detail and gentle craters. The texture’s porosity is minimal maintaining a mostly smooth finish with mild micro-roughness to avoid a plastic or overly glossy look preserving natural nocturnal ambiance.
In terms of PBR channel mapping the BaseColor (Albedo) channel carries the rich gradient blues and purples with carefully balanced luminance to emulate natural twilight conditions. The Normal map introduces fine atmospheric ripples and softly sculpted lunar surface features adding realism without harsh surface disruptions. Roughness values are tuned to moderate levels to reflect faint atmospheric scattering and a semi-matte moon surface while the Metallic channel remains at zero due to the non-metallic nature of the sky and celestial bodies. Ambient Occlusion subtly enhances shadowing around the crescent moon’s edges and star clusters providing dimensional contrast. Height/Displacement maps are gently applied to emphasize the curvature of the moon and slight atmospheric variations supporting parallax effects in real-time rendering.
This texture is optimized at an 8k resolution ensuring exceptional detail suitable for close-up renders and expansive sky panoramas. It is fully compatible with Blender Unreal Engine and Unity enabling seamless integration into photorealistic scenes game environments or VR simulations requiring a naturalistic night sky dome. For practical use it is recommended to carefully adjust the UV scale to match the scene’s spatial dimensions and to fine-tune roughness values in shader settings according to lighting conditions ensuring the moon and stars maintain their subtle glow without appearing overly sharp or diffuse. Blending height and normal maps can enhance depth perception on curved dome geometries creating a more immersive celestial experience.
Import the texture maps into Blender with sRGB color space for albedo/base color and Non-Color for normal, roughness, metallic, AO, height, and ORM maps. Connect normal maps through a Normal Map node, then adjust UV scale with a Mapping node so the material repeats naturally on your model.
For the full step-by-step setup, see How to Use Seamless Textures in Blender. Browse related material examples in wood, concrete, and metal.
Yes. This texture is designed as a seamless tileable PBR material, so it can repeat across large surfaces without visible borders.
You can download PNG/WEBP versions and use 1K, 2K, 4K and 8K download options when available on the page.
Yes. The download options and engine-mapped ZIP workflow are designed for Blender, Unreal Engine, Unity Standard, URP and HDRP material pipelines.
Yes. The texture is available under the AITextured free commercial license. Review the license page for redistribution and AI-training restrictions.


Build, preview, and export seamless PBR materials. Generate full map sets from a single image, inspect them in a real-time WebGL viewer, and re-package maps for Unreal, Unity, and Blender—directly in your browser.
AI text-to-texture: type a prompt and get a seamless, tileable base image ready for PBR workflows (great starting point for materials).
Create a full PBR set (Normal, Roughness, AO, Metallic, etc.) from a single image. Seamless and tiling-friendly.
Instant WebGL viewer: inspect materials on a sphere, plane, and cube. Check tiling and lighting in real time.
Re-packages maps per engine: Unreal (BaseColor + ORM), Unity (Mask/MetallicSmoothness), Blender (separate channels).
PNG ↔ JPG ↔ SVG: fast convert, SVG rasterize, embed/trace options, quality & background controls.