
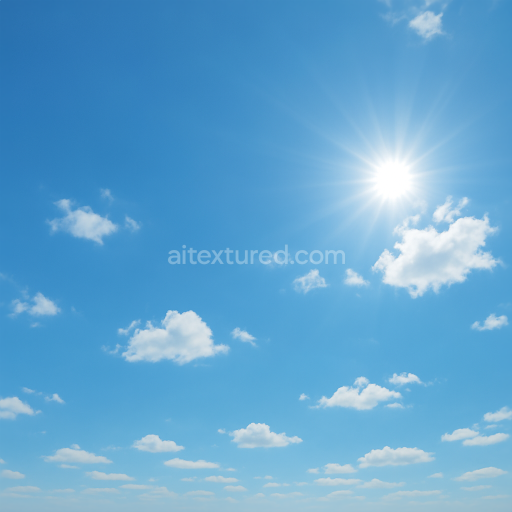
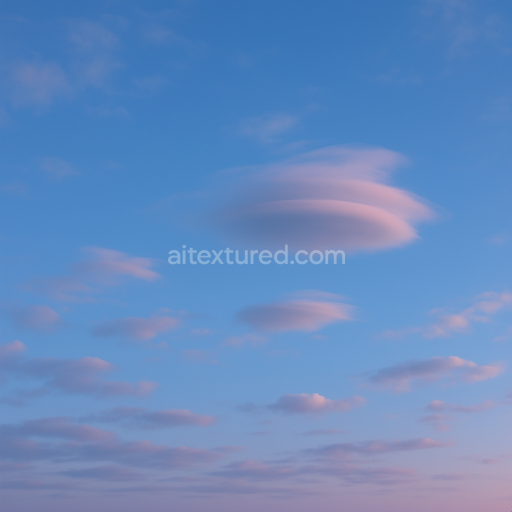
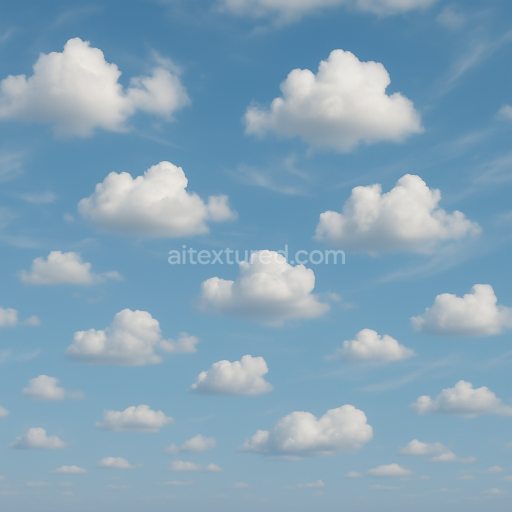
Seamless 8K PBR 3D texture of desert sky with clear blue horizon and minimal cloudscape
Seamless texture (tileable) · PNG, WEBP, PBR ZIP. License: AITextured Free Commercial License (FCL) v1.1. Free personal and commercial use. Raw resale, standalone redistribution, mirroring/scraping, competing asset packs, and AI/ML training are not allowed without written permission. Attribution is not required, but appreciated..

| ID | seamless-8k-pbr-3d-texture-of-sunrise-sky-with-golden-hour-light-and-stratocumulus-clouds |
|---|---|
| Category | Sky |
| Formats | PNG, WEBP, PBR ZIP |
| Size | 1k (1024x1024px), 2k (2048x2048px), 4k (4096x4096px), 8k (8192x8192px) |
| Color | sRGB |
| Tileable | Yes |
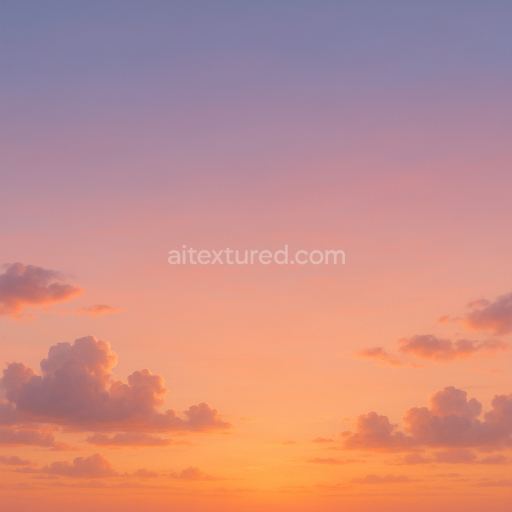
This seamless 8K PBR 3D texture captures the delicate interplay of light and form found in a sunrise sky during the golden hour featuring stratocumulus clouds that create a richly detailed sky dome. The underlying material can be conceptualized as a finely layered atmospheric substrate where the base is a smooth almost translucent air matrix. This matrix is interspersed with varying densities of stratocumulus cloud formations which act like soft fibrous aggregates suspended within the atmosphere. The clouds exhibit subtle volumetric depth and exhibit a naturally diffused texture with gentle gradations of warm golden hues blending into cooler early morning blues.
From a geometric perspective the texture presents a natural organic pattern formed by the stratocumulus cloud clusters which appear as semi-flattened billowing forms with irregular softly contoured edges. The surface finish is matte with a delicate scattering effect mimicking the way sunlight diffuses when filtered through atmospheric moisture. The texture’s Porosity is implied through the fine variations in cloud density and subtle translucency contributing to the realistic perception of depth and softness. Weathering is minimal but evident in the natural variation of cloud density and faint wisps giving a dynamic and evolving sky appearance.
In terms of PBR channel mapping the BaseColor (Albedo) channel captures the nuanced warm-to-cool color gradient of the sky shifting from soft oranges and pinks near the horizon to pale blues higher up. The Normal map defines the gentle undulating cloud contours enhancing the three-dimensional feel of the stratocumulus layers. Roughness is calibrated to reflect the matte diffuse character of the sky surface with slightly lower roughness values around illuminated cloud edges to simulate light scattering. The Metallic channel is negligible as the sky and clouds are non-metallic. Ambient Occlusion subtly enhances the depth within the cloud formations emphasizing shadowed recesses. Height/Displacement maps provide fine relief for the cloud shapes allowing for realistic parallax effects that add a tangible sense of volume.
Rendered at an impressive 8K resolution this texture is optimized for high-fidelity environments and is fully compatible with Blender Unreal Engine and Unity workflows. It is ideal for use as a skybox or panoramic sky background in early morning or dawn scenes providing immersive realism without visible tiling artifacts. For practical use adjusting the UV scale to a slightly larger setting helps maintain the grandeur of cloud formations while fine-tuning the roughness channel can simulate varying atmospheric moisture levels. Additionally blending height and normal maps subtly enhances depth perception without overpowering the soft natural cloud forms.
Import the texture maps into Blender with sRGB color space for albedo/base color and Non-Color for normal, roughness, metallic, AO, height, and ORM maps. Connect normal maps through a Normal Map node, then adjust UV scale with a Mapping node so the material repeats naturally on your model.
For the full step-by-step setup, see How to Use Seamless Textures in Blender. Browse related material examples in wood, concrete, and metal.
Yes. This texture is designed as a seamless tileable PBR material, so it can repeat across large surfaces without visible borders.
You can download PNG/WEBP versions and use 1K, 2K, 4K and 8K download options when available on the page.
Yes. The download options and engine-mapped ZIP workflow are designed for Blender, Unreal Engine, Unity Standard, URP and HDRP material pipelines.
Yes. The texture is available under the AITextured free commercial license. Review the license page for redistribution and AI-training restrictions.

Build, preview, and export seamless PBR materials. Generate full map sets from a single image, inspect them in a real-time WebGL viewer, and re-package maps for Unreal, Unity, and Blender—directly in your browser.
AI text-to-texture: type a prompt and get a seamless, tileable base image ready for PBR workflows (great starting point for materials).
Create a full PBR set (Normal, Roughness, AO, Metallic, etc.) from a single image. Seamless and tiling-friendly.
Instant WebGL viewer: inspect materials on a sphere, plane, and cube. Check tiling and lighting in real time.
Re-packages maps per engine: Unreal (BaseColor + ORM), Unity (Mask/MetallicSmoothness), Blender (separate channels).
PNG ↔ JPG ↔ SVG: fast convert, SVG rasterize, embed/trace options, quality & background controls.