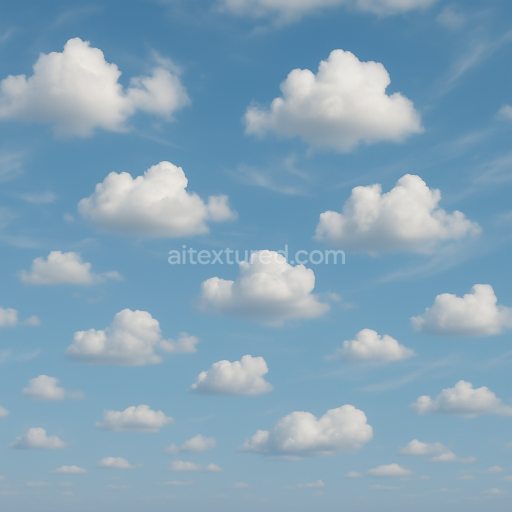
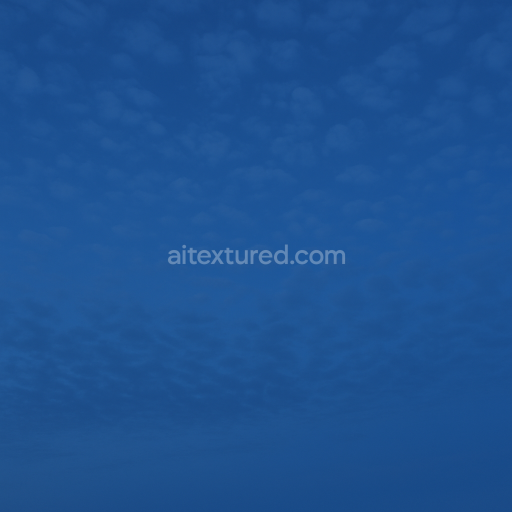
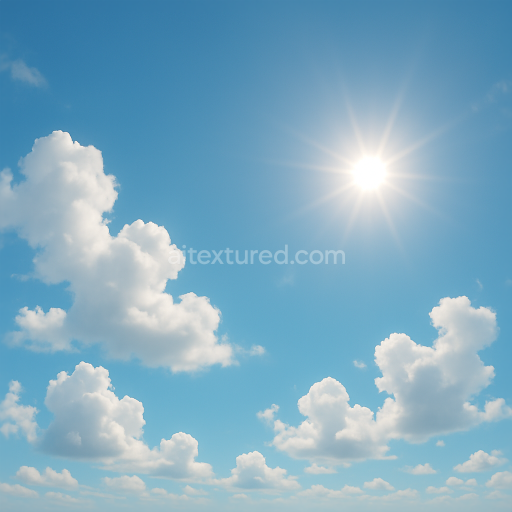
Seamless 8K PBR 3D texture of windy sky with dynamic cloud shadows and scattered clouds
Seamless texture (tileable) · PNG, WEBP, PBR ZIP. License: AITextured Free Commercial License (FCL) v1.1. Free personal and commercial use. Raw resale, standalone redistribution, mirroring/scraping, competing asset packs, and AI/ML training are not allowed without written permission. Attribution is not required, but appreciated..

| ID | seamless-8k-pbr-3d-texture-of-full-moon-night-sky-with-clear-starry-background-and-subtle-moonlight |
|---|---|
| Category | Sky |
| Formats | PNG, WEBP, PBR ZIP |
| Size | 1k (1024x1024px), 2k (2048x2048px), 4k (4096x4096px), 8k (8192x8192px) |
| Color | sRGB |
| Tileable | Yes |
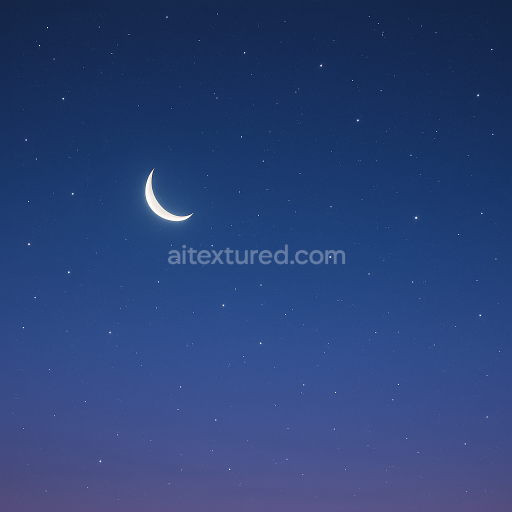
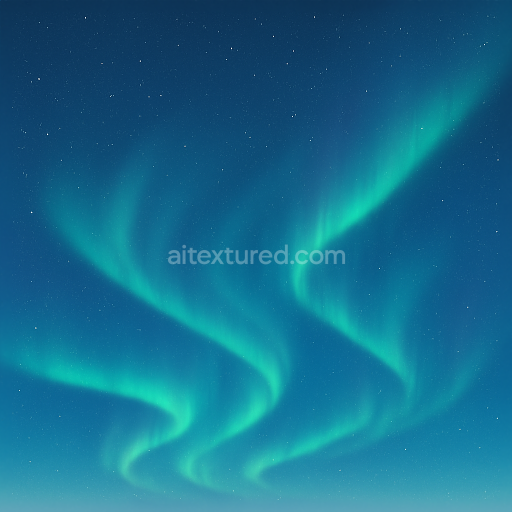
This seamless 8K PBR 3D texture represents a full moon night sky with a clear starry background designed as a sky dome material for photorealistic 3D environments. The base material evokes a thin translucent atmospheric layer resembling a high-altitude cloudless sky illuminated by the full moon. The geometric form is essentially a continuous spherical panorama mapped without visible seams to simulate the dome of the sky in virtual scenes. This texture’s substrate can be conceptually described as a fine atmospheric haze composed of microscopic particulates suspended in air with no solid aggregates resulting in a smooth yet subtly variegated surface pattern that captures the natural gradations of moonlight and starlight across the night sky.
The composition mimics atmospheric scattering effects where the primary “binder” is the air medium itself holding minute dust and moisture particles that softly diffuse the moonlight. The full moon is rendered as a slightly raised luminous orb with delicate surface variations to suggest subtle craters and texture while the surrounding star field is composed of tiny bright pinpoints distributed unevenly to enhance realism. Porosity is minimal reflecting the clarity of the sky on a crisp night with no fog or cloud cover. The surface finish is matte with a very low roughness value allowing soft reflections of moonlight without harsh glossiness. Colorants are primarily cool tones—deep blues and muted grays—with the moon’s glow adding gentle warm off-whites and pale yellows carefully balanced to maintain a natural nocturnal palette.
In PBR workflow terms the BaseColor (Albedo) channel captures the nuanced night sky hues and the moon’s pale luminosity. The Normal map provides subtle relief for the moon’s surface details and the slight atmospheric gradients enhancing depth without sharp geometric changes. Roughness is finely tuned to a low range ensuring a soft diffusion of light without metallic shine while the Metallic map is essentially black as the sky has no metallic properties. Ambient Occlusion emphasizes the subtle shadows around the moon’s edges and the denser star clusters adding spatial depth. The Height or Displacement map gently raises the moon’s surface allowing parallax effects when used in engines that support it contributing to realism in close-up views.
This texture is optimized at an 8K resolution providing exceptional detail suitable for large-scale sky domes and panoramic backgrounds in Blender Unreal Engine and Unity projects. Its seamless design enables infinite repetition without visible tiling making it ideal for immersive night-time scenes. For practical usage adjusting the UV scale can help match the sky dome size to your project’s spatial requirements while fine-tuning the roughness channel allows control over the moonlight’s softness versus clarity. Additionally blending the Height map with Normal details can improve the volumetric feel of the moon’s surface under dynamic lighting conditions.
Import the texture maps into Blender with sRGB color space for albedo/base color and Non-Color for normal, roughness, metallic, AO, height, and ORM maps. Connect normal maps through a Normal Map node, then adjust UV scale with a Mapping node so the material repeats naturally on your model.
For the full step-by-step setup, see How to Use Seamless Textures in Blender. Browse related material examples in wood, concrete, and metal.
Yes. This texture is designed as a seamless tileable PBR material, so it can repeat across large surfaces without visible borders.
You can download PNG/WEBP versions and use 1K, 2K, 4K and 8K download options when available on the page.
Yes. The download options and engine-mapped ZIP workflow are designed for Blender, Unreal Engine, Unity Standard, URP and HDRP material pipelines.
Yes. The texture is available under the AITextured free commercial license. Review the license page for redistribution and AI-training restrictions.


Build, preview, and export seamless PBR materials. Generate full map sets from a single image, inspect them in a real-time WebGL viewer, and re-package maps for Unreal, Unity, and Blender—directly in your browser.
AI text-to-texture: type a prompt and get a seamless, tileable base image ready for PBR workflows (great starting point for materials).
Create a full PBR set (Normal, Roughness, AO, Metallic, etc.) from a single image. Seamless and tiling-friendly.
Instant WebGL viewer: inspect materials on a sphere, plane, and cube. Check tiling and lighting in real time.
Re-packages maps per engine: Unreal (BaseColor + ORM), Unity (Mask/MetallicSmoothness), Blender (separate channels).
PNG ↔ JPG ↔ SVG: fast convert, SVG rasterize, embed/trace options, quality & background controls.