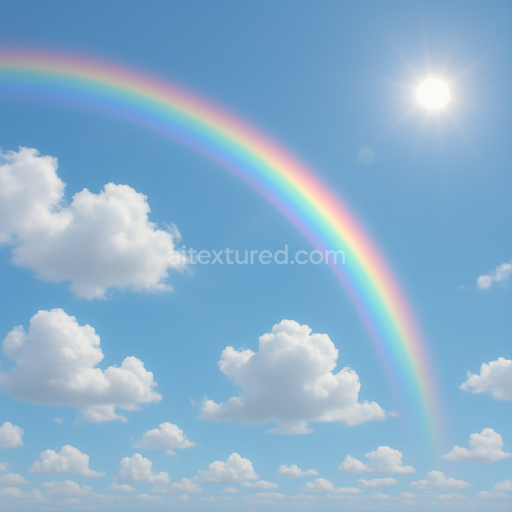
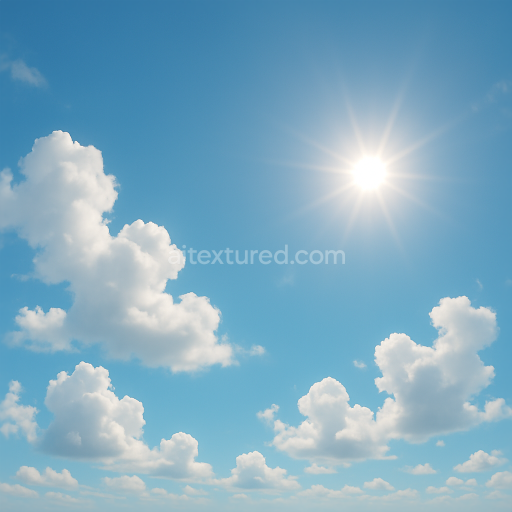
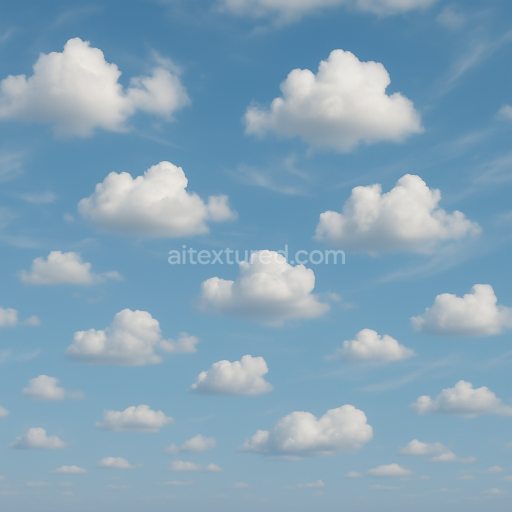
Seamless 8K PBR 3D texture of rainbow sky with bright sun glare and scattered cumulus clo…
Seamless texture (tileable) · PNG, WEBP, PBR ZIP. License: AITextured Free Commercial License (FCL) v1.1. Free personal and commercial use. Raw resale, standalone redistribution, mirroring/scraping, competing asset packs, and AI/ML training are not allowed without written permission. Attribution is not required, but appreciated..

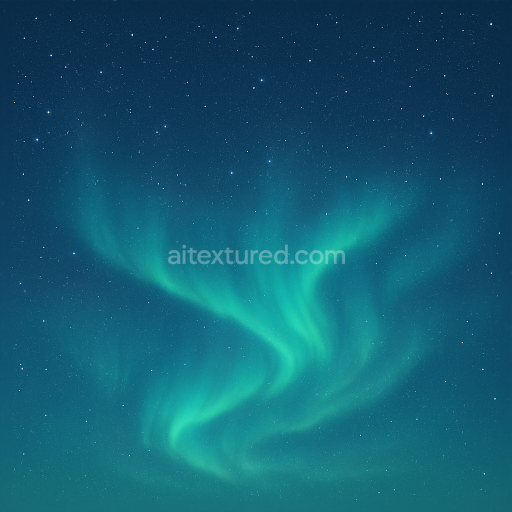
| ID | seamless-8k-pbr-3d-texture-of-polar-sky-with-aurora-australis-and-cold-winter-sky-elements |
|---|---|
| Category | Sky |
| Formats | PNG, WEBP, PBR ZIP |
| Size | 1k (1024x1024px), 2k (2048x2048px), 4k (4096x4096px), 8k (8192x8192px) |
| Color | sRGB |
| Tileable | Yes |
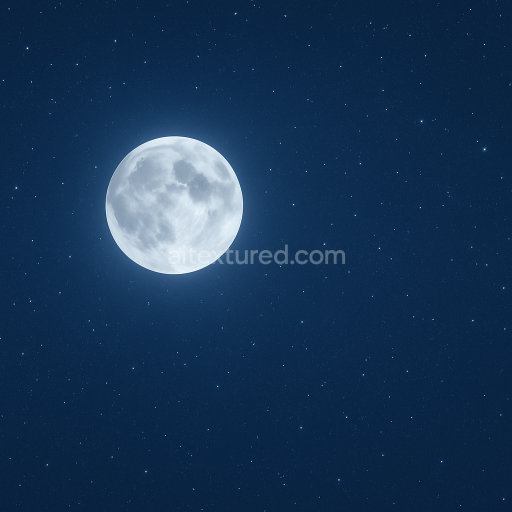
This seamless 8K PBR texture captures the ethereal quality of a polar sky dominated by the aurora australis combined with the crisp clarity of a cold winter night. The material’s base resembles a translucent atmospheric substrate mimicking the thin cold air layers found in polar regions. This substrate acts as the primary diffuse layer with subtle variations in opacity and coloration to represent the dynamic light diffusion of the aurora and the deep blue near-black expanse of the starry sky. The texture’s geometric form is an expansive continuous sky dome pattern designed for seamless wrapping without visible borders or distortions ideal for immersive environment backdrops in 3D scenes.
The texture composition integrates multiple layered elements: a diffuse base color channel enriched with soft gradients of greens purples and deep blues to replicate the aurora’s shifting hues and the winter sky’s cool tones. The Normal map encodes gentle undulations and swirling patterns that simulate the aurora’s flowing ribbons and the subtle atmospheric turbulence adding depth and dynamic movement when lit. Roughness is finely tuned to reflect the sky’s varied light scattering with smoother areas where the aurora glows and rougher patches representing the matte starry background. The Metallic channel is kept minimal or near zero accurately reflecting the non-metallic nature of atmospheric phenomena while Ambient Occlusion enhances subtle shadowing in denser aurora regions to boost realism. Height and displacement maps provide delicate volumetric cues to the aurora’s wave-like forms allowing subtle parallax effects in advanced rendering engines.
Colorants in this texture are carefully balanced pigments that simulate the natural light emissions and absorptions within polar atmospheres—vivid greens and purples for auroral light contrasted with deep blues and blacks for the night sky base. The surface finish is non-reflective and matte mirroring the diffuse scattering of light through cold clear air and minimizing specular highlights to maintain realism in various lighting conditions. This attention to physical accuracy ensures the texture integrates seamlessly into PBR workflows supporting realistic shading and lighting in Blender Unreal Engine and Unity.
Designed for high-fidelity photorealism this 8K texture allows for detailed close-ups and large-scale environment coverage without visible pixelation or tiling artifacts. When applying this texture it is recommended to carefully adjust the UV scale to avoid stretching the aurora’s delicate patterns and to fine-tune the roughness map to balance between soft glow and crisp star visibility. For enhanced depth blending the height map subtly with normal details can enrich the volumetric impression of the aurora and cold sky layers. This texture is particularly suited for polar night or celestial scene simulations requiring accurate atmospheric lighting and seamless panoramic backdrops.
Import the texture maps into Blender with sRGB color space for albedo/base color and Non-Color for normal, roughness, metallic, AO, height, and ORM maps. Connect normal maps through a Normal Map node, then adjust UV scale with a Mapping node so the material repeats naturally on your model.
For the full step-by-step setup, see How to Use Seamless Textures in Blender. Browse related material examples in wood, concrete, and metal.
Yes. This texture is designed as a seamless tileable PBR material, so it can repeat across large surfaces without visible borders.
You can download PNG/WEBP versions and use 1K, 2K, 4K and 8K download options when available on the page.
Yes. The download options and engine-mapped ZIP workflow are designed for Blender, Unreal Engine, Unity Standard, URP and HDRP material pipelines.
Yes. The texture is available under the AITextured free commercial license. Review the license page for redistribution and AI-training restrictions.


Build, preview, and export seamless PBR materials. Generate full map sets from a single image, inspect them in a real-time WebGL viewer, and re-package maps for Unreal, Unity, and Blender—directly in your browser.
AI text-to-texture: type a prompt and get a seamless, tileable base image ready for PBR workflows (great starting point for materials).
Create a full PBR set (Normal, Roughness, AO, Metallic, etc.) from a single image. Seamless and tiling-friendly.
Instant WebGL viewer: inspect materials on a sphere, plane, and cube. Check tiling and lighting in real time.
Re-packages maps per engine: Unreal (BaseColor + ORM), Unity (Mask/MetallicSmoothness), Blender (separate channels).
PNG ↔ JPG ↔ SVG: fast convert, SVG rasterize, embed/trace options, quality & background controls.