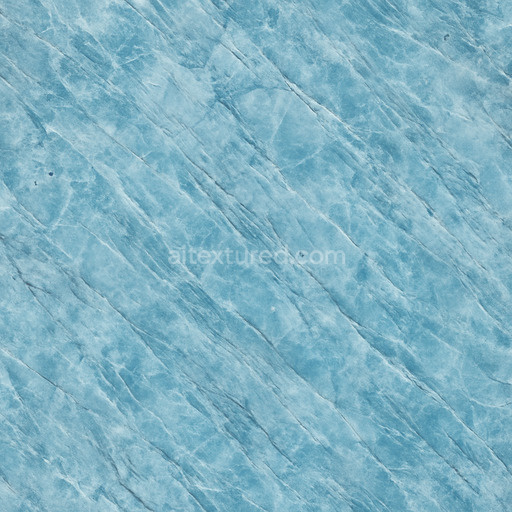
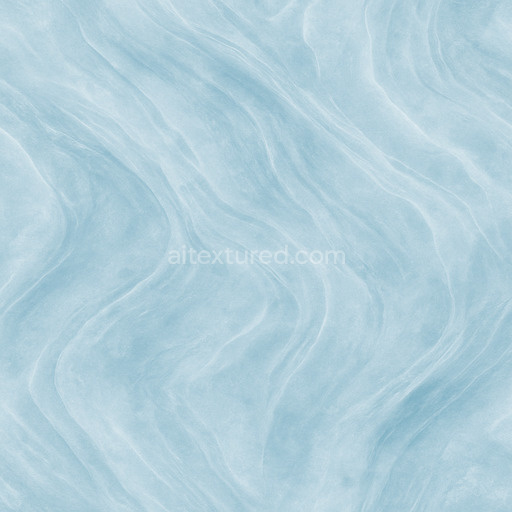
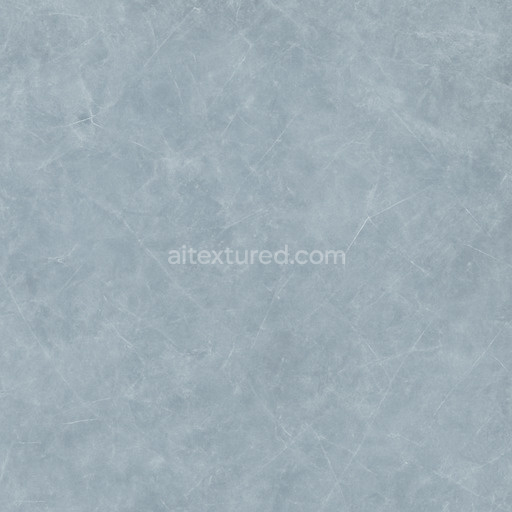
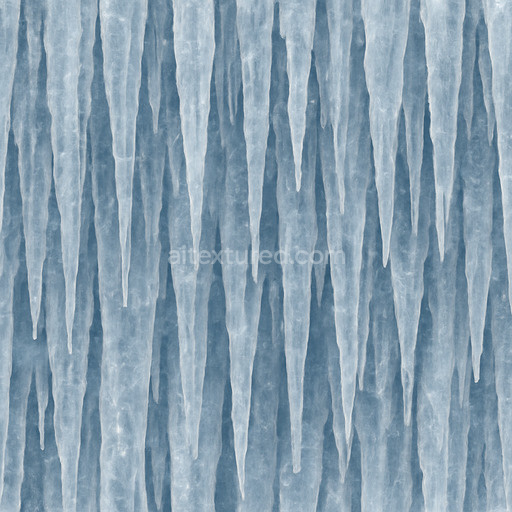
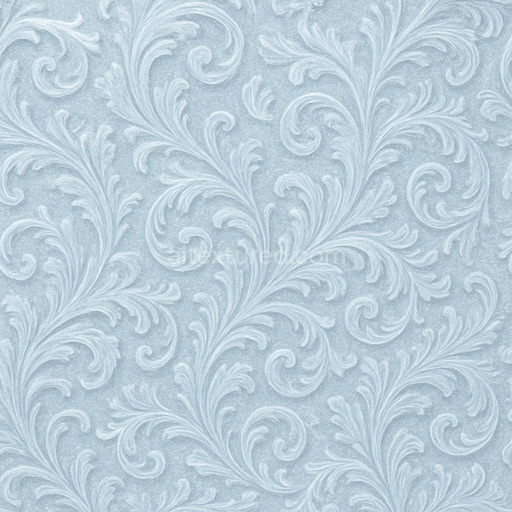
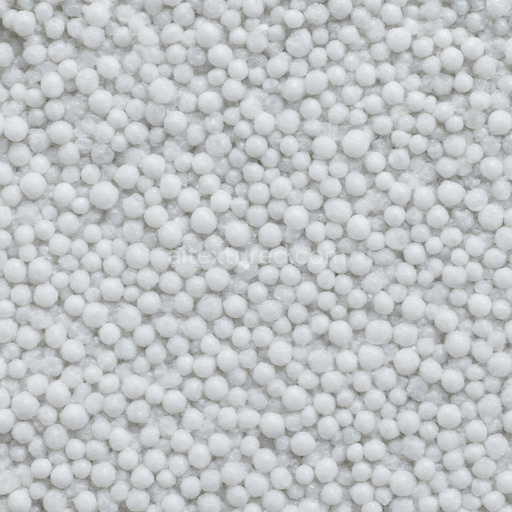
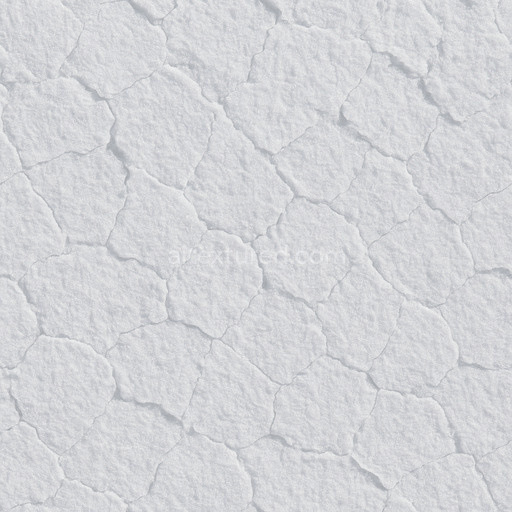
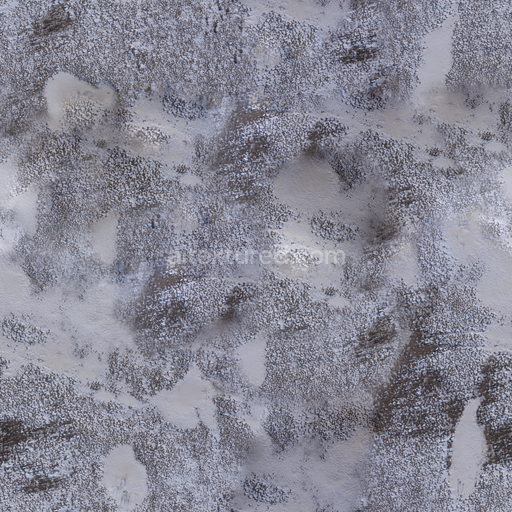
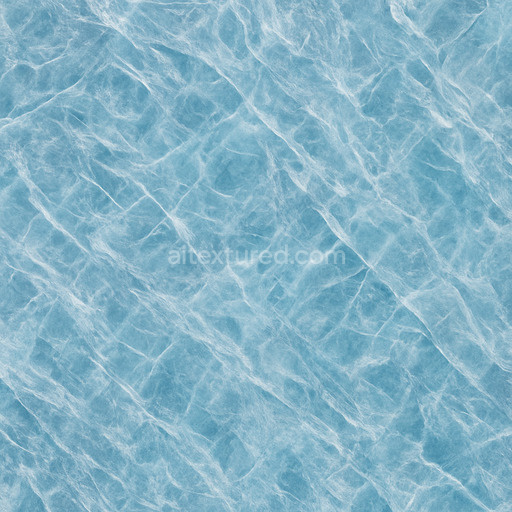
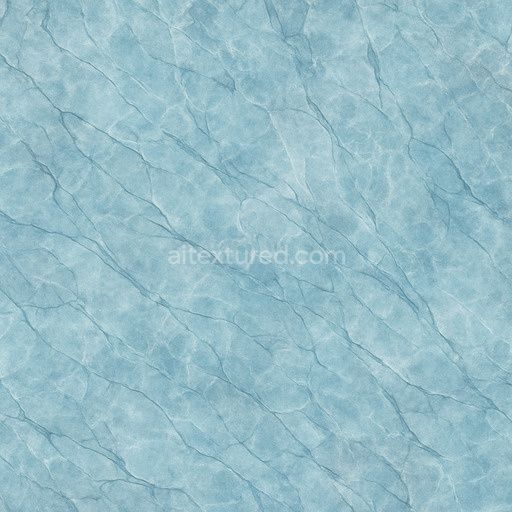
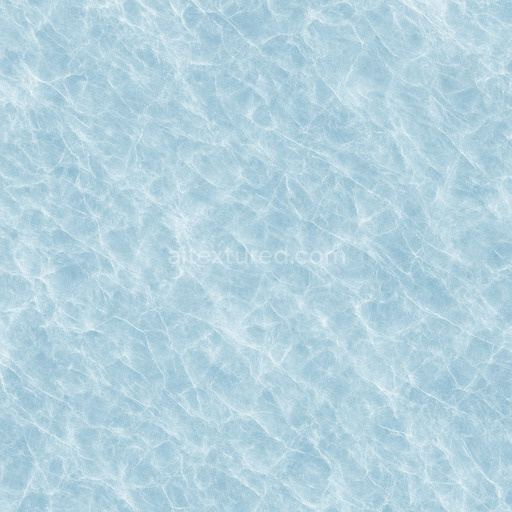
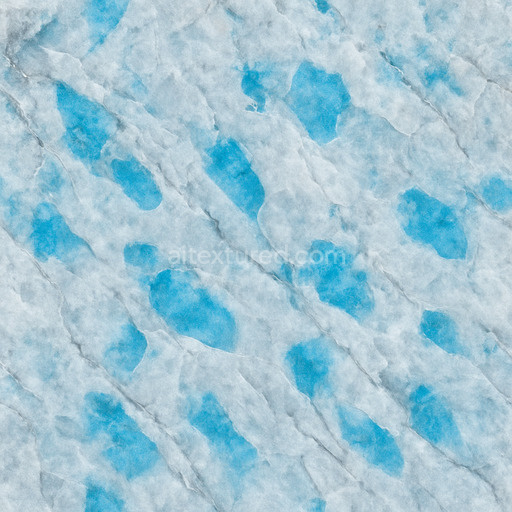
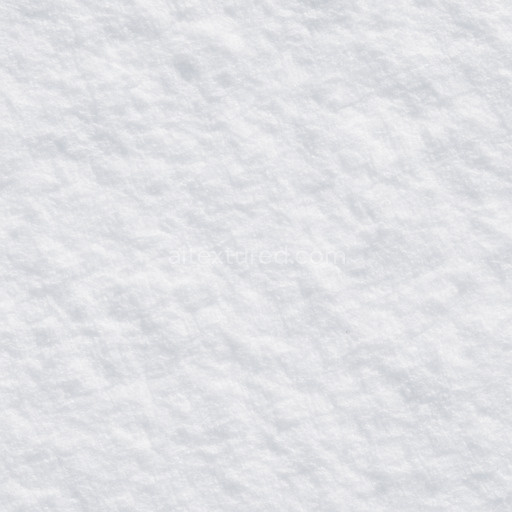
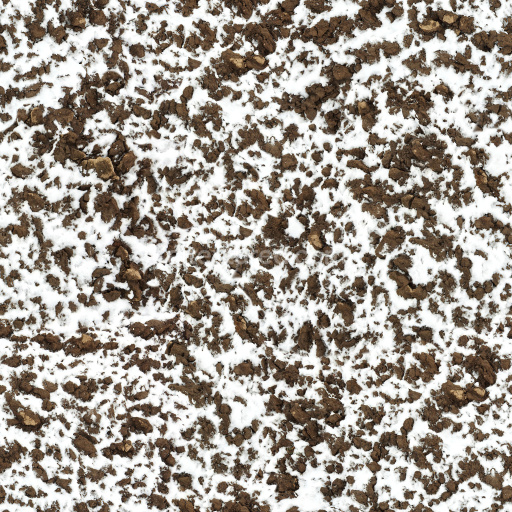
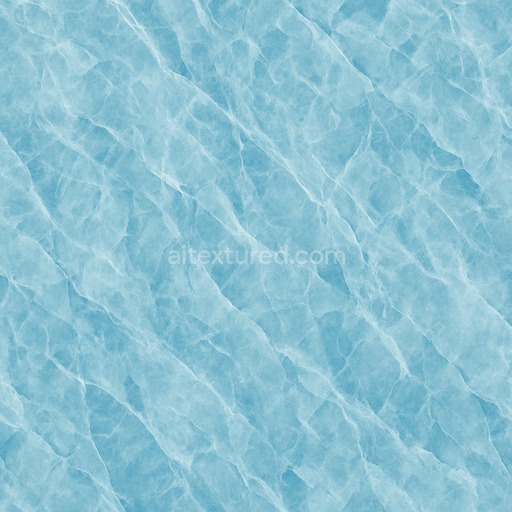
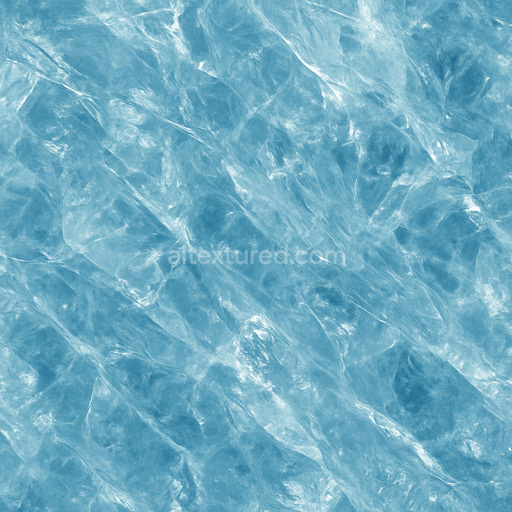
The smooth glacier ice texture seamless high resolution up to 8k is an expertly crafted AI-generated material designed to emulate the pristine polished surfaces of natural glacier ice found in snow-ice environments. This texture is primarily composed of a translucent mineral-based substrate characterized by an ultra-fine grain orientation which captures the intricate interplay of light within ice crystals. The surface finish is exceptionally smooth with low porosity mimicking the natural polishing effects caused by long-term glacial movement and melting processes. Subtle variations in translucency and delicate micro-fractures are rendered with high precision reflecting the natural layering compression and stress fractures typical of glacier ice under immense pressure. The base color channel reveals a cool near-transparent blue-white hue with faint internal reflections giving the texture a visually clean and elegant pattern that enhances realism in any 3D snow-ice scene.
This tileable smooth glacier ice texture seamless high resolution up to 8k excels in physically based rendering (PBR) workflows providing consistent and detailed structural information across all essential channels. The BaseColor or Albedo channel conveys the subtle color variations and translucency while the Normal map highlights fine surface undulations and crystalline microstructures adding depth and realism to 3D models. The Roughness map is carefully calibrated to balance semi-glossy specular reflections and diffuse scattering accurately simulating the characteristic wet and slick appearance of glacier ice under diverse lighting conditions. The Metallic channel remains minimal or null reflecting the non-metallic nature of ice precisely. Ambient Occlusion gently deepens shadows around micro-cracks and crevices enhancing perceived depth and dimensionality. Height and Displacement maps offer nuanced relief for parallax or tessellation effects making this texture ideal for high-fidelity real-time rendering and cinematic applications.
Optimized for seamless integration this smooth glacier ice texture seamless high resolution up to 8k is fully compatible with leading 3D software such as Blender Unity and Unreal Engine. Available in high-resolution formats like PNG and WEBP it ensures crisp detail retention even on expansive surfaces or extreme close-ups supporting immersive level design architecture visualization and advanced material studies. For best results adjusting the UV scale allows precise control over pattern repetition and perceived granularity enabling customization of the ice’s subtle grain and fracture details. Additionally fine-tuning roughness and normal map intensities aligned with your scene’s lighting setup ensures the ice material remains grounded visually convincing and naturally integrated into any snow-ice environment.
Combining meticulous AI-driven detail with practical PBR channel optimization this smooth glacier ice texture seamless high resolution up to 8k offers a reliable and flexible solution for creating realistic snow-ice surfaces. Its seamless tiling capability eliminates visible seams or repetition artifacts making it an excellent choice for high-quality 3D previews and production-ready workflows that demand both aesthetic fidelity and technical precision.
The AI-generated smooth glacier ice texture seamless high resolution up to 8k offers a highly detailed and realistic PBR appearance combining seamless smooth glacier ice texture seamless high resolution up to 8k with authentic snow-ice textures for advanced material composition.
How to Use These Seamless PBR Textures in Blender
This guide shows how to connect a full PBR texture set to Principled BSDF in Blender (Cycles or Eevee). Works with any of our seamless textures free download, including PBR PNG materials for Blender / Unreal / Unity.
What’s inside the download
*_albedo.png — Base Color (sRGB)*_normal.png — Normal map (Non-Color)*_roughness.png — Roughness (Non-Color)*_metallic.png — Metallic (Non-Color)*_ao.png — Ambient Occlusion (Non-Color)*_height.png — Height / Displacement (Non-Color)*_ORM.png — Packed map (R=AO, G=Roughness, B=Metallic, Non-Color)

Quick start (Node Wrangler, 30 seconds)
- Enable the addon: Edit → Preferences → Add-ons → Node Wrangler.
- Create a material and select the Principled BSDF node.
- Press Ctrl + Shift + T and select the maps
albedo, normal, roughness, metallic (skip height and ORM for now) → Open.
The addon wires Base Color, Normal (with a Normal Map node), Roughness, and Metallic automatically.
- Add AO and Height using the “Manual wiring” steps below (5 and 6).
Manual wiring (full control)
- Create a material (Material Properties → New) and open the Shader Editor.
- Add an Image Texture node for each map. Set Color Space:
- Albedo → sRGB
- AO, Roughness, Metallic, Normal, Height, ORM → Non-Color
- Connect to Principled BSDF:
albedo → Base Colorroughness → Roughnessmetallic → Metallic (for wood this often stays near 0)normal → Normal Map node (Type: Tangent Space) → Normal of Principled.
If details look “inverted”, enable Invert Y on the Normal Map node.
- Ambient Occlusion (AO):
- Add a MixRGB (or Mix Color) node in mode Multiply.
- Input A =
albedo, Input B = ao, Factor = 1.0.
- Output of Mix → Base Color of Principled (replaces the direct albedo connection).
- Height / Displacement:
Cycles — true displacement
- Material Properties → Settings → Displacement: Displacement and Bump.
- Add a Displacement node: connect
height → Height, set Midlevel = 0.5, Scale = 0.02–0.08 (tune to taste).
- Output of Displacement → Material Output → Displacement.
- Add geometry density (e.g., Subdivision Surface) so displacement has polygons to work with.
Eevee (or lightweight Cycles) — bump only
- Add a Bump node:
height → Height.
- Set Strength = 0.2–0.5, Distance = 0.05–0.1, and connect Normal output to Principled’s Normal.
Using the packed ORM texture (optional)
Instead of separate AO/Roughness/Metallic maps you can use the single *_ORM.png:
- Add one Image Texture (Non-Color) → Separate RGB (or Separate Color).
- R (red) → AO (use it in the Multiply node with albedo as above).
- G (green) → Roughness of Principled.
- B (blue) → Metallic of Principled.
UVs & seamless tiling
- These textures are seamless. If your mesh has no UVs, go to UV Editing → Smart UV Project.
- For scale/repeat, add Texture Coordinate (UV) → Mapping and plug it into all texture nodes.
Increase Mapping → Scale (e.g., 2/2/2) to tile more densely.
Recommended starter values
- Normal Map Strength: 0.5–1.0
- Bump Strength: ~0.3
- Displacement Scale (Cycles): ~0.03
Common pitfalls
- Wrong Color Space (normals/roughness/etc. must be Non-Color).
- “Inverted” details → enable Invert Y on the Normal Map node.
- Over-strong relief → lower Displacement Scale or Bump Strength.
Example: Download Wood Textures and instantly apply parquet or rustic planks inside Blender for architectural visualization.
To add the downloaded texture, go to Add — Texture — Image Texture.

Add a node and click the Open button.

Select the required texture on your hard drive and connect Color to Base Color.

