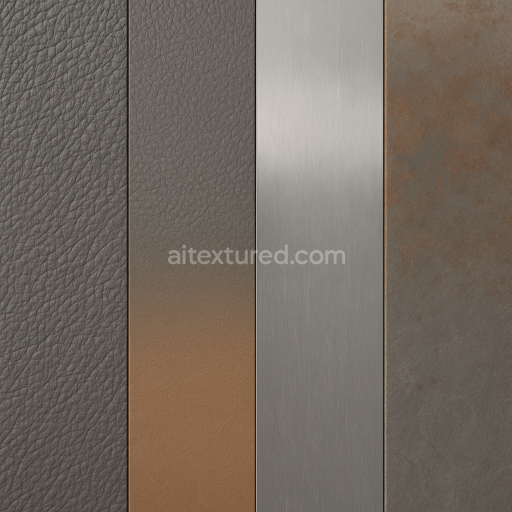
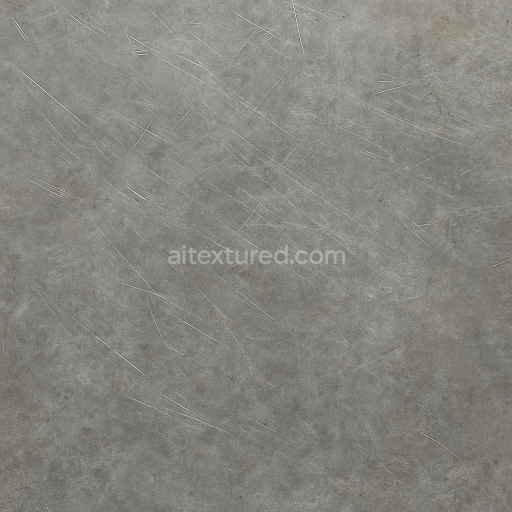
Pebbled Leather Surface With Embossed Leather Detail
Seamless texture (tileable) · PNG, WEBP, PBR ZIP. License: AITextured Free Commercial License (FCL) v1.1. Free personal and commercial use. Raw resale, standalone redistribution, mirroring/scraping, competing asset packs, and AI/ML training are not allowed without written permission. Attribution is not required, but appreciated..

| ID | seamless-3d-texture-pbr-8k-woven-textile-surface-with-dense-fabric-and-wrinkled-fabric-details |
|---|---|
| Category | Surfaces, smooth, rough |
| Formats | PNG, WEBP, PBR ZIP |
| Size | 1k (1024x1024px), 2k (2048x2048px), 4k (4096x4096px), 8k (8192x8192px) |
| Color | sRGB |
| Tileable | Yes |
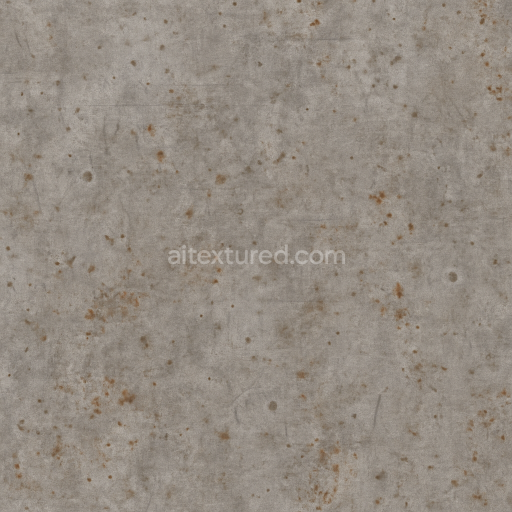
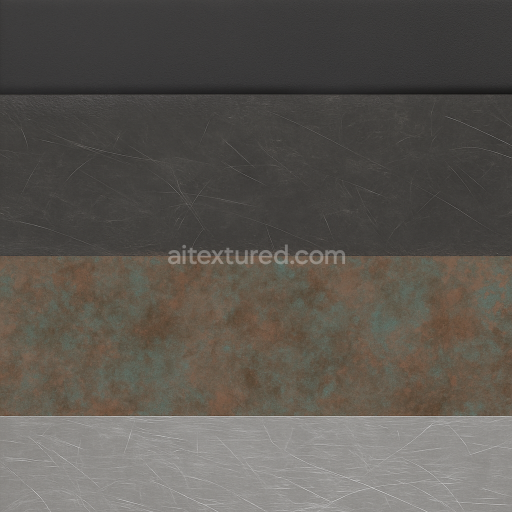
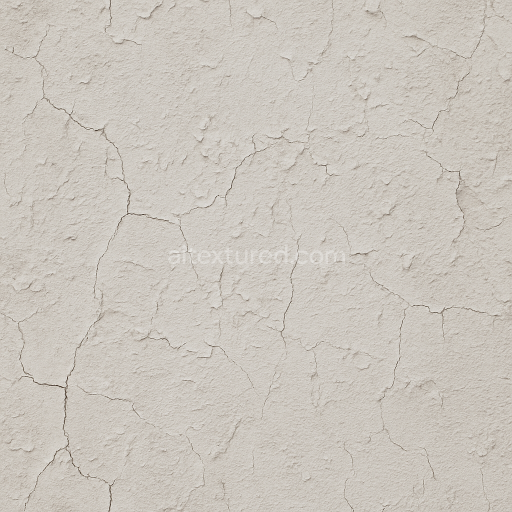
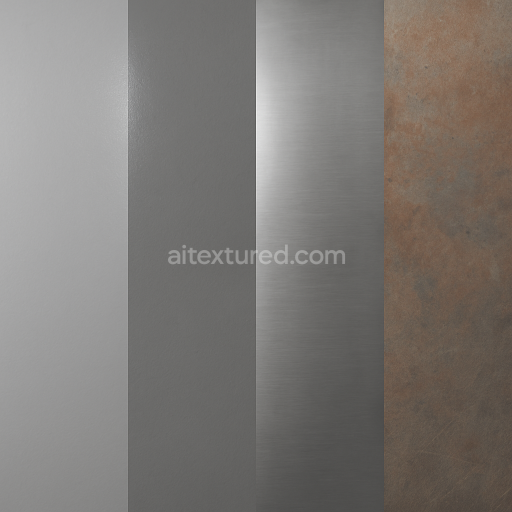
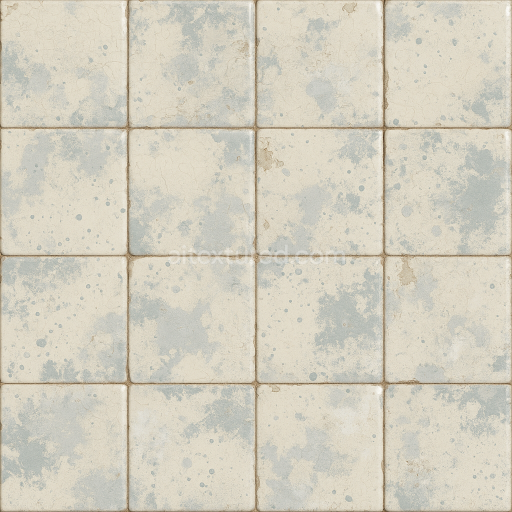
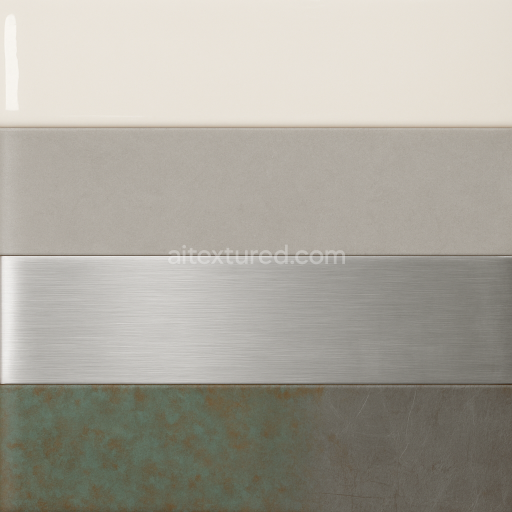
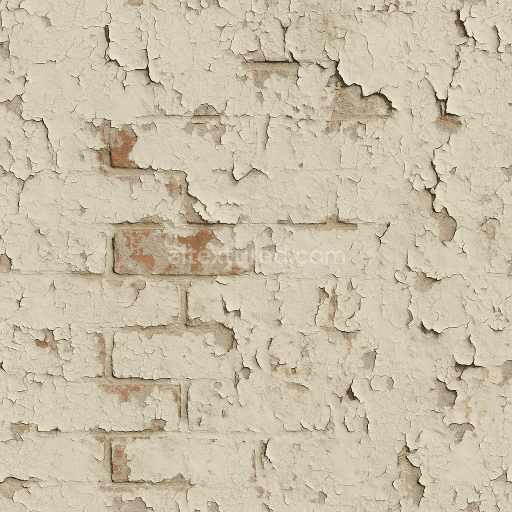
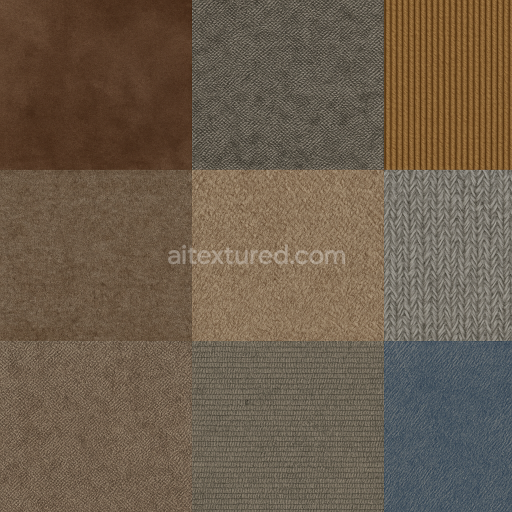
This seamless 3D texture showcases a meticulously crafted woven textile surface combining dense fabric composition with intricate wrinkled and worn fabric details to deliver outstanding realism. The base material mimics high-quality natural fibers interlaced tightly to create a robust organic substrate resembling premium cotton or linen textiles. Subtle distressed denim influences add character with visible fiber grain orientation and natural wear patterns enhanced by fine dust and smudge effects. The surface finish evokes a slightly matte tactile feel with soft fabric creases reflecting realistic porosity and wear signs commonly seen in frequently used upholstery or character clothing materials.
Rendered in 8K resolution this PBR texture set is fully optimized for seamless tiling and high fidelity across all channels. The BaseColor/Albedo captures the nuanced color variations caused by natural dyes and pigment dispersal within the woven strands while the Normal map emphasizes the detailed fiber weave and subtle wrinkles that give depth and dimension. Roughness maps control the fabric’s soft matte finish with varied zones of light absorption and the Metallic channel remains minimal faithfully representing the organic non-metallic nature of the fibers. Ambient Occlusion enhances shadowing within the weave intersections and creases and the Height/Displacement channel provides precise elevation data to simulate the fabric’s raised texture and worn folds with convincing parallax effects.
Designed for seamless integration in Blender Unreal Engine and Unity this texture is ideal for fashion design upholstery visualization and high-detail 3D character clothing requiring natural wear signs and authentic fabric surfaces. For best results adjust UV scale to maintain realistic fiber density and fine-tune roughness values to match the desired level of fabric softness or weathering. The height map can be leveraged to enhance parallax effects in real-time engines adding a tactile quality that significantly boosts visual immersion.
Import the texture maps into Blender with sRGB color space for albedo/base color and Non-Color for normal, roughness, metallic, AO, height, and ORM maps. Connect normal maps through a Normal Map node, then adjust UV scale with a Mapping node so the material repeats naturally on your model.
For the full step-by-step setup, see How to Use Seamless Textures in Blender. Browse related material examples in wood, concrete, and metal.
Yes. This texture is designed as a seamless tileable PBR material, so it can repeat across large surfaces without visible borders.
You can download PNG/WEBP versions and use 1K, 2K, 4K and 8K download options when available on the page.
Yes. The download options and engine-mapped ZIP workflow are designed for Blender, Unreal Engine, Unity Standard, URP and HDRP material pipelines.
Yes. The texture is available under the AITextured free commercial license. Review the license page for redistribution and AI-training restrictions.

Build, preview, and export seamless PBR materials. Generate full map sets from a single image, inspect them in a real-time WebGL viewer, and re-package maps for Unreal, Unity, and Blender—directly in your browser.
AI text-to-texture: type a prompt and get a seamless, tileable base image ready for PBR workflows (great starting point for materials).
Create a full PBR set (Normal, Roughness, AO, Metallic, etc.) from a single image. Seamless and tiling-friendly.
Instant WebGL viewer: inspect materials on a sphere, plane, and cube. Check tiling and lighting in real time.
Re-packages maps per engine: Unreal (BaseColor + ORM), Unity (Mask/MetallicSmoothness), Blender (separate channels).
PNG ↔ JPG ↔ SVG: fast convert, SVG rasterize, embed/trace options, quality & background controls.