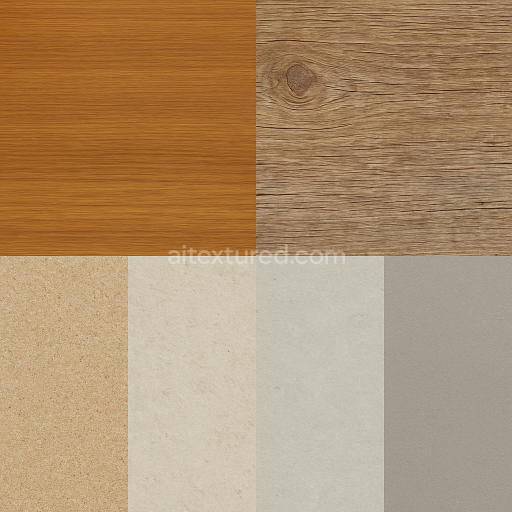
Polished Wood Surface With Varnished Wood And Knotted Wood Grain
Seamless texture (tileable) · PNG, WEBP, PBR ZIP. License: AITextured Free Commercial License (FCL) v1.1. Free personal and commercial use. Raw resale, standalone redistribution, mirroring/scraping, competing asset packs, and AI/ML training are not allowed without written permission. Attribution is not required, but appreciated..

| ID | seamless-3d-texture-pbr-8k-oxidized-copper-surface-with-aged-patina |
|---|---|
| Category | Surfaces, smooth, rough |
| Formats | PNG, WEBP, PBR ZIP |
| Size | 1k (1024x1024px), 2k (2048x2048px), 4k (4096x4096px), 8k (8192x8192px) |
| Color | sRGB |
| Tileable | Yes |
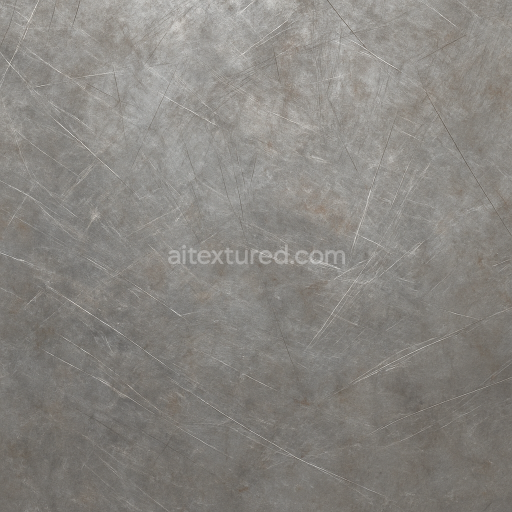
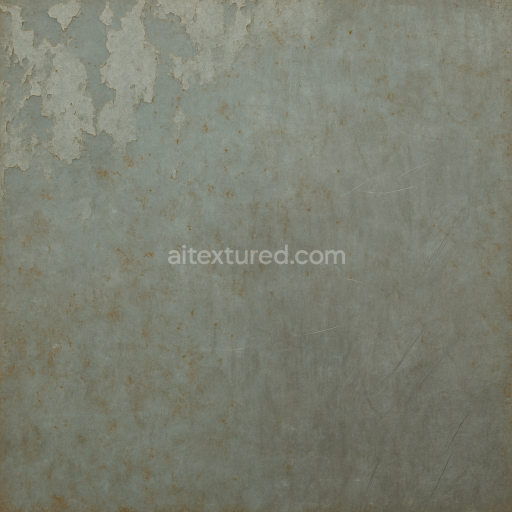
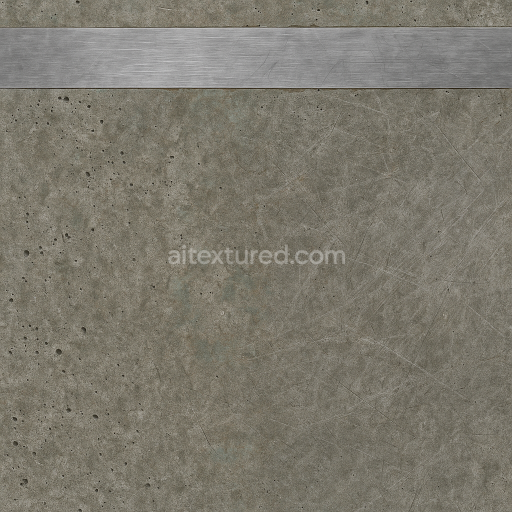
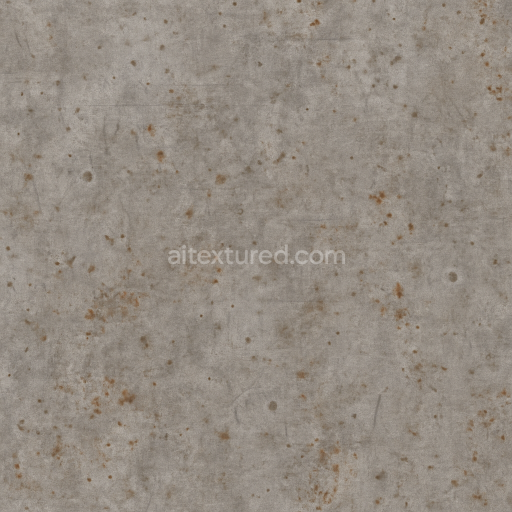
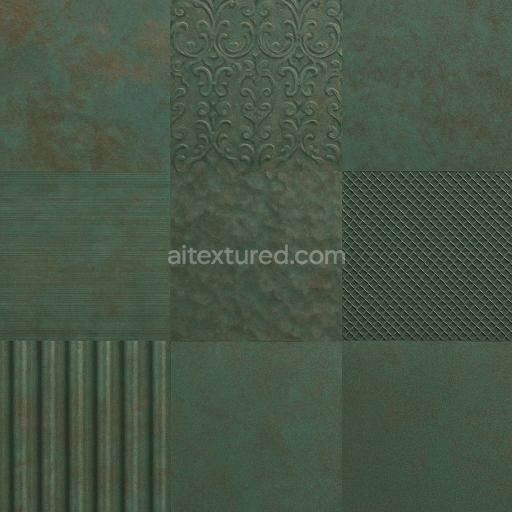
This seamless 3D texture presents an oxidized copper surface rendered in stunning 8K resolution capturing the intricate details of aged metal with unparalleled realism. The base material simulates a copper substrate that has undergone extensive weathering resulting in a complex interplay of greenish patina rust stains and oxidation spots. These naturally occurring discolorations and corrosion effects are faithfully recreated through advanced PBR workflows emphasizing the tactile roughness and subtle variations in the metal’s surface finish. The texture reflects an authentic weathered look typical of historic architectural elements and aged artifacts where prolonged exposure to environmental factors has altered the metal’s appearance and chemical composition. The surface finish is distinctly oxidized featuring a balance of metallic sheen and matte corrosion that highlights the layered oxide films and mineral deposits formed over time.
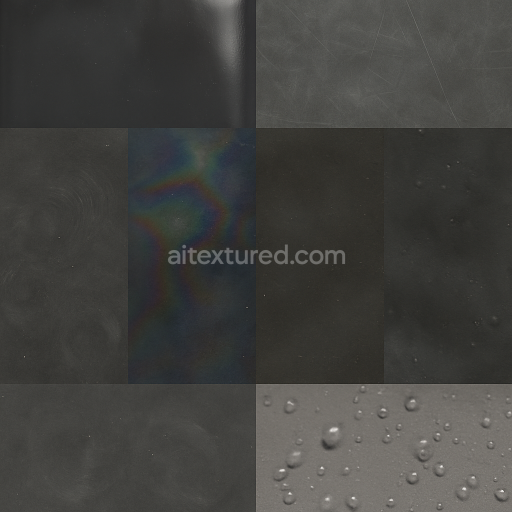
In terms of material composition the texture mimics the layered structure of oxidized copper where the base metal’s reddish-orange hues are overlaid with green copper carbonate patina and sporadic rust-colored iron oxide deposits. The porosity and micro-roughness are evident in the Normal and Height maps providing fine-grain surface irregularities and subtle depth variations that enhance realism in close-up renders. The BaseColor/Albedo channel displays the carefully blended pigments of copper oxides and corrosion byproducts while the Metallic channel retains the metal’s conductive properties in unoxidized areas. Roughness maps highlight the contrast between polished copper remnants and the coarse weathered patches of patina. Ambient Occlusion adds shadow depth to crevices formed by corrosion ensuring the texture integrates naturally into 3D scenes with complex lighting. This 8K texture is fully optimized and Unreal Blender-ready and compatible with Unity making it ideal for high-fidelity environmental effects and detailed architectural visualization.
For practical use it is recommended to adjust the UV scale to maintain the fine details of rust stains and oxidation spots as enlarging the texture too much may reduce the visual impact of subtle corrosion patterns. Additionally fine-tuning the roughness parameter can help balance the reflective qualities depending on lighting conditions allowing for either a more pronounced metallic gleam or a muted matte aged effect. This seamless PBR texture tile enables continuous texturing without visible seams or pattern breaks ensuring smooth and realistic coverage on large surfaces. Its high resolution and physically accurate material channels make it an excellent choice for artists and developers seeking to reproduce authentic weathered copper surfaces in their 3D projects.
Import the texture maps into Blender with sRGB color space for albedo/base color and Non-Color for normal, roughness, metallic, AO, height, and ORM maps. Connect normal maps through a Normal Map node, then adjust UV scale with a Mapping node so the material repeats naturally on your model.
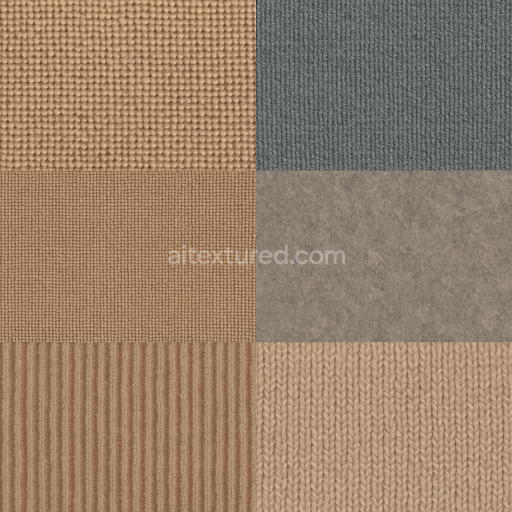
For the full step-by-step setup, see How to Use Seamless Textures in Blender. Browse related material examples in wood, concrete, and metal.
Yes. This texture is designed as a seamless tileable PBR material, so it can repeat across large surfaces without visible borders.
You can download PNG/WEBP versions and use 1K, 2K, 4K and 8K download options when available on the page.
Yes. The download options and engine-mapped ZIP workflow are designed for Blender, Unreal Engine, Unity Standard, URP and HDRP material pipelines.
Yes. The texture is available under the AITextured free commercial license. Review the license page for redistribution and AI-training restrictions.

Build, preview, and export seamless PBR materials. Generate full map sets from a single image, inspect them in a real-time WebGL viewer, and re-package maps for Unreal, Unity, and Blender—directly in your browser.
AI text-to-texture: type a prompt and get a seamless, tileable base image ready for PBR workflows (great starting point for materials).
Create a full PBR set (Normal, Roughness, AO, Metallic, etc.) from a single image. Seamless and tiling-friendly.
Instant WebGL viewer: inspect materials on a sphere, plane, and cube. Check tiling and lighting in real time.
Re-packages maps per engine: Unreal (BaseColor + ORM), Unity (Mask/MetallicSmoothness), Blender (separate channels).
PNG ↔ JPG ↔ SVG: fast convert, SVG rasterize, embed/trace options, quality & background controls.