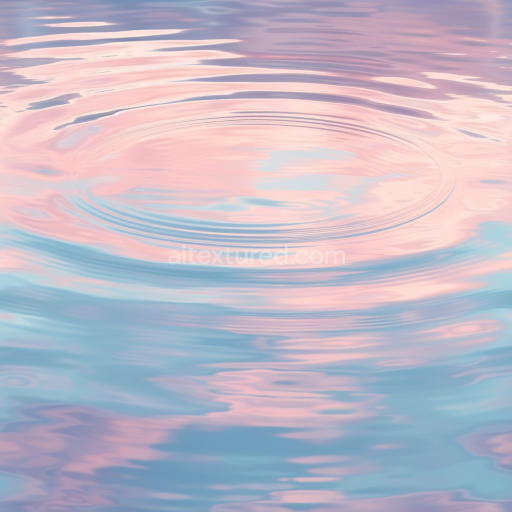
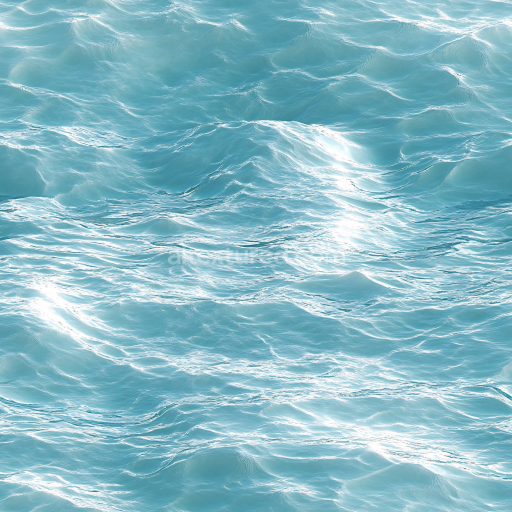
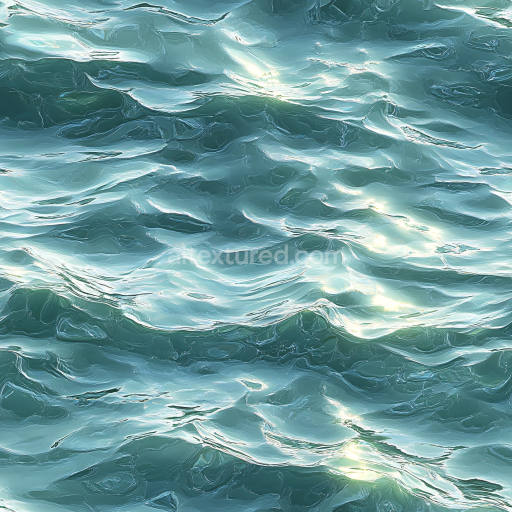
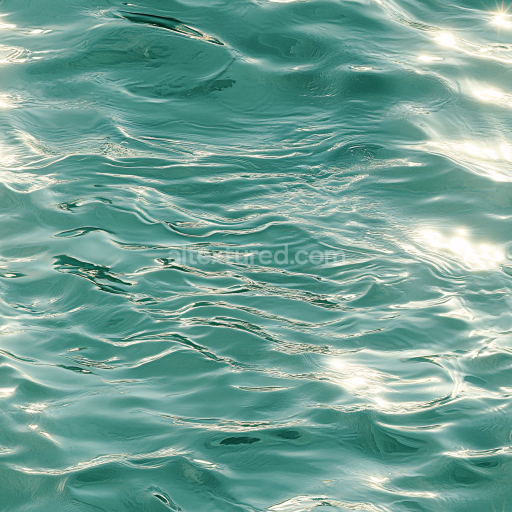
Water PBR Texture Featuring Subtle Ripples and Pastel Sky Reflections
Seamless texture (tileable) · PNG, WEBP, PBR ZIP. License: AITextured Free Commercial License (FCL) v1.1. Free personal and commercial use. Raw resale, standalone redistribution, mirroring/scraping, competing asset packs, and AI/ML training are not allowed without written permission. Attribution is not required, but appreciated..

| ID | realistic-raindrop-seamless-texture |
|---|---|
| Category | Water |
| Formats | PNG, WEBP, PBR ZIP |
| Size | 1k (1024x1024px), 2k (2048x2048px), 4k (4096x4096px), 8k (8192x8192px) |
| Color | sRGB |
| Tileable | Yes |
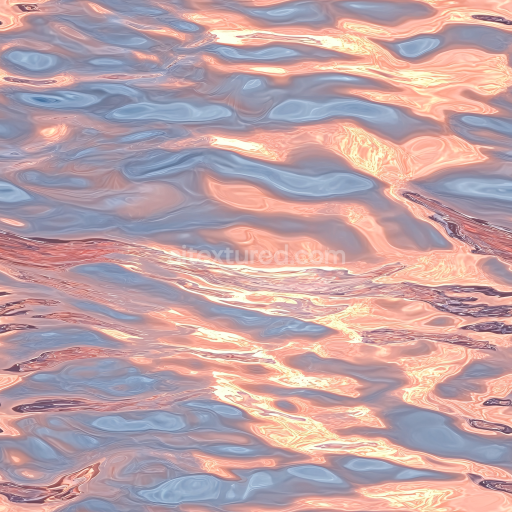
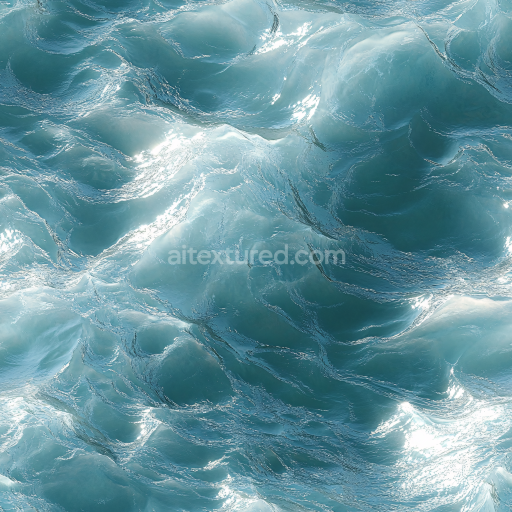
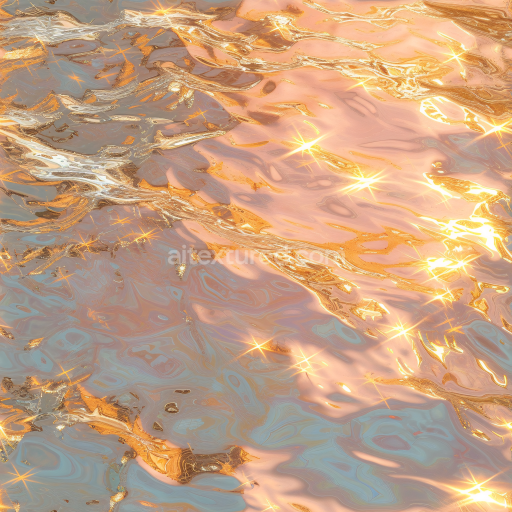
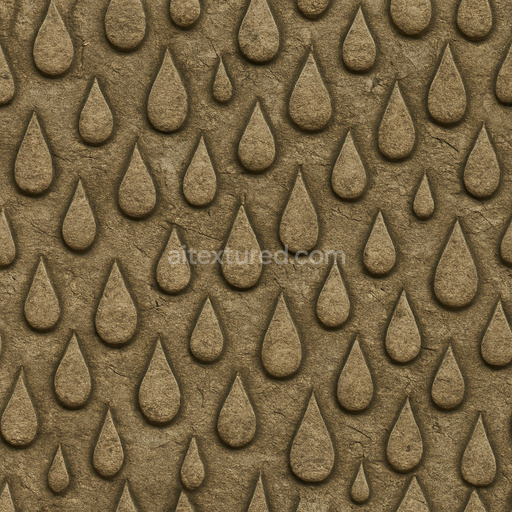
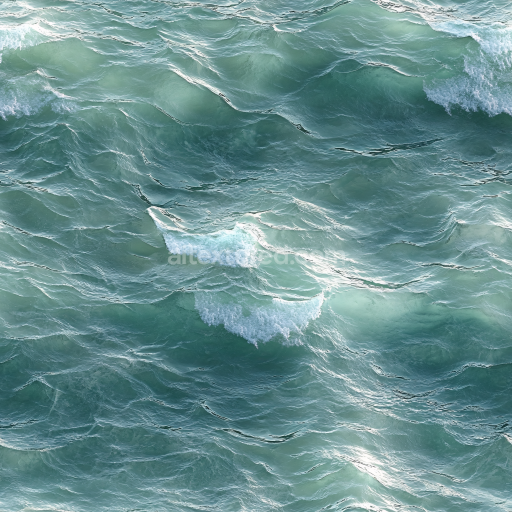
The Realistic Raindrop Seamless Texture is a meticulously designed tileable water texture that captures the subtle complexity of raindrops resting on a smooth surface. This texture simulates the interaction of water droplets with a polished non-porous substrate reminiscent of glass or sleek metal where surface tension and light refraction create distinct highlights and soft shadows. The composition emphasizes a clear base material free of coarse aggregates with fine-scale surface irregularities that convey natural wetness and micro-texture. The binders and adhesives are implied through the seamless layering of droplets while the overall finish reads as glossy and reflective enhancing the realism of each raindrop. Colorants are minimal focusing on neutral transparency and slight diffusion effects allowing the underlying material tone to subtly influence the BaseColor and Albedo channels.
In terms of PBR channel representation the BaseColor/Albedo captures the soft interplay of light and shadow beneath transparent water droplets maintaining clarity without overpowering color shifts. The Normal map introduces gentle surface undulations corresponding to droplet edges providing crisp detail that enhances light interaction and depth perception. Roughness values are carefully balanced to reflect a mostly smooth wet surface with controlled micro-roughness that prevents overly sharp reflections while preserving a natural believable look. The Metallic channel remains low or neutral aligning with the organic water material rather than metallic surfaces. Ambient Occlusion subtly darkens crevices where droplets meet the base augmenting depth and cohesion. Height or Displacement maps can amplify droplet volume when used in parallax or tessellation workflows delivering enhanced 3D realism in real-time scenes or cinematic renders.
Produced at a high resolution up to 8K this AI-generated texture is optimized for modern 3D pipelines and is fully compatible with Blender Unreal Engine and Unity. Its seamless tiling ensures consistent repeatable results across large UV islands making it ideal for level dressing material studies and any project requiring detailed water textures with natural surface breakup. For best results it is recommended to adjust the UV scale to match droplet size realistically relative to your scene and to fine-tune the roughness channel to balance glossiness according to lighting conditions. Combining this texture with a subtle Ambient Occlusion pass and a light Normal overlay will enhance surface breakup without oversharpening providing a polished yet organic finish suitable for both real-time applications and high-fidelity renders.
This tileable realistic raindrop seamless texture offers a highly detailed PBR texture realistic raindrop seamless texture with a natural PBR appearance allowing for an accurate 3D preview in various material applications.
Import the texture maps into Blender with sRGB color space for albedo/base color and Non-Color for normal, roughness, metallic, AO, height, and ORM maps. Connect normal maps through a Normal Map node, then adjust UV scale with a Mapping node so the material repeats naturally on your model.
For the full step-by-step setup, see How to Use Seamless Textures in Blender. Browse related material examples in wood, concrete, and metal.
Yes. This texture is designed as a seamless tileable PBR material, so it can repeat across large surfaces without visible borders.
You can download PNG/WEBP versions and use 1K, 2K, 4K and 8K download options when available on the page.
Yes. The download options and engine-mapped ZIP workflow are designed for Blender, Unreal Engine, Unity Standard, URP and HDRP material pipelines.
Yes. The texture is available under the AITextured free commercial license. Review the license page for redistribution and AI-training restrictions.
Build, preview, and export seamless PBR materials. Generate full map sets from a single image, inspect them in a real-time WebGL viewer, and re-package maps for Unreal, Unity, and Blender—directly in your browser.
AI text-to-texture: type a prompt and get a seamless, tileable base image ready for PBR workflows (great starting point for materials).
Create a full PBR set (Normal, Roughness, AO, Metallic, etc.) from a single image. Seamless and tiling-friendly.
Instant WebGL viewer: inspect materials on a sphere, plane, and cube. Check tiling and lighting in real time.
Re-packages maps per engine: Unreal (BaseColor + ORM), Unity (Mask/MetallicSmoothness), Blender (separate channels).
PNG ↔ JPG ↔ SVG: fast convert, SVG rasterize, embed/trace options, quality & background controls.