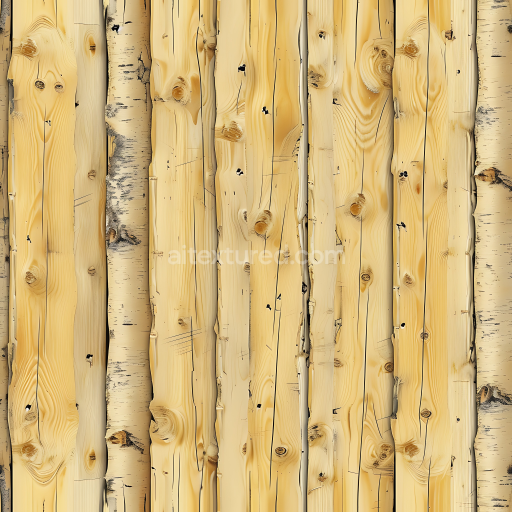
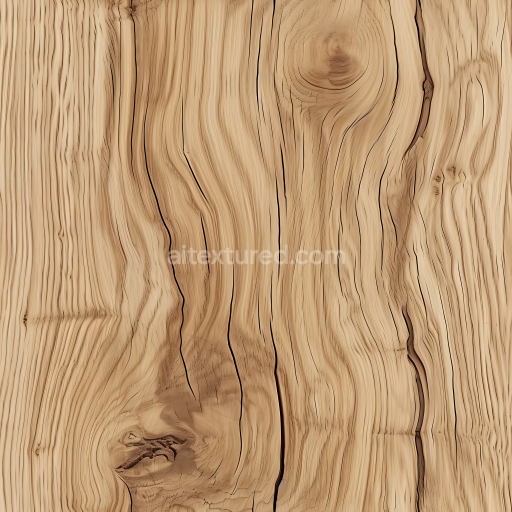
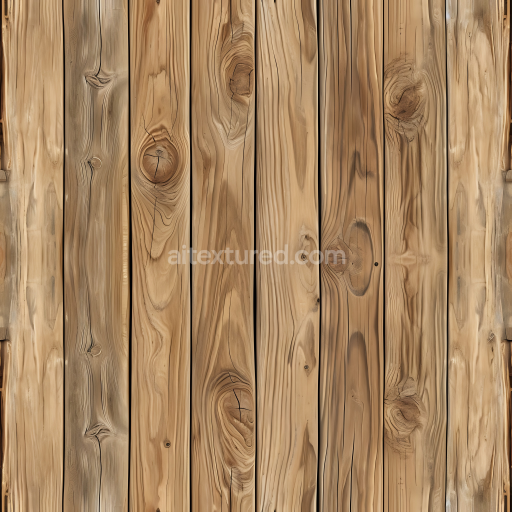
Pine Wood Planks Texture Featuring Natural Knots and Light Grain
Seamless texture (tileable) · PNG, WEBP, PBR ZIP. License: AITextured Free Commercial License (FCL) v1.1. Free personal and commercial use. Raw resale, standalone redistribution, mirroring/scraping, competing asset packs, and AI/ML training are not allowed without written permission. Attribution is not required, but appreciated..

| ID | weathered-maple-texture-seamless |
|---|---|
| Category | Wood |
| Formats | PNG, WEBP, PBR ZIP |
| Size | 1k (1024x1024px), 2k (2048x2048px), 4k (4096x4096px), 8k (8192x8192px) |
| Color | sRGB |
| Tileable | Yes |
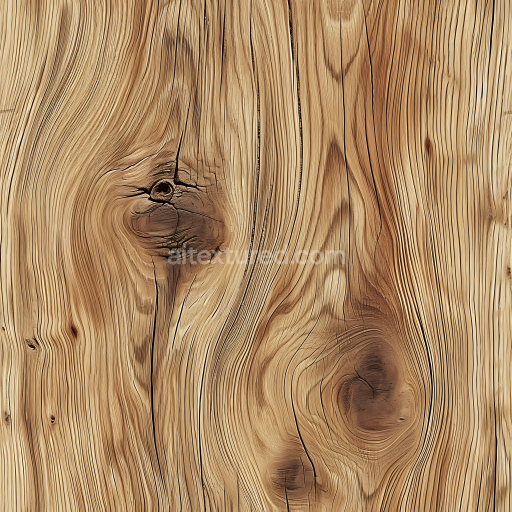
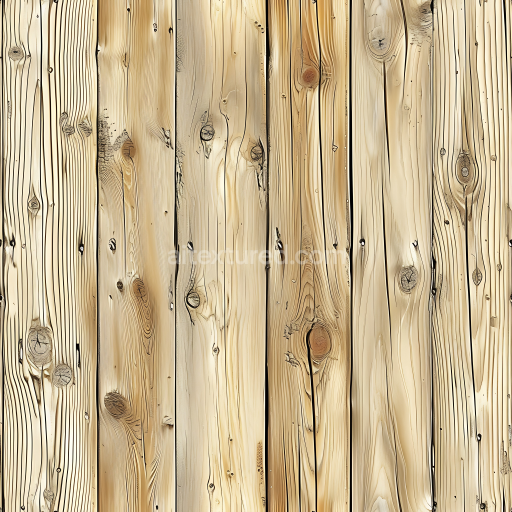
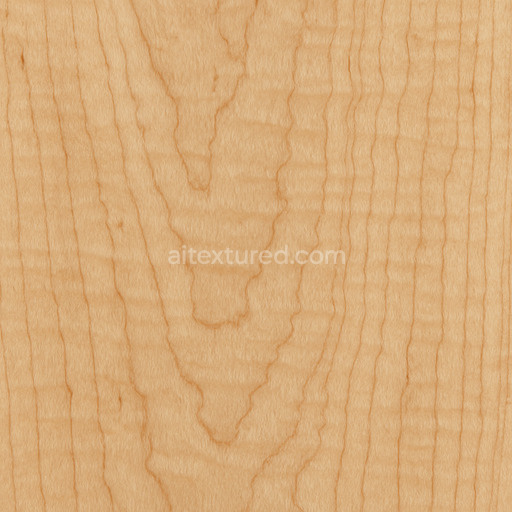
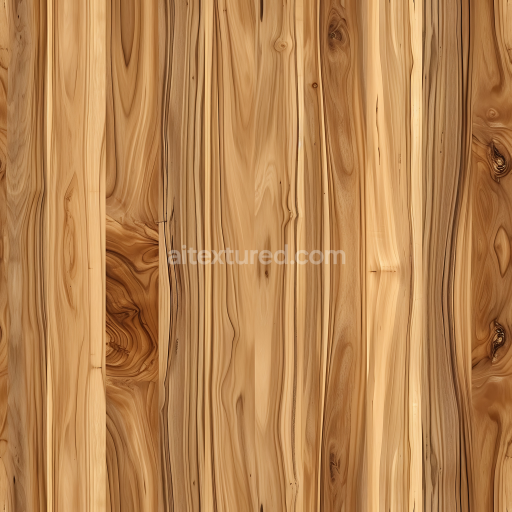
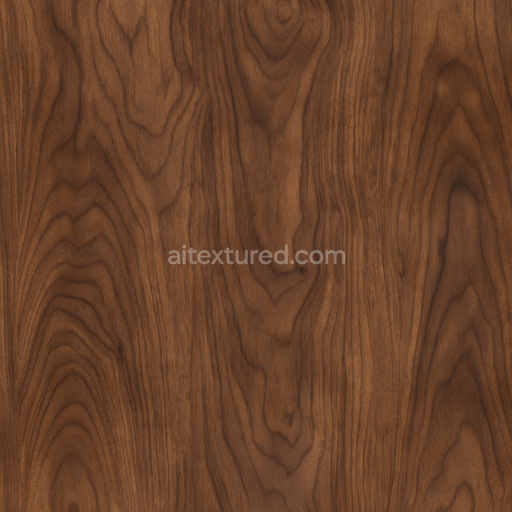
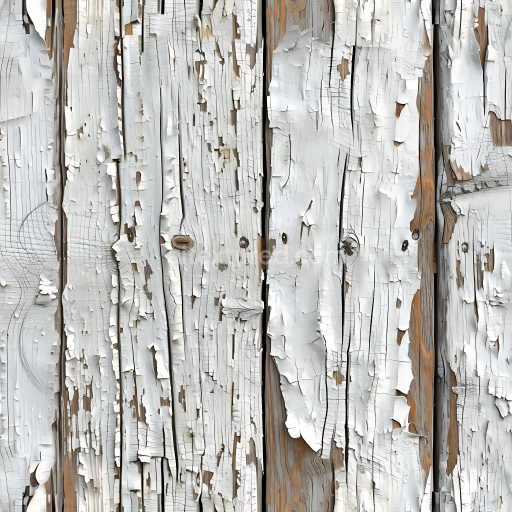
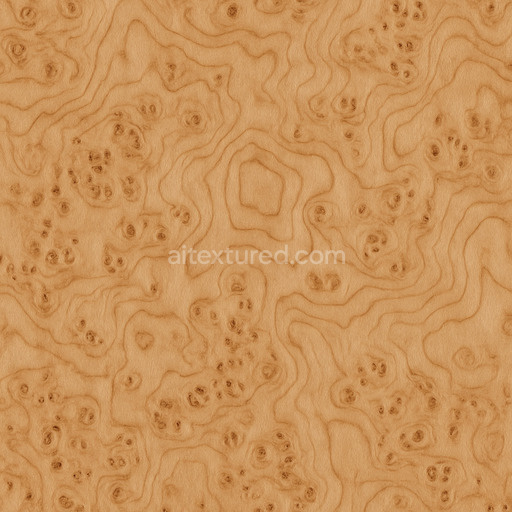
The Weathered Maple Texture Seamless high resolution up to 8K is an expertly generated wood texture crafted to authentically replicate the natural aging and weathering process of maple timber. The base substrate consists of pure wood showcasing a slightly roughened surface finish that reveals subtle signs of gentle wear and oxidation typical of prolonged outdoor exposure. This seamless weathered maple texture captures the organic grain orientation and natural porosity unique to aged maple reflecting years of environmental elements such as sun rain and wind. Its refined color palette features warm muted tans and soft browns interspersed with gentle grayish tones created by natural pigments and oxide layers that deepen the authentic weathered look. These complex material characteristics are meticulously embedded into the texture’s PBR channels for maximum realism and versatility in 3D applications.
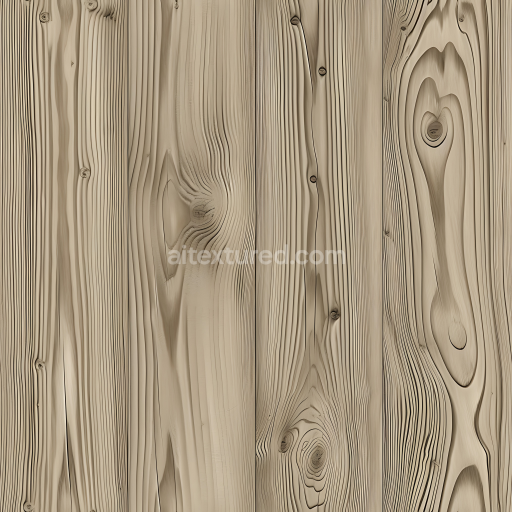
In the PBR workflow the BaseColor (Albedo) channel presents nuanced color variations and pigment distribution faithfully conveying the subtle weathering and organic grain patterns. The Normal map enhances the fine grain structure and surface undulations providing tactile depth and surface detail. Roughness values reflect the slightly matte worn finish ensuring realistic light scattering and diffuse reflections typical of natural wood surfaces aged by exposure. Metallic values remain minimal consistent with wood’s non-metallic nature while the Ambient Occlusion channel emphasizes crevices and grain depth adding dimensionality and visual richness. Additionally the Height/Displacement channel introduces subtle depth cues enhancing the sense of realism in 3D environments by simulating surface irregularities and weathered texture relief.
Rendered at an impressive resolution up to 8k this tileable weathered maple texture seamless high resolution up to 8K guarantees exceptional clarity and detail even on large UV islands making it ideal for modern 3D pipelines including Blender Unreal Engine and Unity. Its seamless tiling ensures smooth continuous surfaces without visible edges or repetitive artifacts perfect for architectural visualization environment art and concept prototyping. For best results users are advised to carefully adjust the roughness and normal map intensity to match specific lighting conditions enhancing the tactile feel and authenticity of the weathered wood surface. Proper UV scaling is also recommended to preserve the fine grain detail and maintain the natural aged appearance of the maple texture throughout various applications. This texture weathered maple texture seamless high resolution up to 8K offers a versatile high-quality 3D preview and a reliable resource for realistic wood textures in any professional workflow.
Import the texture maps into Blender with sRGB color space for albedo/base color and Non-Color for normal, roughness, metallic, AO, height, and ORM maps. Connect normal maps through a Normal Map node, then adjust UV scale with a Mapping node so the material repeats naturally on your model.
For the full step-by-step setup, see How to Use Seamless Textures in Blender. Browse related material examples in wood, concrete, and metal.
Yes. This texture is designed as a seamless tileable PBR material, so it can repeat across large surfaces without visible borders.
You can download PNG/WEBP versions and use 1K, 2K, 4K and 8K download options when available on the page.
Yes. The download options and engine-mapped ZIP workflow are designed for Blender, Unreal Engine, Unity Standard, URP and HDRP material pipelines.
Yes. The texture is available under the AITextured free commercial license. Review the license page for redistribution and AI-training restrictions.
Generate, preview, and export seamless PBR materials for Blender, Unity, and Unreal Engine—directly in your browser.
AI text-to-texture: type a prompt and get a seamless, tileable base image ready for PBR workflows (great starting point for materials).
Create a full PBR set (Normal, Roughness, AO, Metallic, etc.) from a single image. Seamless and tiling-friendly.
Instant WebGL viewer: inspect materials on a sphere, plane, and cube. Check tiling and lighting in real time.
Re-packages maps per engine: Unreal (BaseColor + ORM), Unity (Mask/MetallicSmoothness), Blender (separate channels).
PNG ↔ JPG ↔ SVG: fast convert, SVG rasterize, embed/trace options, quality & background controls.