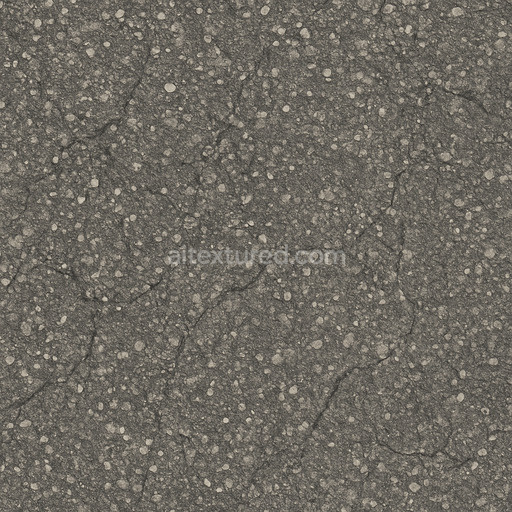
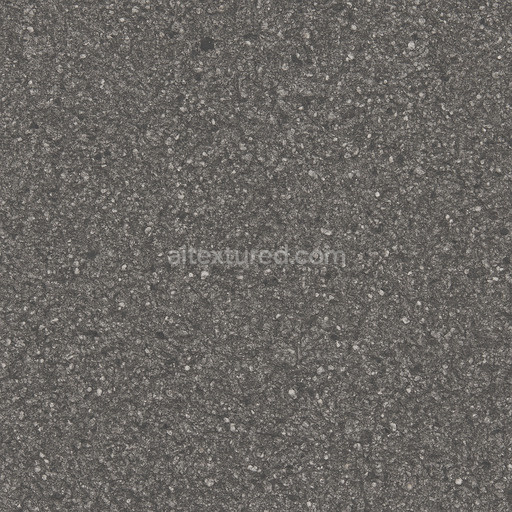
Natural Fresh Asphalt Seamless Texture
Seamless texture (tileable) · PNG, WEBP, PBR ZIP. License: AITextured Free Commercial License (FCL) v1.1. Free personal and commercial use. Raw resale, standalone redistribution, mirroring/scraping, competing asset packs, and AI/ML training are not allowed without written permission. Attribution is not required, but appreciated..

| ID | aged-fresh-asphalt-texture-seamless |
|---|---|
| Category | Asphalt |
| Formats | PNG, WEBP, PBR ZIP |
| Size | 1k (1024x1024px), 2k (2048x2048px), 4k (4096x4096px), 8k (8192x8192px) |
| Color | sRGB |
| Tileable | Yes |
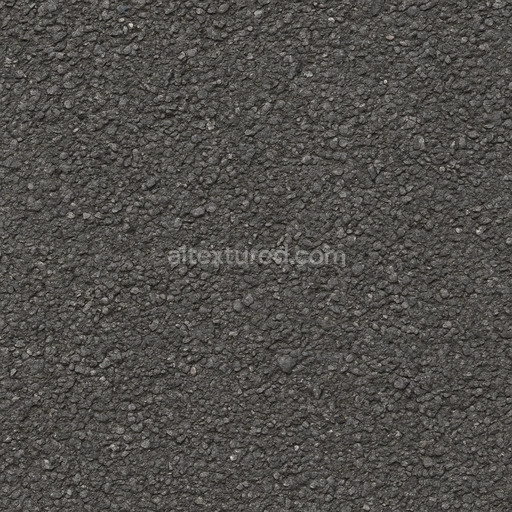
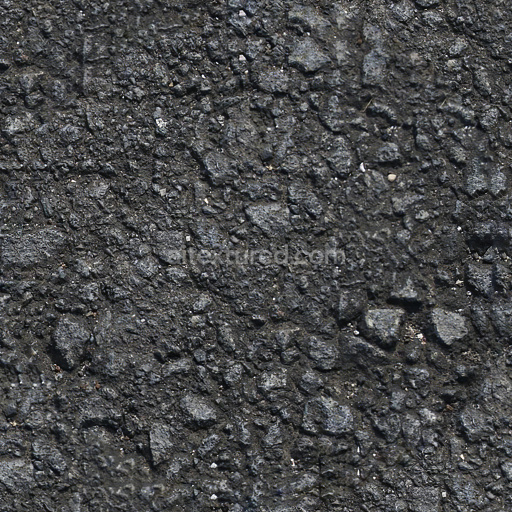
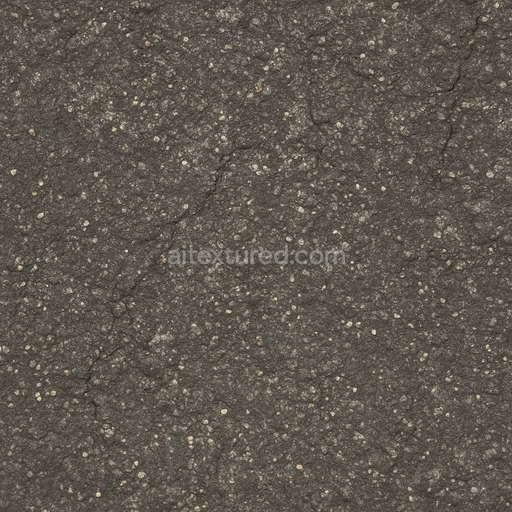
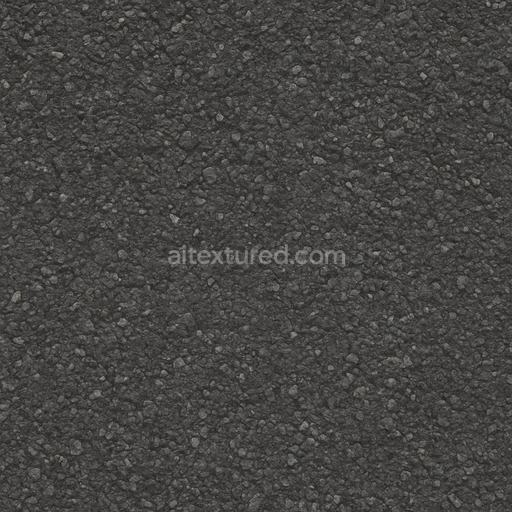
This seamless aged fresh asphalt texture high resolution up to 8K intricately replicates the complex makeup and weathered essence of authentic asphalt surfaces with exceptional detail and realism. The foundational substrate primarily consists of densely compacted mineral aggregates predominantly quartz and basalt tightly bound by bituminous adhesives. This combination forms a robust yet subtly porous matrix that has naturally developed fine wear patterns micro-cracks and slight fissures due to prolonged environmental exposure. The surface features a balanced interplay of fine mineral grains dark organic binders and sporadic deposits of oxidized iron oxide pigments that enrich the texture’s natural tonal variation and depth clearly visible in the BaseColor/Albedo channel. The finish presents a matte to semi-rough appearance characteristic of asphalt that has retained fresh material qualities while showing consistent signs of aging and weathering over time.
In the accompanying PBR maps this tileable aged fresh asphalt texture seamless high resolution up to 8K offers comprehensive detail to enhance 3D realism. The Normal and Height/Displacement maps capture the subtle topological variations including aggregate protrusions and surface roughness that accurately mimic real-world asphalt’s uneven surface. The Roughness channel finely controls how light interacts with the surface providing a nuanced reflectivity that avoids excessive glossiness but maintains a natural semi-matte sheen. The Ambient Occlusion map amplifies the micro shadows cast by surface imperfections adding depth and dimensionality to renders. Meanwhile the Metallic channel remains minimal to reflect asphalt’s inherently non-metallic nature ensuring physically accurate results in rendering engines such as Blender Unreal Engine and Unity. This high resolution up to 8K is optimized for seamless tiling enabling users to apply it over large areas without visible repetition or seams which is essential for architectural visualization environment art and concept prototyping.
Created with generated precision this PBR material aged fresh asphalt texture seamless high resolution up to 8K balances crisp detail and controlled noise for a believable and natural surface appearance. The included 3D preview allows users to evaluate the material’s PBR characteristics accurately before integration. For best results when using this seamless aged fresh asphalt texture seamless high resolution up to 8K adjusting the UV scale can help tailor the apparent grain size and aggregate distribution to fit specific project needs while fine-tuning the roughness values according to your scene’s lighting will ensure the asphalt surface integrates realistically within any digital environment. This careful attention to material properties and channel data makes this texture a versatile high-quality asset for diverse 3D applications.
Import the texture maps into Blender with sRGB color space for albedo/base color and Non-Color for normal, roughness, metallic, AO, height, and ORM maps. Connect normal maps through a Normal Map node, then adjust UV scale with a Mapping node so the material repeats naturally on your model.
For the full step-by-step setup, see How to Use Seamless Textures in Blender. Browse related material examples in wood, concrete, and metal.
Yes. This texture is designed as a seamless tileable PBR material, so it can repeat across large surfaces without visible borders.
You can download PNG/WEBP versions and use 1K, 2K, 4K and 8K download options when available on the page.
Yes. The download options and engine-mapped ZIP workflow are designed for Blender, Unreal Engine, Unity Standard, URP and HDRP material pipelines.
Yes. The texture is available under the AITextured free commercial license. Review the license page for redistribution and AI-training restrictions.
Generate, preview, and export seamless PBR materials for Blender, Unity, and Unreal Engine—directly in your browser.
AI text-to-texture: type a prompt and get a seamless, tileable base image ready for PBR workflows (great starting point for materials).
Create a full PBR set (Normal, Roughness, AO, Metallic, etc.) from a single image. Seamless and tiling-friendly.
Instant WebGL viewer: inspect materials on a sphere, plane, and cube. Check tiling and lighting in real time.
Re-packages maps per engine: Unreal (BaseColor + ORM), Unity (Mask/MetallicSmoothness), Blender (separate channels).
PNG ↔ JPG ↔ SVG: fast convert, SVG rasterize, embed/trace options, quality & background controls.