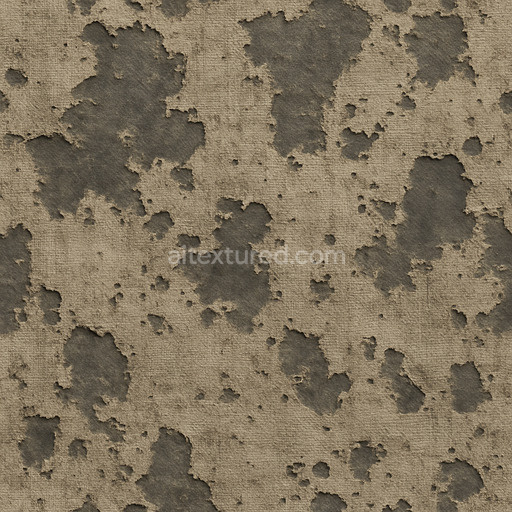
Industrial Stone Seamless Texture
Seamless texture (tileable) · PNG, WEBP, PBR ZIP. License: AITextured Free Commercial License (FCL) v1.1. Free personal and commercial use. Raw resale, standalone redistribution, mirroring/scraping, competing asset packs, and AI/ML training are not allowed without written permission. Attribution is not required, but appreciated..

| ID | stylized-straw-seamless-texture |
|---|---|
| Category | Basic-materials |
| Formats | PNG, WEBP, PBR ZIP |
| Size | 1k (1024x1024px), 2k (2048x2048px), 4k (4096x4096px), 8k (8192x8192px) |
| Color | sRGB |
| Tileable | Yes |
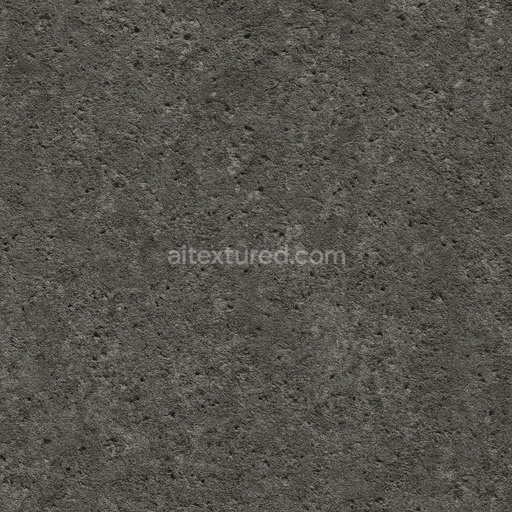
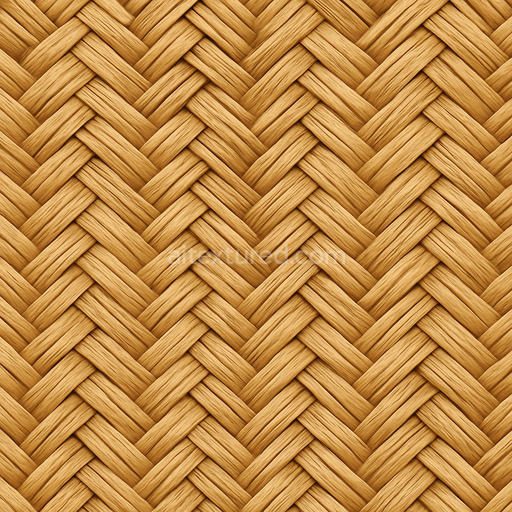
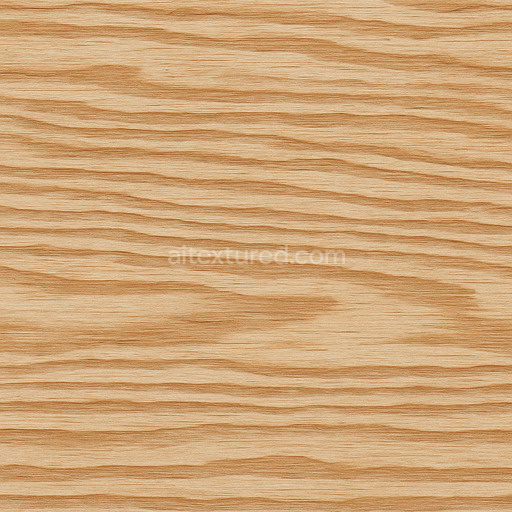
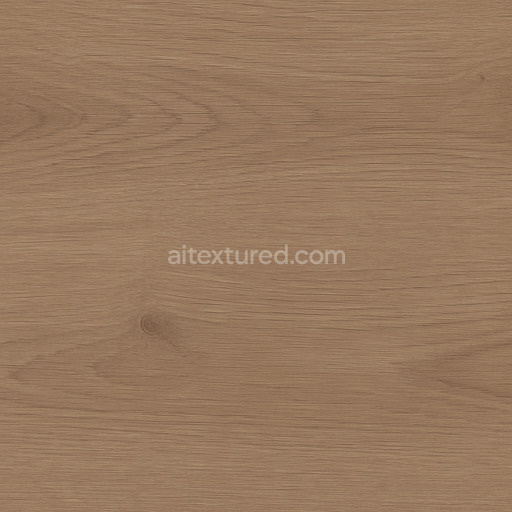
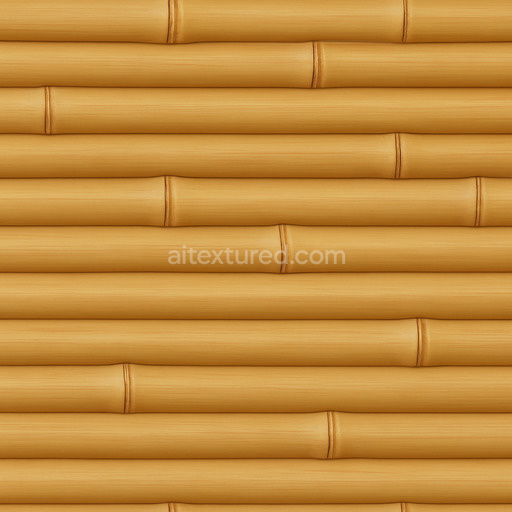
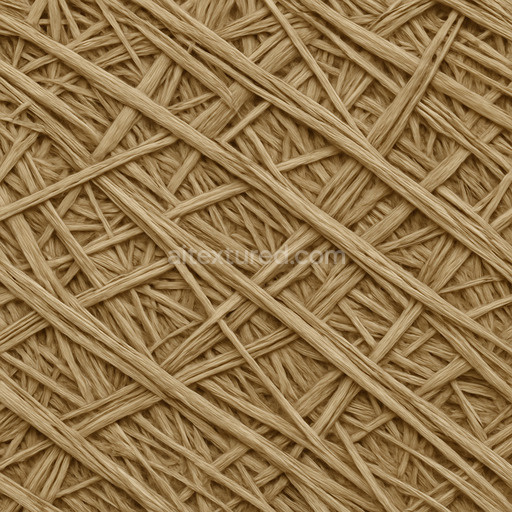
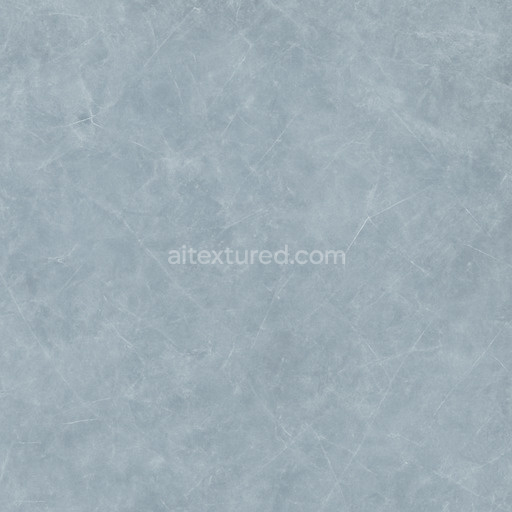
The Stylized Straw Seamless Texture presents a high-resolution artistically enhanced interpretation of natural straw materials designed to seamlessly tile across large surfaces without visible repetition or seams. This texture draws inspiration from organic straw fibers bound together with subtle natural adhesives reflecting a fibrous lightweight polymeric composite with a slightly porous surface typical of dried plant stalks. The texture’s stylized aesthetic captures the fine grain orientation and layered arrangement of straw bundles while maintaining a clean consistent pattern that scales elegantly from close-up details to broad architectural visualizations.
In terms of materials and composition the base substrate is reminiscent of tightly packed organic fibers with a matte slightly rough finish that suggests a natural weathering process including minor surface irregularities and gentle discoloration from exposure to light and environmental elements. Colorants manifest through warm earthy pigments that simulate sun-bleached straw hues blending golden yellows and soft browns with subtle tonal variations. The texture’s physical properties translate well into PBR workflows: the BaseColor channel conveys the nuanced straw coloration; the Normal map emphasizes fiber orientation and surface relief enhancing perceived depth; Roughness is tuned to reflect the semi-matte fibrous finish without unwanted glossiness; Metallic is kept minimal to none consistent with organic non-metallic materials; Ambient Occlusion adds natural shadowing in fiber crevices and Height/Displacement maps enable subtle surface undulations that bring realism to close camera angles.
This stylized straw seamless texture is optimized for use in popular 3D creation tools such as Blender Unreal Engine and Unity supporting resolutions up to 8K for crisp detail retention in high-end archviz scenes game environments product mockups and interior staging projects. The tileable nature ensures predictable repeatable results making it a versatile asset within basic-materials textures collections. For best results it’s recommended to adjust UV scale carefully to avoid overly uniform repetition and to combine the texture with a light normal pass and subtle ambient occlusion for enhanced surface breakup without introducing harsh artifacts. Slightly increasing roughness can help simulate the natural matte quality of straw while modest height map adjustments add tactile realism without oversharpening the detail.
The tileable stylized straw seamless texture offers a consistent high-quality PBR texture stylized straw seamless texture with detailed surface variation and realistic PBR appearance enhanced by a 3D preview for precise material evaluation.
Import the texture maps into Blender with sRGB color space for albedo/base color and Non-Color for normal, roughness, metallic, AO, height, and ORM maps. Connect normal maps through a Normal Map node, then adjust UV scale with a Mapping node so the material repeats naturally on your model.
For the full step-by-step setup, see How to Use Seamless Textures in Blender. Browse related material examples in wood, concrete, and metal.
Yes. This texture is designed as a seamless tileable PBR material, so it can repeat across large surfaces without visible borders.
You can download PNG/WEBP versions and use 1K, 2K, 4K and 8K download options when available on the page.
Yes. The download options and engine-mapped ZIP workflow are designed for Blender, Unreal Engine, Unity Standard, URP and HDRP material pipelines.
Yes. The texture is available under the AITextured free commercial license. Review the license page for redistribution and AI-training restrictions.

Generate, preview, and export seamless PBR materials for Blender, Unity, and Unreal Engine—directly in your browser.
AI text-to-texture: type a prompt and get a seamless, tileable base image ready for PBR workflows (great starting point for materials).
Create a full PBR set (Normal, Roughness, AO, Metallic, etc.) from a single image. Seamless and tiling-friendly.
Instant WebGL viewer: inspect materials on a sphere, plane, and cube. Check tiling and lighting in real time.
Re-packages maps per engine: Unreal (BaseColor + ORM), Unity (Mask/MetallicSmoothness), Blender (separate channels).
PNG ↔ JPG ↔ SVG: fast convert, SVG rasterize, embed/trace options, quality & background controls.