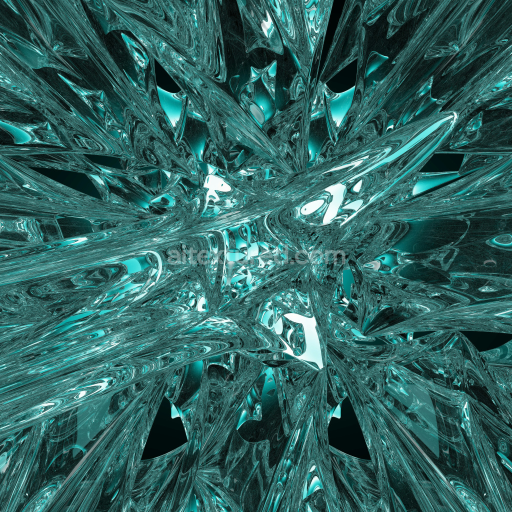
Shiny Glass Seamless Texture
Seamless texture (tileable) · PNG, WEBP, PBR ZIP. License: AITextured Free Commercial License (FCL) v1.1. Free personal and commercial use. Raw resale, standalone redistribution, mirroring/scraping, competing asset packs, and AI/ML training are not allowed without written permission. Attribution is not required, but appreciated..

| ID | decorative-glass-seamless-texture |
|---|---|
| Category | Glass |
| Formats | PNG, WEBP, PBR ZIP |
| Size | 1k (1024x1024px), 2k (2048x2048px), 4k (4096x4096px), 8k (8192x8192px) |
| Color | sRGB |
| Tileable | Yes |
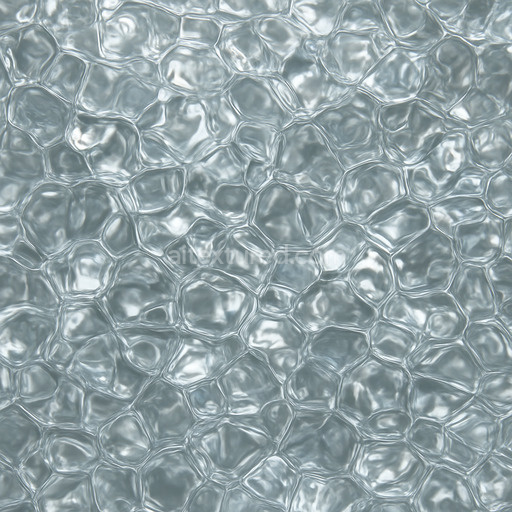
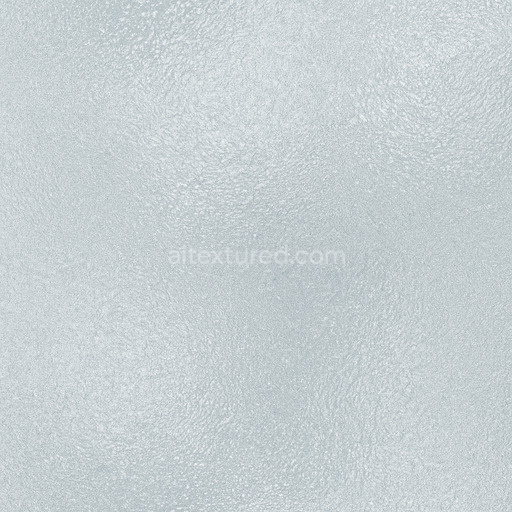
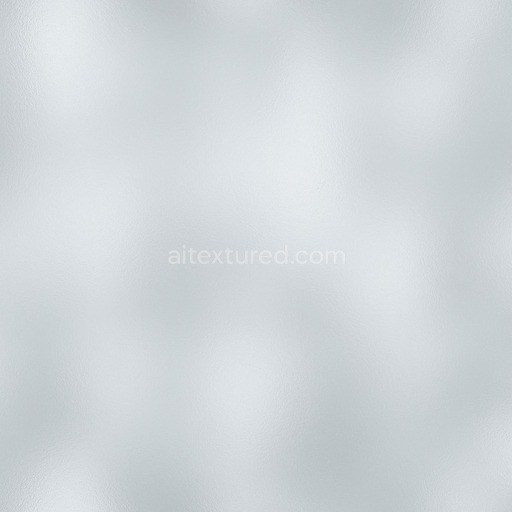
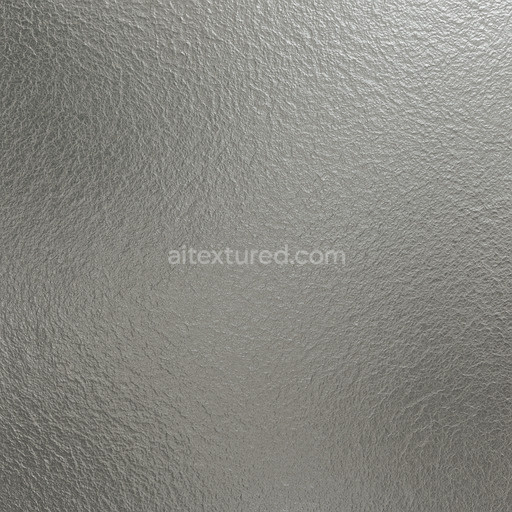
The Decorative Glass Seamless Texture showcases a meticulously crafted pattern inspired by high-quality decorative glass materials combining the elegance of mineral-based substrates with intricate surface finishes. This texture emulates a polished glass surface embedded with subtle organic inclusions and fine grain orientation resulting in a visually rich and consistent appearance. The base substrate reflects the clarity and light transmission typical of glass enhanced by carefully balanced binders and adhesives that simulate the cohesion of glass layers with decorative aggregates. Its surface finish is smooth and reflective featuring gentle variations in roughness to replicate the nuanced reflections and refractions found in real decorative glass panels. Colorants are rendered through delicate oxide layers and translucent pigments adding depth and realistic tinting without overpowering the natural brilliance of the glass material.
In terms of physically based rendering (PBR) channels this tileable decorative glass seamless texture delivers a comprehensive material representation at resolutions up to 8K. The BaseColor or Albedo channel captures the subtle color shifts and translucency of decorative glass while the Normal map introduces finely detailed surface irregularities that simulate the microscopic scratches and waves typical of handcrafted glass. The Roughness map is carefully calibrated to balance glossiness and diffuse reflection giving the impression of a polished yet tactile surface. The Metallic channel remains minimal consistent with the non-metallic nature of glass whereas Ambient Occlusion enhances the perception of depth and surface complexity without darkening the overall transparency. Height or Displacement maps add realistic surface relief for advanced rendering engines contributing to the impression of layered glass textures and embedded decorative elements.
This seamless decorative glass texture is optimized for use in real-time scenes cinematic renders and level dressing working effortlessly in popular 3D software such as Blender Unreal Engine and Unity. Its seamless tiling capability ensures you can cover vast surfaces without visible repetition or breaks preserving consistent detail across your projects. For best results consider adjusting the UV scale to match the specific size of your glass elements and fine-tune the roughness map to control the balance between sharp reflections and softened highlights. Incorporating a subtle ambient occlusion and a light normal pass can further enhance surface breakup creating a more natural and visually engaging material appearance suitable for both close-up shots and wide environmental views.
This generated decorative glass seamless texture offers a highly detailed PBR appearance with a seamless decorative glass seamless texture ideal for 3D preview and realistic material rendering.
Import the texture maps into Blender with sRGB color space for albedo/base color and Non-Color for normal, roughness, metallic, AO, height, and ORM maps. Connect normal maps through a Normal Map node, then adjust UV scale with a Mapping node so the material repeats naturally on your model.
For the full step-by-step setup, see How to Use Seamless Textures in Blender. Browse related material examples in wood, concrete, and metal.
Yes. This texture is designed as a seamless tileable PBR material, so it can repeat across large surfaces without visible borders.
You can download PNG/WEBP versions and use 1K, 2K, 4K and 8K download options when available on the page.
Yes. The download options and engine-mapped ZIP workflow are designed for Blender, Unreal Engine, Unity Standard, URP and HDRP material pipelines.
Yes. The texture is available under the AITextured free commercial license. Review the license page for redistribution and AI-training restrictions.

Build, preview, and export seamless PBR materials. Generate full map sets from a single image, inspect them in a real-time WebGL viewer, and re-package maps for Unreal, Unity, and Blender—directly in your browser.
AI text-to-texture: type a prompt and get a seamless, tileable base image ready for PBR workflows (great starting point for materials).
Create a full PBR set (Normal, Roughness, AO, Metallic, etc.) from a single image. Seamless and tiling-friendly.
Instant WebGL viewer: inspect materials on a sphere, plane, and cube. Check tiling and lighting in real time.
Re-packages maps per engine: Unreal (BaseColor + ORM), Unity (Mask/MetallicSmoothness), Blender (separate channels).
PNG ↔ JPG ↔ SVG: fast convert, SVG rasterize, embed/trace options, quality & background controls.