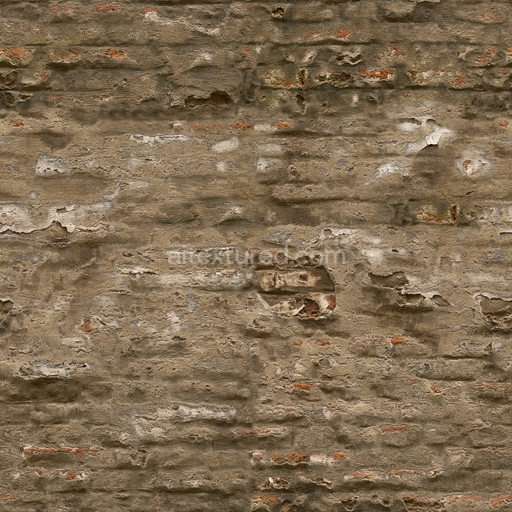
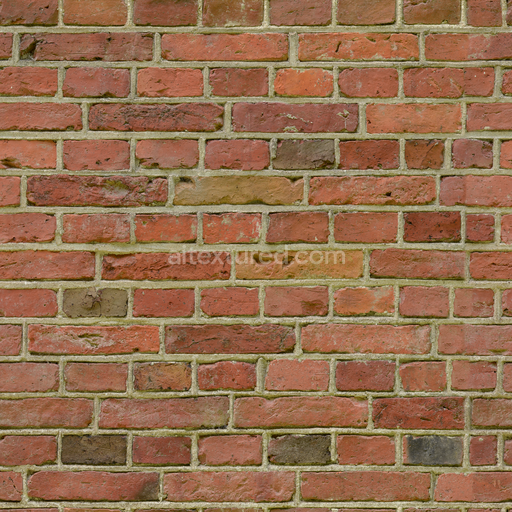
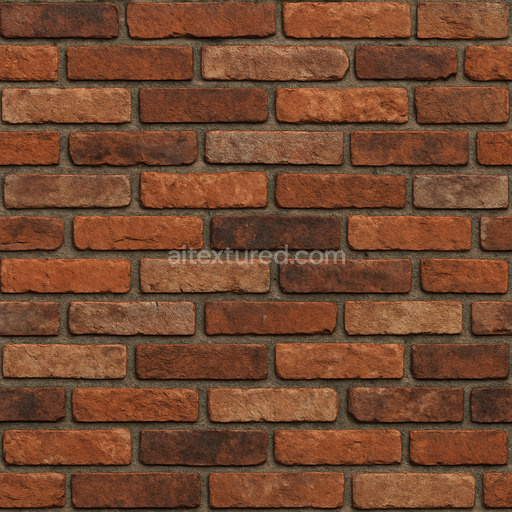
Rough Plaster Brick - Plaster Brick Rough Uneven Weathered Plaster
Seamless texture (tileable) · PNG, WEBP, PBR ZIP. License: AITextured Free Commercial License (FCL) v1.1. Free personal and commercial use. Raw resale, standalone redistribution, mirroring/scraping, competing asset packs, and AI/ML training are not allowed without written permission. Attribution is not required, but appreciated..

| ID | shiny-old-brick-texture-seamless |
|---|---|
| Category | Brick |
| Formats | PNG, WEBP, PBR ZIP |
| Size | 1k (1024x1024px), 2k (2048x2048px), 4k (4096x4096px), 8k (8192x8192px) |
| Color | sRGB |
| Tileable | Yes |
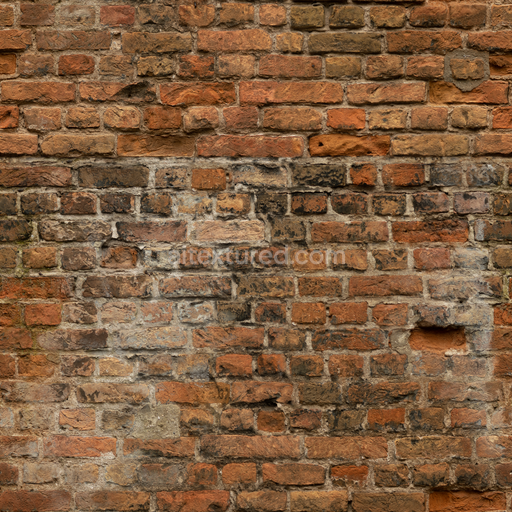
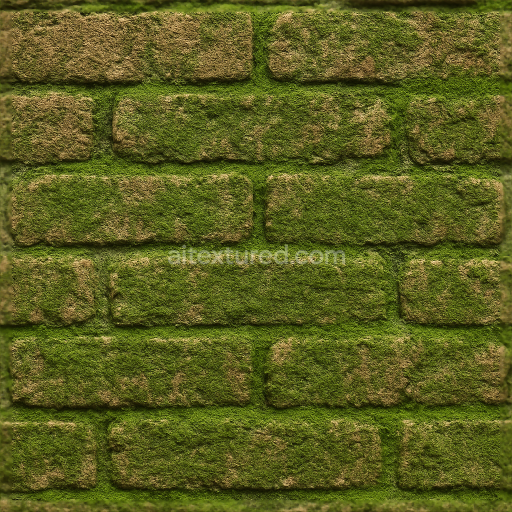
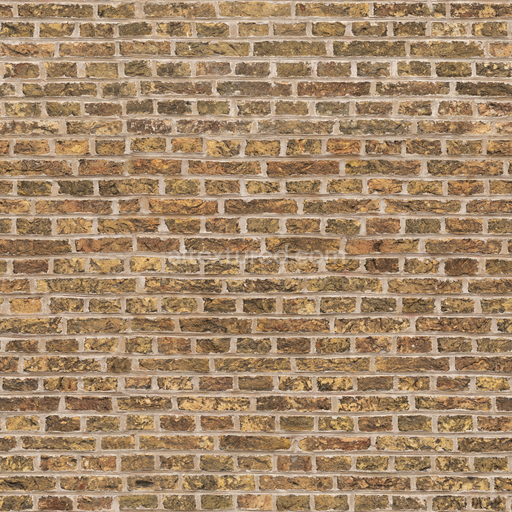
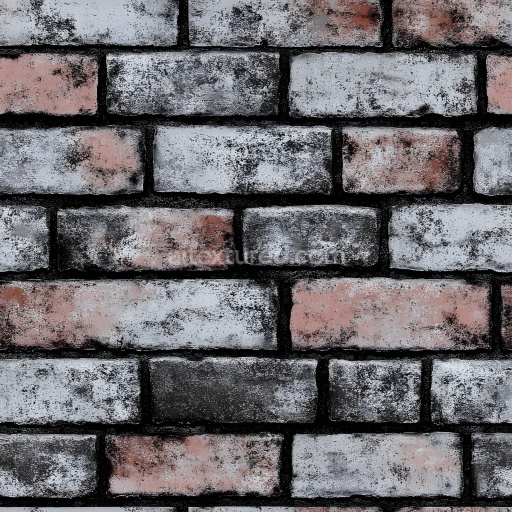
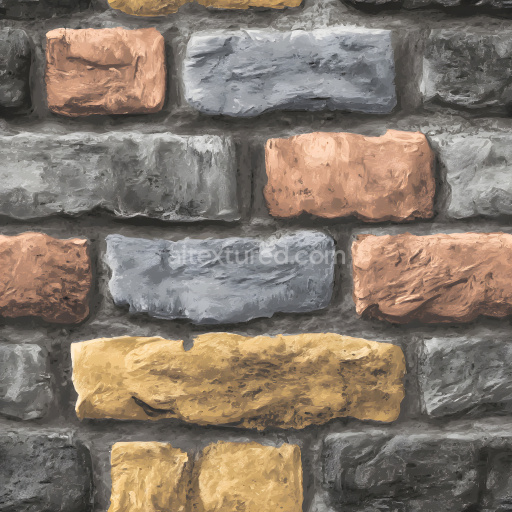
The shiny old brick texture seamless high resolution up to 8K is expertly designed to replicate the authentic materiality of aged brick masonry with remarkable fidelity. This tileable shiny old brick texture seamless high resolution up to 8K embodies a base substrate composed of fired clay minerals known for their natural porosity and inherent micro-roughness that contribute to a richly detailed surface. The bricks showcase subtle weathering effects accumulated over years of environmental exposure resulting in gentle surface wear and fine grain orientation that enhance tactile depth. Traditional lime-based mortar binds the aged bricks its granular texture and delicate micro-cracks clearly visible adding complexity to the overall composition. The finish presents a characteristic gentle sheen created by prolonged exposure to atmospheric elements and slight polishing which interacts with the oxidized iron oxide pigments and varied earth tones for a natural warm color palette. These intricate material properties are faithfully captured across all PBR channels with the BaseColor/Albedo map emphasizing the warm reds and muted browns Normal maps highlighting uneven brick edges and recessed mortar joints Roughness defining the smooth yet weathered surface finish and Metallic kept minimal to reflect the ceramic non-metallic nature of brick. Ambient Occlusion enhances shadowed crevices while Height/Displacement maps bring out the relief of chipped bricks and mortar texture for realistic parallax effects.
Designed specifically for seamless tiling this texture shiny old brick texture seamless high resolution up to 8K delivers a clean repeatable pattern that scales effortlessly across large surfaces without visible seams or distortion. The ultra-high resolution reaching up to 8k ensures exceptional detail retention even in close-up 3D preview environments making it ideal for diverse applications such as architectural visualization real-time rendering in Blender Unity and Unreal Engine cinematic production and detailed material studies. The texture’s optimized PBR workflow supports both PNG and WEBP formats facilitating integration into high-performance pipelines with minimal setup. The careful attention to micro-detail and structural consistency throughout the texture pipeline results in a production-ready material that convincingly simulates the interplay of weathering porosity and surface finish characteristic of historical brickwork elevating the realism and fidelity of any 3D project.
For optimal results when using this seamless shiny old brick texture seamless high resolution up to 8K it is recommended to maintain consistent UV scaling and texel density across your models to prevent texture stretching and preserve the intricate pattern fidelity. Fine-tuning the Roughness channel can help adapt the surface’s reflectivity to different lighting conditions enhancing realism whether applied to indoor or outdoor scenes. Additionally leveraging the Height/Displacement maps effectively will enrich the tactile dimensionality of the bricks and mortar creating immersive depth and realistic parallax effects in your 3D preview and rendering workflows. This shiny old brick texture seamless high resolution up to 8K is an excellent choice for artists and developers seeking an authentic high-resolution brick material that combines aesthetic appeal with technical precision for both personal and commercial projects.
Import the texture maps into Blender with sRGB color space for albedo/base color and Non-Color for normal, roughness, metallic, AO, height, and ORM maps. Connect normal maps through a Normal Map node, then adjust UV scale with a Mapping node so the material repeats naturally on your model.
For the full step-by-step setup, see How to Use Seamless Textures in Blender. Browse related material examples in wood, concrete, and metal.
Yes. This texture is designed as a seamless tileable PBR material, so it can repeat across large surfaces without visible borders.
You can download PNG/WEBP versions and use 1K, 2K, 4K and 8K download options when available on the page.
Yes. The download options and engine-mapped ZIP workflow are designed for Blender, Unreal Engine, Unity Standard, URP and HDRP material pipelines.
Yes. The texture is available under the AITextured free commercial license. Review the license page for redistribution and AI-training restrictions.


Build, preview, and export seamless PBR materials. Generate full map sets from a single image, inspect them in a real-time WebGL viewer, and re-package maps for Unreal, Unity, and Blender—directly in your browser.
AI text-to-texture: type a prompt and get a seamless, tileable base image ready for PBR workflows (great starting point for materials).
Create a full PBR set (Normal, Roughness, AO, Metallic, etc.) from a single image. Seamless and tiling-friendly.
Instant WebGL viewer: inspect materials on a sphere, plane, and cube. Check tiling and lighting in real time.
Re-packages maps per engine: Unreal (BaseColor + ORM), Unity (Mask/MetallicSmoothness), Blender (separate channels).
PNG ↔ JPG ↔ SVG: fast convert, SVG rasterize, embed/trace options, quality & background controls.