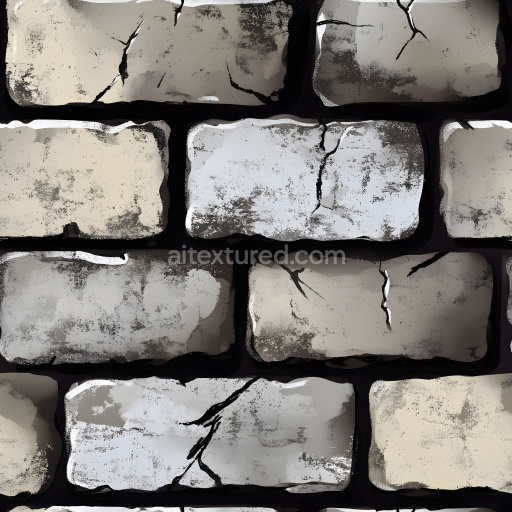
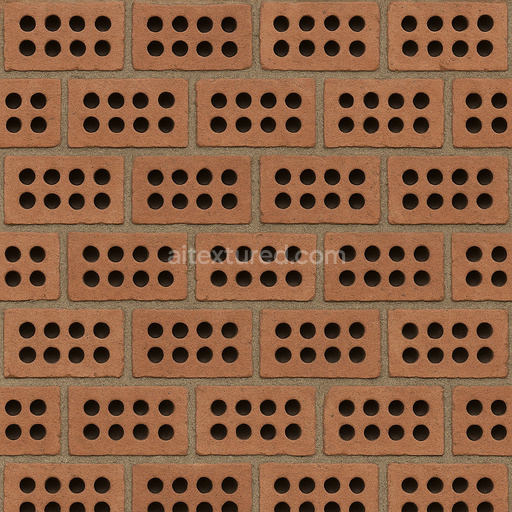
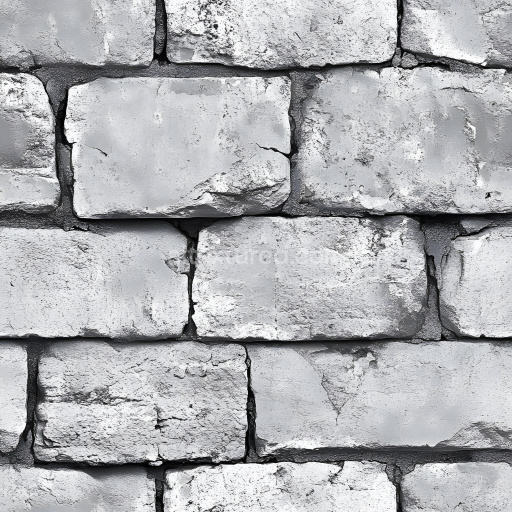
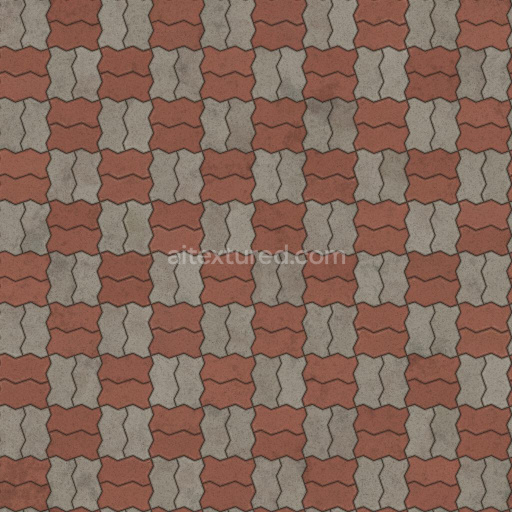
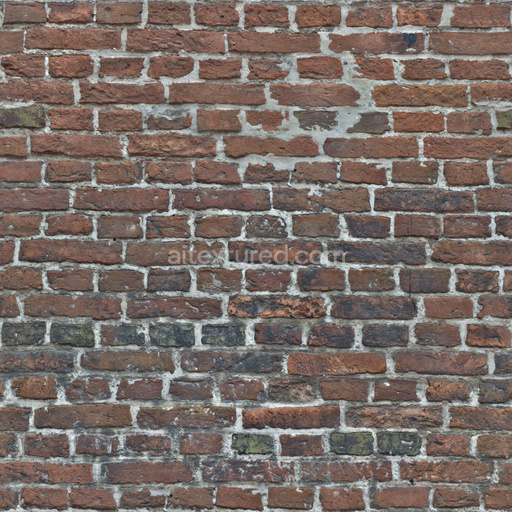
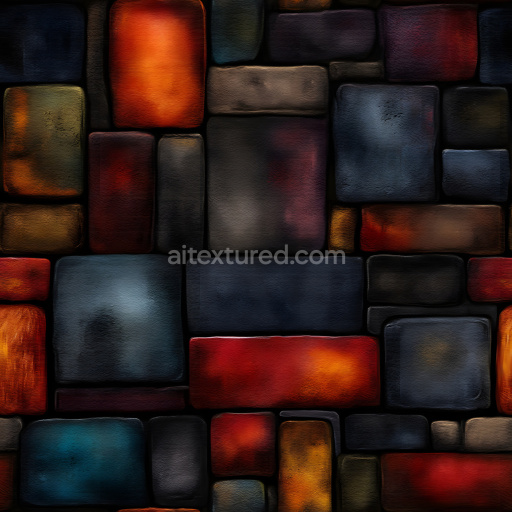
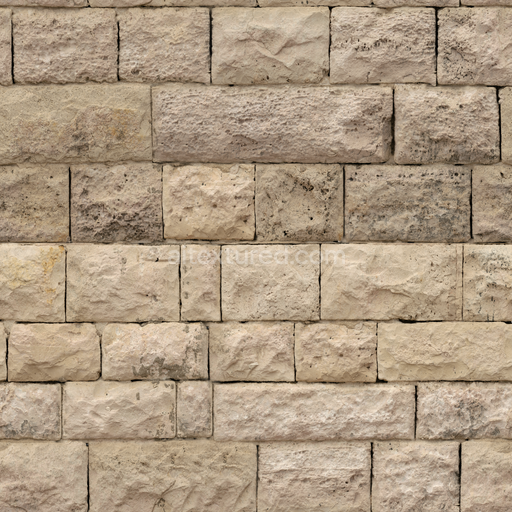
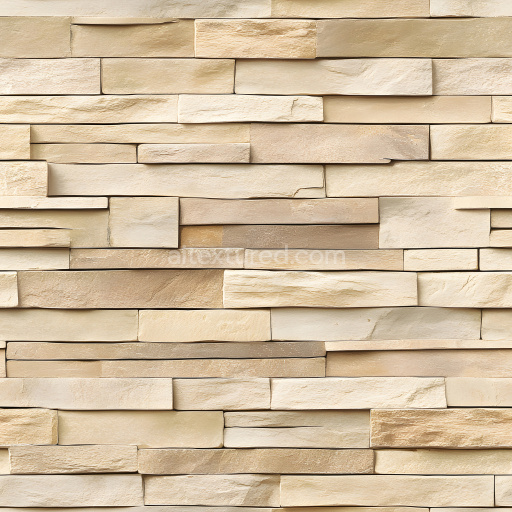
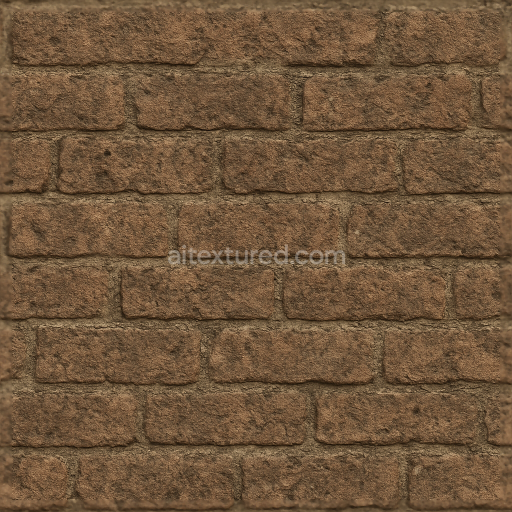
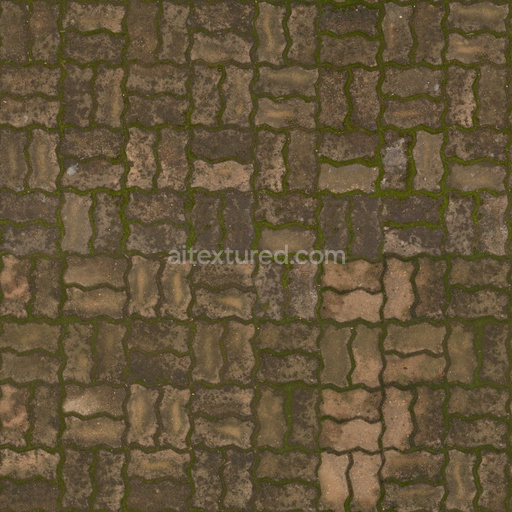
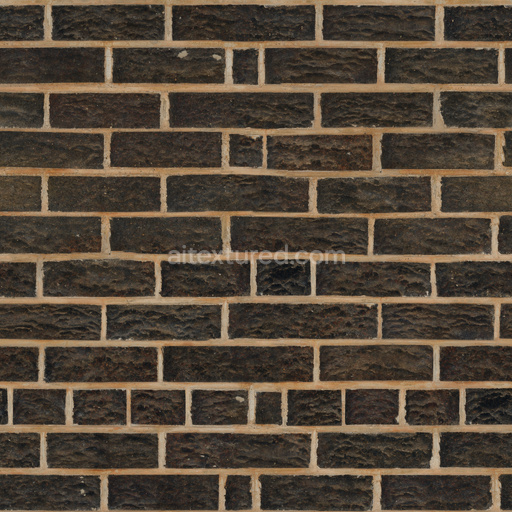
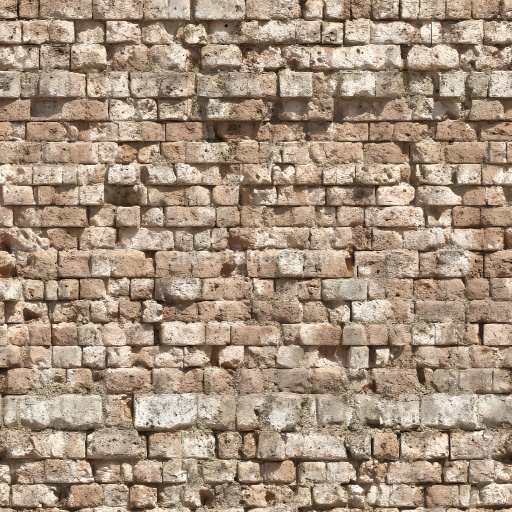
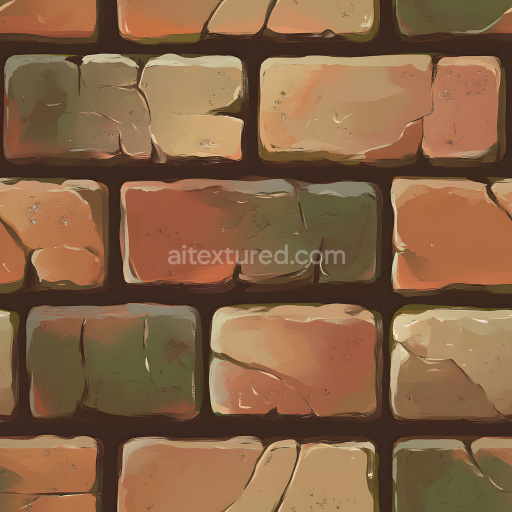
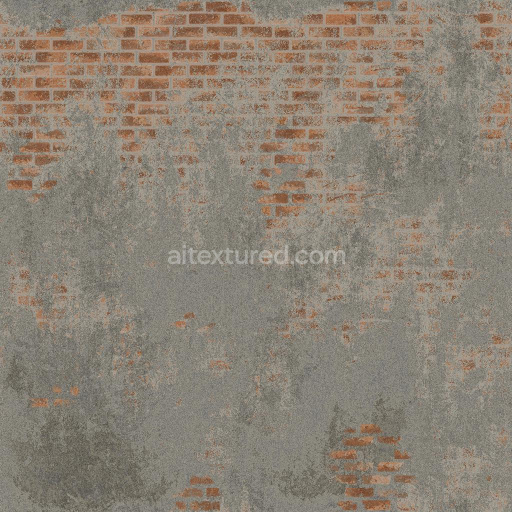
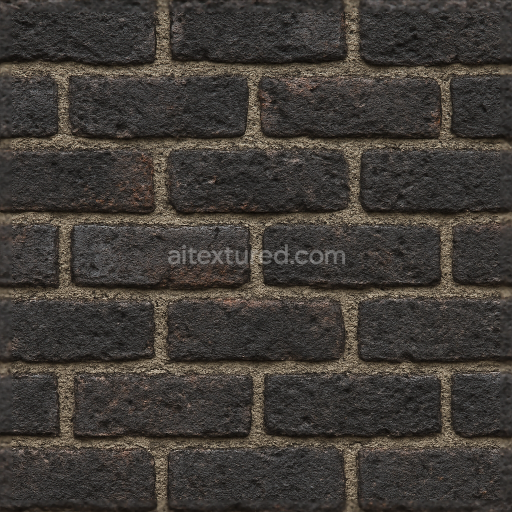
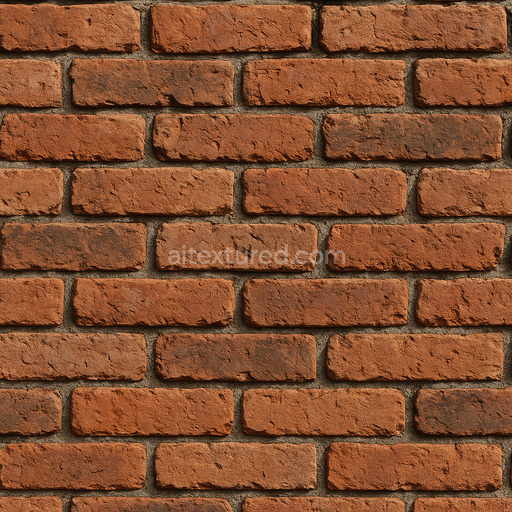
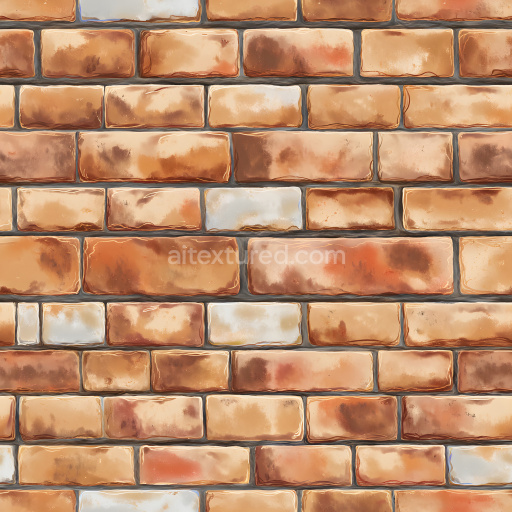
The perforated bricks ventilation pattern texture represents a meticulously crafted tileable surface designed to emulate the intricate composition and materiality of traditional brickwork integrated with ventilation features. This texture is inspired by mineral-based ceramic bricks typically composed of fired clay with natural mineral aggregates that contribute to their characteristic grain and porosity. The perforations create subtle openings that allow air flow adding both functional and aesthetic complexity to the pattern. The surface finish captures a slightly weathered matte appearance reflecting natural oxidation and exposure to environmental elements with muted earth-toned pigments and oxide layers providing authentic color variation. These material qualities translate seamlessly into the texture’s PBR channels: the BaseColor/Albedo map conveys the natural reddish-brown hues and subtle pigment shifts while the Normal map expertly reproduces the brick relief and perforation depth enhancing tactile realism. The Roughness channel represents the semi-rough aged surface finish with nuanced noise to simulate weathering and the Metallic map remains minimal reflecting the non-metallic ceramic nature of the bricks. Ambient Occlusion adds depth to crevices around perforations and the Height/Displacement map enables convincing three-dimensional surface breakup for close-up detail and interactive scenes.
Created using advanced AI-driven workflows this seamless perforated bricks ventilation pattern texture excels in delivering exceptional visual fidelity across expansive architectural and game environments. Its fully tileable design ensures that intricate brick and ventilation details are preserved without visible seams or repetitive artifacts allowing effortless coverage of large surfaces with natural variation and depth. Available in high-resolution formats up to 8K the texture supports detailed close-up views without loss of quality enhancing product mockups interior staging and realistic environmental visualizations. The texture set is optimized for compatibility with major 3D software and engines such as Blender Unreal Engine and Unity enabling straightforward integration and professional results across diverse workflows. By adjusting the UV scale users can fine-tune brick dimensions to maintain proportionality within any scene ensuring the texture complements both expansive walls and smaller-scale assets. Additionally subtle manipulation of the Roughness map can simulate varying degrees of surface wear or moisture retention adding authentic variation that enriches visual interest and realism.
Utilizing the Height or Displacement channels further enhances the perforated bricks ventilation pattern texture by creating convincing surface depth and shadow interplay which is especially beneficial in close-up renders or interactive 3D environments where tactile perception is critical. This comprehensive PBR map set—comprising BaseColor/Albedo Normal Roughness Metallic Ambient Occlusion and Height/Displacement—provides full control over material appearance enabling creative professionals to achieve nuanced believable brick surfaces with integrated ventilation details. Whether applied to architectural visualization game design or interior mockups this high-quality AI texture perforated bricks ventilation pattern enriches any project by delivering a natural seamless and visually compelling brick texture that enhances depth variation and realism throughout the entire scene.
The tileable perforated bricks ventilation pattern features detailed brick textures that enhance the material's realism while the 3D preview allows for accurate assessment of its PBR appearance under varied lighting conditions.
How to Use These Seamless PBR Textures in Blender
This guide shows how to connect a full PBR texture set to Principled BSDF in Blender (Cycles or Eevee). Works with any of our seamless textures free download, including PBR PNG materials for Blender / Unreal / Unity.
What’s inside the download
*_albedo.png — Base Color (sRGB)*_normal.png — Normal map (Non-Color)*_roughness.png — Roughness (Non-Color)*_metallic.png — Metallic (Non-Color)*_ao.png — Ambient Occlusion (Non-Color)*_height.png — Height / Displacement (Non-Color)*_ORM.png — Packed map (R=AO, G=Roughness, B=Metallic, Non-Color)

Quick start (Node Wrangler, 30 seconds)
- Enable the addon: Edit → Preferences → Add-ons → Node Wrangler.
- Create a material and select the Principled BSDF node.
- Press Ctrl + Shift + T and select the maps
albedo, normal, roughness, metallic (skip height and ORM for now) → Open.
The addon wires Base Color, Normal (with a Normal Map node), Roughness, and Metallic automatically.
- Add AO and Height using the “Manual wiring” steps below (5 and 6).
Manual wiring (full control)
- Create a material (Material Properties → New) and open the Shader Editor.
- Add an Image Texture node for each map. Set Color Space:
- Albedo → sRGB
- AO, Roughness, Metallic, Normal, Height, ORM → Non-Color
- Connect to Principled BSDF:
albedo → Base Colorroughness → Roughnessmetallic → Metallic (for wood this often stays near 0)normal → Normal Map node (Type: Tangent Space) → Normal of Principled.
If details look “inverted”, enable Invert Y on the Normal Map node.
- Ambient Occlusion (AO):
- Add a MixRGB (or Mix Color) node in mode Multiply.
- Input A =
albedo, Input B = ao, Factor = 1.0.
- Output of Mix → Base Color of Principled (replaces the direct albedo connection).
- Height / Displacement:
Cycles — true displacement
- Material Properties → Settings → Displacement: Displacement and Bump.
- Add a Displacement node: connect
height → Height, set Midlevel = 0.5, Scale = 0.02–0.08 (tune to taste).
- Output of Displacement → Material Output → Displacement.
- Add geometry density (e.g., Subdivision Surface) so displacement has polygons to work with.
Eevee (or lightweight Cycles) — bump only
- Add a Bump node:
height → Height.
- Set Strength = 0.2–0.5, Distance = 0.05–0.1, and connect Normal output to Principled’s Normal.
Using the packed ORM texture (optional)
Instead of separate AO/Roughness/Metallic maps you can use the single *_ORM.png:
- Add one Image Texture (Non-Color) → Separate RGB (or Separate Color).
- R (red) → AO (use it in the Multiply node with albedo as above).
- G (green) → Roughness of Principled.
- B (blue) → Metallic of Principled.
UVs & seamless tiling
- These textures are seamless. If your mesh has no UVs, go to UV Editing → Smart UV Project.
- For scale/repeat, add Texture Coordinate (UV) → Mapping and plug it into all texture nodes.
Increase Mapping → Scale (e.g., 2/2/2) to tile more densely.
Recommended starter values
- Normal Map Strength: 0.5–1.0
- Bump Strength: ~0.3
- Displacement Scale (Cycles): ~0.03
Common pitfalls
- Wrong Color Space (normals/roughness/etc. must be Non-Color).
- “Inverted” details → enable Invert Y on the Normal Map node.
- Over-strong relief → lower Displacement Scale or Bump Strength.
Example: Download Wood Textures and instantly apply parquet or rustic planks inside Blender for architectural visualization.
To add the downloaded texture, go to Add — Texture — Image Texture.

Add a node and click the Open button.

Select the required texture on your hard drive and connect Color to Base Color.

