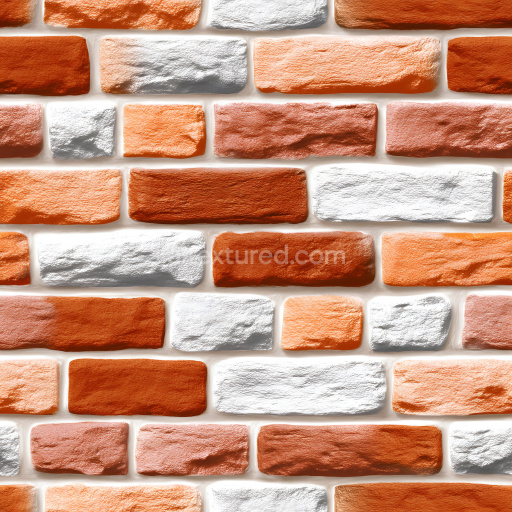
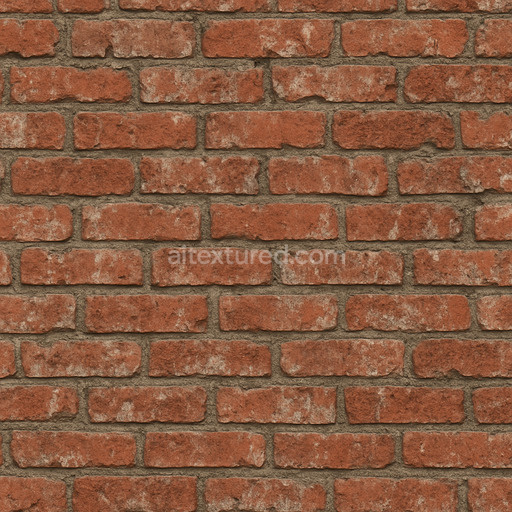
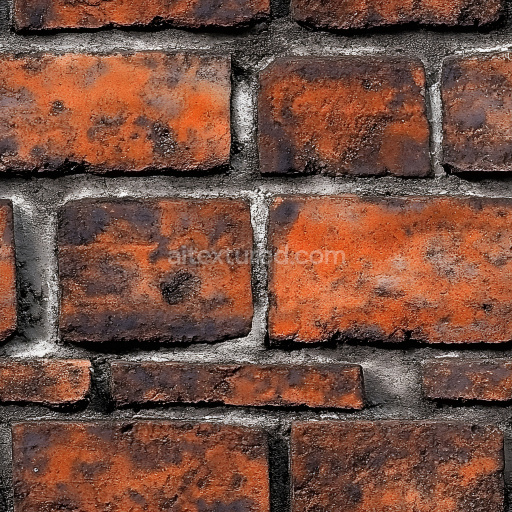
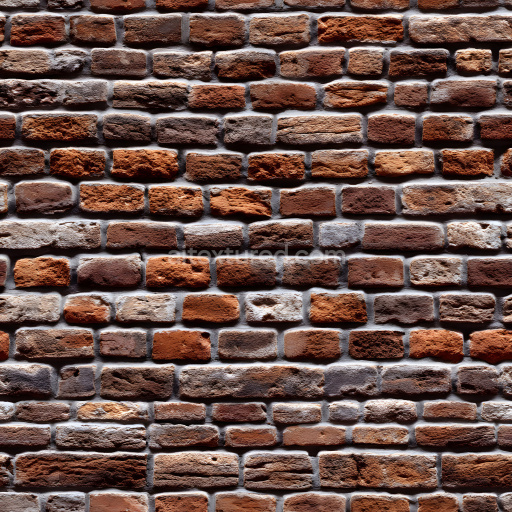
Cracked Brick Wall PBR Texture with Weathered Orange and White Bricks
Seamless texture (tileable) · PNG, WEBP, PBR ZIP. License: AITextured Free Commercial License (FCL) v1.1. Free personal and commercial use. Raw resale, standalone redistribution, mirroring/scraping, competing asset packs, and AI/ML training are not allowed without written permission. Attribution is not required, but appreciated..

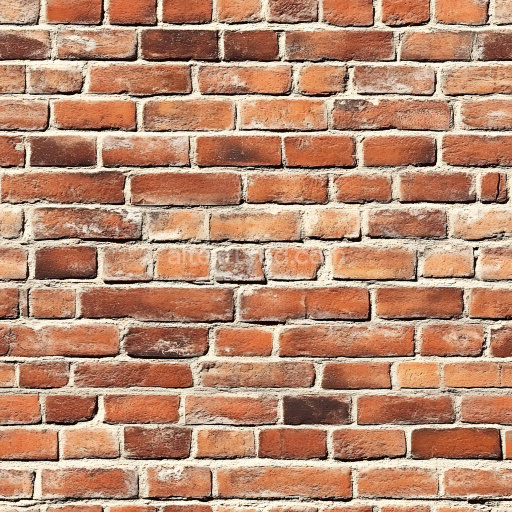
| ID | seamless-clay-brick-3d-texture-pbr-8k-dry-rough-surface-rustic-wall |
|---|---|
| Category | Brick |
| Formats | PNG, WEBP, PBR ZIP |
| Size | 1k (1024x1024px), 2k (2048x2048px), 4k (4096x4096px), 8k (8192x8192px) |
| Color | sRGB |
| Tileable | Yes |
This seamless clay brick 3D texture showcases a rustic brick wall composed of dry rough clay bricks arranged in a precise stack bond pattern. The base material is traditional fired clay characterized by its granular and porous structure which contributes to the natural roughness and unevenness of the brick surface. The bricks exhibit subtle variations in color primarily warm reds and earthy browns resulting from natural iron oxide pigments present in the clay. The mortar joints between bricks show signs of weathering with a slightly eroded and grainy appearance that highlights the aged character of the surface. This mortar acts as a binder typically a cementitious mix which has worn down unevenly over time exposing fine aggregate particles and creating additional micro-roughness on the wall.
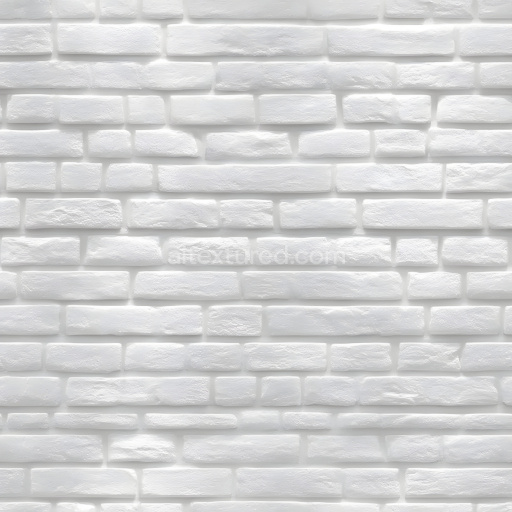
The geometric form of the texture is defined by the rectangular brick units laid in a stack bond pattern where bricks are aligned vertically and horizontally in uniform rows without overlapping. This regular arrangement emphasizes clean linear divisions while allowing the natural imperfections of the brick surfaces and mortar to stand out visually. The texture captures fine surface details such as the porous nature of the clay bricks small chips and slight indentations which are essential for realistic light interaction. The finish of the bricks is matte and dry devoid of gloss or polish emphasizing the weathered and textured aesthetic typical of rustic masonry.
In terms of PBR mapping the BaseColor (Albedo) channel delivers the authentic color variation of the clay and mortar including subtle speckles and pigment inconsistencies. The Normal map enhances the perception of depth by simulating the tactile roughness of the brick faces mortar recesses and tiny surface irregularities. The Roughness map accurately reflects the dry non-reflective quality of the brick surfaces and the slightly softer texture of the mortar ensuring realistic light diffusion. The Metallic channel is minimal to nonexistent as these materials lack metallic properties. Ambient Occlusion maps emphasize shadowing in crevices and mortar joints adding dimensionality. Height/Displacement maps provide detailed relief information for parallax effects or tessellation enabling close-up renders to showcase the texture’s physical form convincingly.
Rendered at an ultra-high 8K resolution this texture is optimized for physically based rendering workflows and is fully compatible with Blender Unreal Engine and Unity. The high resolution ensures crisp detail even in tight camera shots or large-scale architectural visualizations. For practical usage it is advisable to carefully adjust the UV scale to maintain natural brick proportions and avoid repetition artifacts. Additionally fine-tuning the roughness map can help simulate varying degrees of weathering or surface wear. When combining height and normal maps blending them subtly allows for enhanced depth perception without overly exaggerating surface displacement preserving realism in digital environments.
Import the texture maps into Blender with sRGB color space for albedo/base color and Non-Color for normal, roughness, metallic, AO, height, and ORM maps. Connect normal maps through a Normal Map node, then adjust UV scale with a Mapping node so the material repeats naturally on your model.
For the full step-by-step setup, see How to Use Seamless Textures in Blender. Browse related material examples in wood, concrete, and metal.
Yes. This texture is designed as a seamless tileable PBR material, so it can repeat across large surfaces without visible borders.
You can download PNG/WEBP versions and use 1K, 2K, 4K and 8K download options when available on the page.
Yes. The download options and engine-mapped ZIP workflow are designed for Blender, Unreal Engine, Unity Standard, URP and HDRP material pipelines.
Yes. The texture is available under the AITextured free commercial license. Review the license page for redistribution and AI-training restrictions.


Generate, preview, and export seamless PBR materials for Blender, Unity, and Unreal Engine—directly in your browser.
AI text-to-texture: type a prompt and get a seamless, tileable base image ready for PBR workflows (great starting point for materials).
Create a full PBR set (Normal, Roughness, AO, Metallic, etc.) from a single image. Seamless and tiling-friendly.
Instant WebGL viewer: inspect materials on a sphere, plane, and cube. Check tiling and lighting in real time.
Re-packages maps per engine: Unreal (BaseColor + ORM), Unity (Mask/MetallicSmoothness), Blender (separate channels).
PNG ↔ JPG ↔ SVG: fast convert, SVG rasterize, embed/trace options, quality & background controls.