
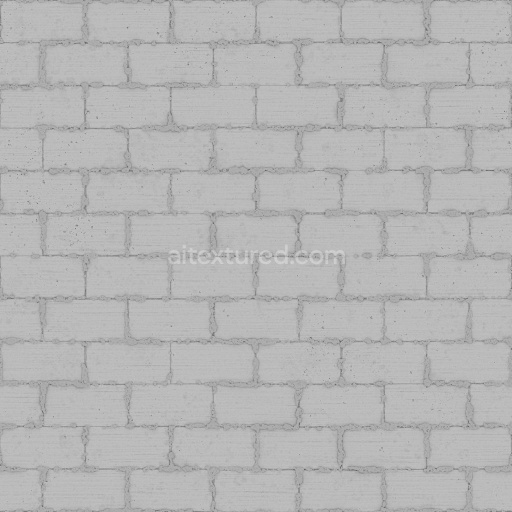
Zigzag Unipaver Blocks in Herringbone with Alternating Diagonals | Free PBR
Seamless texture (tileable) · PNG, WEBP, PBR ZIP. License: AITextured Free Commercial License (FCL) v1.1. Free personal and commercial use. Raw resale, standalone redistribution, mirroring/scraping, competing asset packs, and AI/ML training are not allowed without written permission. Attribution is not required, but appreciated..

| ID | grey-brick-texture-in-herringbone-pattern-free-pbr |
|---|---|
| Category | Brick |
| Formats | PNG, WEBP, PBR ZIP |
| Size | 1k (1024x1024px), 2k (2048x2048px), 4k (4096x4096px), 8k (8192x8192px) |
| Color | sRGB |
| Tileable | Yes |
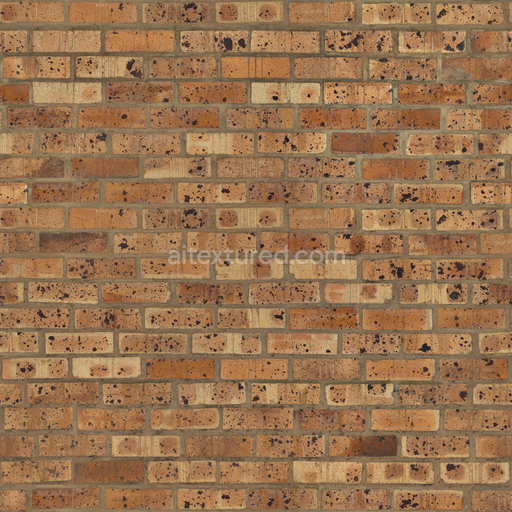
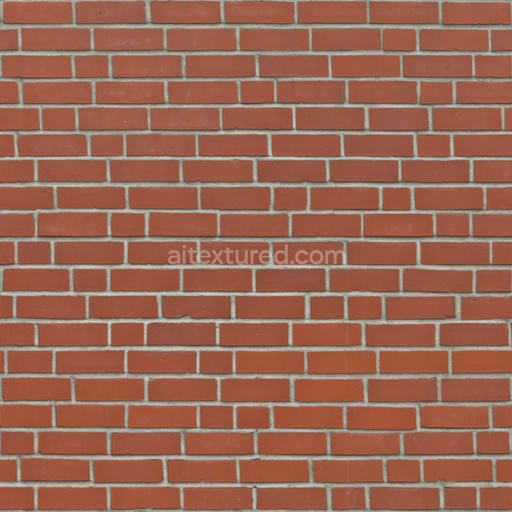
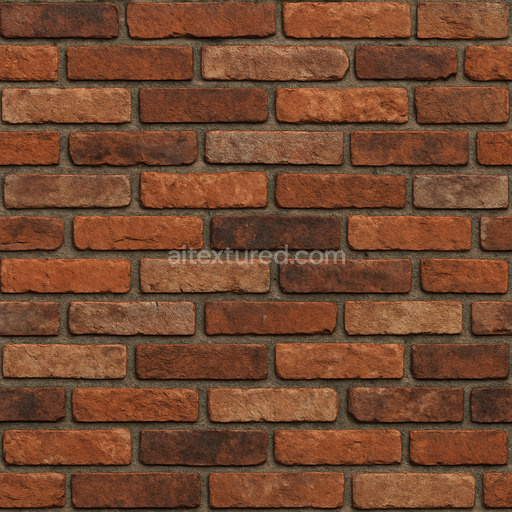
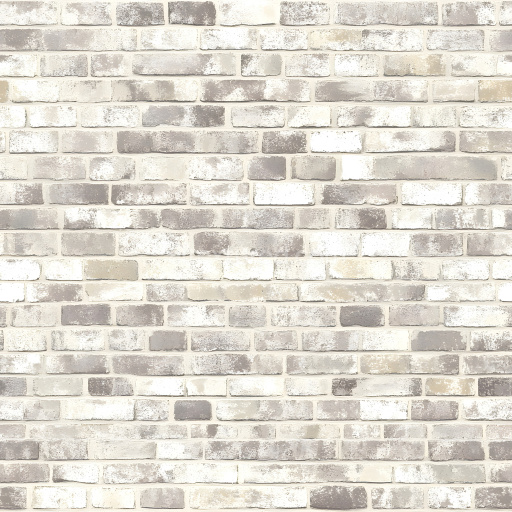
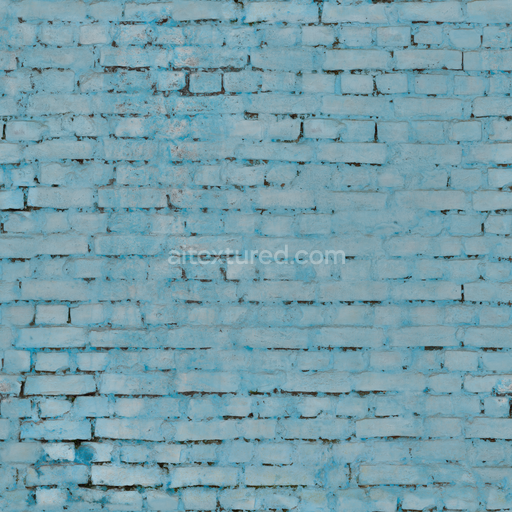
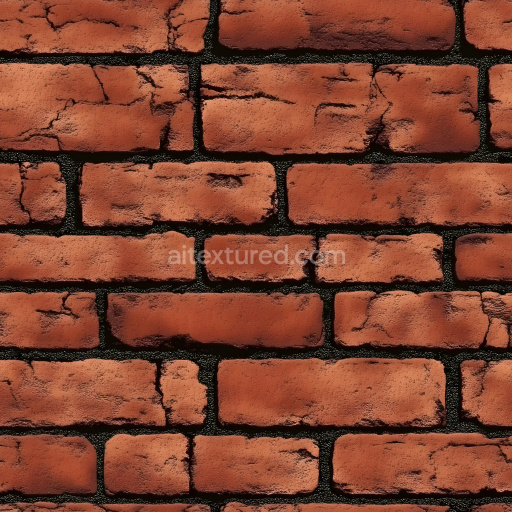
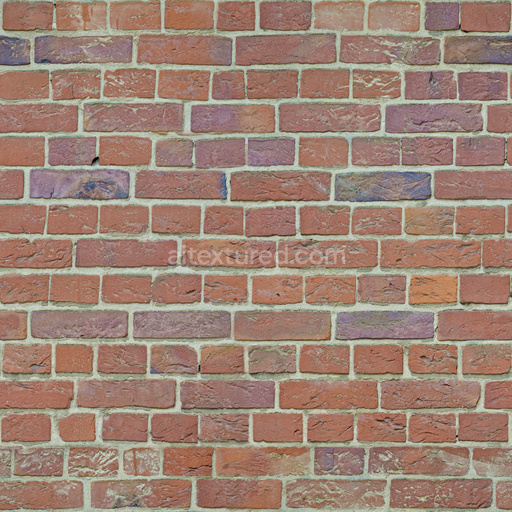
Introducing our Grey Brick Texture in a striking herringbone pattern, designed to elevate your creative projects with its high-quality, seamless PBR (Physically Based Rendering) capabilities. This texture is crafted with a base substrate that mimics the natural appearance of real bricks, showcasing a blend of mineral components that provide both durability and aesthetic appeal. The intricate herringbone design not only enhances visual interest but also adds depth and character to your surfaces, making it an ideal choice for a range of applications.
The texture features a carefully balanced composition, with a focus on realistic surface finishes. The grey color palette is achieved through a combination of pigments and dyes, ensuring a versatile look that can complement various design styles. The surface exhibits a slightly roughened finish, enhancing its tactile quality while remaining true to the essence of traditional brickwork. This texture also incorporates ambient occlusion effects, which add depth and realism by simulating the way light interacts with the surface, particularly in the crevices of the herringbone pattern.
In terms of PBR channels, the Grey Brick Texture excels with an 8K resolution, making it suitable for high-fidelity rendering in software such as Blender, Unreal Engine, and Unity. The BaseColor/Albedo channel captures the intricate color variations, while the Normal map provides detailed surface relief, enhancing the three-dimensional quality of the texture. The Roughness channel is finely tuned to reflect the appropriate level of glossiness, ensuring that your virtual environments maintain a realistic appearance. Additionally, the Height/Displacement channel allows for further customization, enabling you to create parallax effects that bring your designs to life.
For best results, consider adjusting the UV scale to fit your specific project needs, allowing for a seamless application across different surfaces. Fine-tuning the roughness settings can also help achieve the desired level of realism, whether you are aiming for a polished look or a more weathered appearance. This Grey Brick Texture in
Import the texture maps into Blender with sRGB color space for albedo/base color and Non-Color for normal, roughness, metallic, AO, height, and ORM maps. Connect normal maps through a Normal Map node, then adjust UV scale with a Mapping node so the material repeats naturally on your model.
For the full step-by-step setup, see How to Use Seamless Textures in Blender. Browse related material examples in wood, concrete, and metal.
Yes. This texture is designed as a seamless tileable PBR material, so it can repeat across large surfaces without visible borders.
You can download PNG/WEBP versions and use 1K, 2K, 4K and 8K download options when available on the page.
Yes. The download options and engine-mapped ZIP workflow are designed for Blender, Unreal Engine, Unity Standard, URP and HDRP material pipelines.
Yes. The texture is available under the AITextured free commercial license. Review the license page for redistribution and AI-training restrictions.
Build, preview, and export seamless PBR materials. Generate full map sets from a single image, inspect them in a real-time WebGL viewer, and re-package maps for Unreal, Unity, and Blender—directly in your browser.
AI text-to-texture: type a prompt and get a seamless, tileable base image ready for PBR workflows (great starting point for materials).
Create a full PBR set (Normal, Roughness, AO, Metallic, etc.) from a single image. Seamless and tiling-friendly.
Instant WebGL viewer: inspect materials on a sphere, plane, and cube. Check tiling and lighting in real time.
Re-packages maps per engine: Unreal (BaseColor + ORM), Unity (Mask/MetallicSmoothness), Blender (separate channels).
PNG ↔ JPG ↔ SVG: fast convert, SVG rasterize, embed/trace options, quality & background controls.