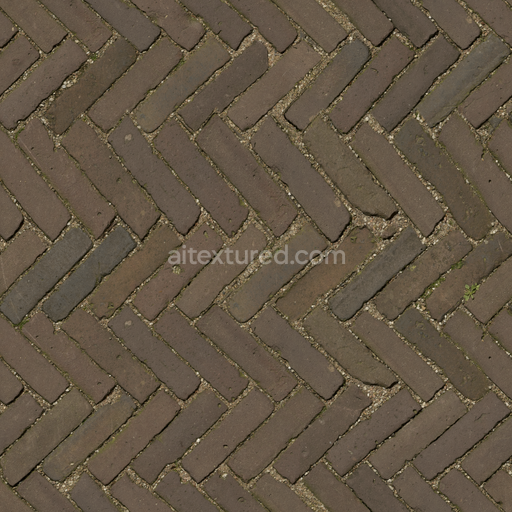
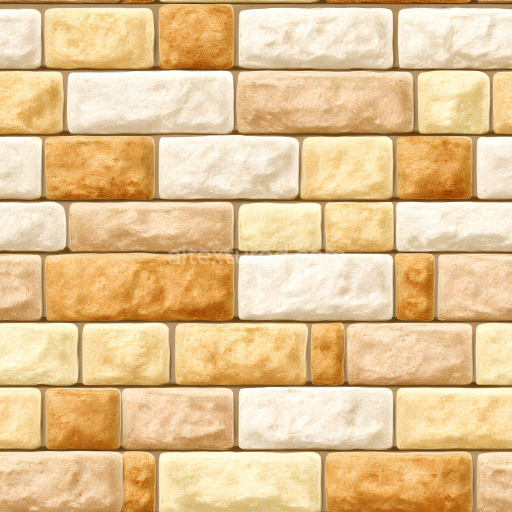
Herringbone Diagonal Brick - Diagonal Brick Paving Dirty Outdoor Albedo
Seamless texture (tileable) · PNG, WEBP, PBR ZIP. License: AITextured Free Commercial License (FCL) v1.1. Free personal and commercial use. Raw resale, standalone redistribution, mirroring/scraping, competing asset packs, and AI/ML training are not allowed without written permission. Attribution is not required, but appreciated..

| ID | worn-red-brick-texture-seamless |
|---|---|
| Category | Brick |
| Formats | PNG, WEBP, PBR ZIP |
| Size | 1k (1024x1024px), 2k (2048x2048px), 4k (4096x4096px), 8k (8192x8192px) |
| Color | sRGB |
| Tileable | Yes |
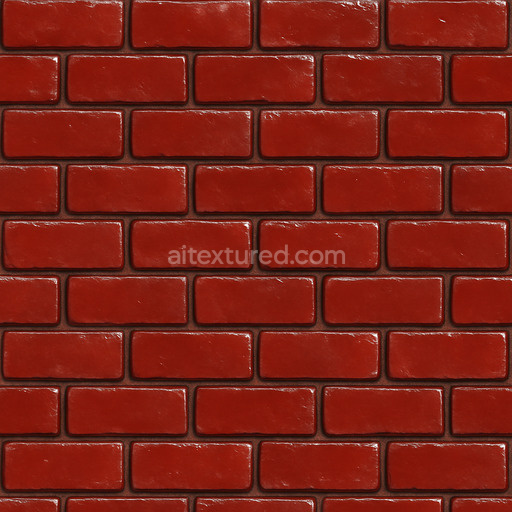
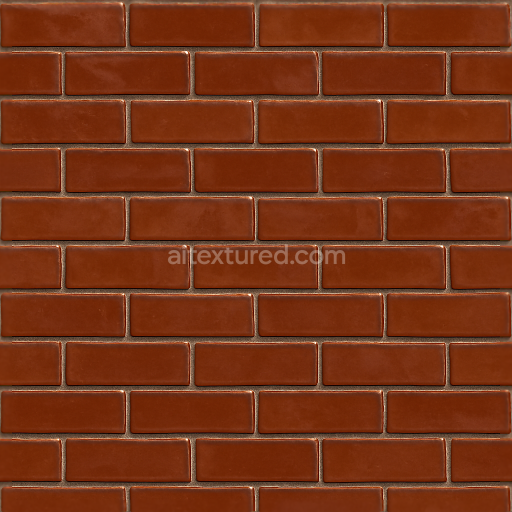
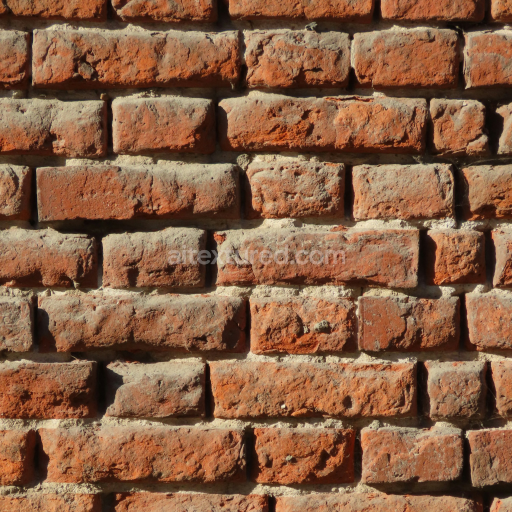
The worn red brick texture seamless high resolution up to 8K offers an exceptionally detailed representation of traditional fired clay bricks emphasizing the authentic materiality of this classic masonry element. The base substrate consists primarily of natural mineral clays combined with siliceous aggregates which contribute to the ceramic-like structure and durability of the brick surface. Over time organic binders originally present in the brick composition have been replaced by hardened mineral phases a process driven by prolonged environmental exposure and weathering. This gradual transformation results in a porous and subtly rough texture marked by slight erosion chipping and micro-cracks that reflect the natural aging process. The surface finish exhibits a matte patina with deep red iron oxide pigments interspersed with lighter mineral inclusions creating a variegated coloration typical of worn bricks. Residual mortar traces further enhance the realism highlighting the construction context and historical layering of the brickwork.
These intricate material and compositional characteristics are accurately captured across all PBR channels to facilitate photorealistic rendering. The BaseColor/Albedo map delivers the rich variegated reds and subtle weathering stains while the Normal map encodes the fine surface relief including chips and grain orientation that give the brick its tactile depth. Roughness is carefully mapped to represent the non-reflective slightly granular ceramic finish avoiding any artificial glossiness. The Metallic channel remains near zero consistent with the non-metallic nature of fired clay bricks while Ambient Occlusion enhances shadowed crevices around mortar joints and micro-cracks adding dimensionality. Height/Displacement maps provide additional depth cues ensuring realistic interaction with light and shadows in 3D environments.
This tileable worn red brick texture seamless high resolution up to 8K is optimized for demanding workflows in Blender Unity and Unreal Engine making it an ideal choice for architectural visualizations environmental design and high-fidelity cinematic renders. Its ultra-high resolution ensures crisp details even in close-up views while seamless tiling allows for extensive surface coverage without visible repetition artifacts. For enhanced realism it is advisable to slightly vary the UV scale when applying the texture across large surfaces to avoid uniformity and visual monotony. Additionally combining this texture with a finely tuned roughness map and a subtle ambient occlusion pass can help break up the surface naturally preventing oversharpened highlights or artificial sheen and maintaining the authentic worn appearance.
Leveraging generated precision this worn red brick texture seamless high resolution up to 8K provides a reliable and realistic brick texture with a detailed 3D preview for accurate material composition assessment. Whether for real-time applications or offline rendering this texture supports intricate surface detailing and authentic material response ensuring that your brick surfaces convey the true essence of aged weathered masonry in any digital project.
This generated worn red brick texture seamless high resolution up to 8K offers detailed brick textures with a realistic PBR appearance ideal for high-quality architectural visualization.
Import the texture maps into Blender with sRGB color space for albedo/base color and Non-Color for normal, roughness, metallic, AO, height, and ORM maps. Connect normal maps through a Normal Map node, then adjust UV scale with a Mapping node so the material repeats naturally on your model.
For the full step-by-step setup, see How to Use Seamless Textures in Blender. Browse related material examples in wood, concrete, and metal.
Yes. This texture is designed as a seamless tileable PBR material, so it can repeat across large surfaces without visible borders.
You can download PNG/WEBP versions and use 1K, 2K, 4K and 8K download options when available on the page.
Yes. The download options and engine-mapped ZIP workflow are designed for Blender, Unreal Engine, Unity Standard, URP and HDRP material pipelines.
Yes. The texture is available under the AITextured free commercial license. Review the license page for redistribution and AI-training restrictions.
Generate, preview, and export seamless PBR materials for Blender, Unity, and Unreal Engine—directly in your browser.
AI text-to-texture: type a prompt and get a seamless, tileable base image ready for PBR workflows (great starting point for materials).
Create a full PBR set (Normal, Roughness, AO, Metallic, etc.) from a single image. Seamless and tiling-friendly.
Instant WebGL viewer: inspect materials on a sphere, plane, and cube. Check tiling and lighting in real time.
Re-packages maps per engine: Unreal (BaseColor + ORM), Unity (Mask/MetallicSmoothness), Blender (separate channels).
PNG ↔ JPG ↔ SVG: fast convert, SVG rasterize, embed/trace options, quality & background controls.