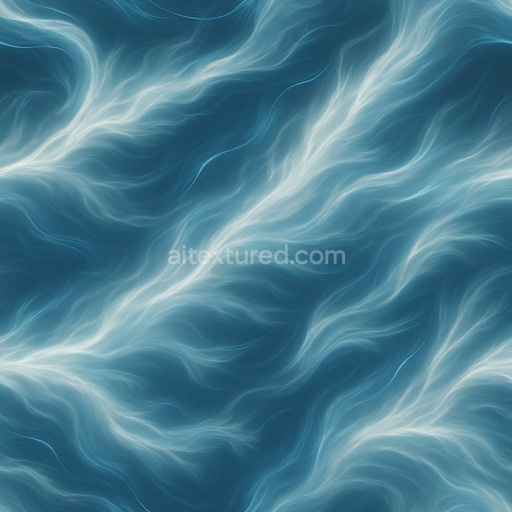
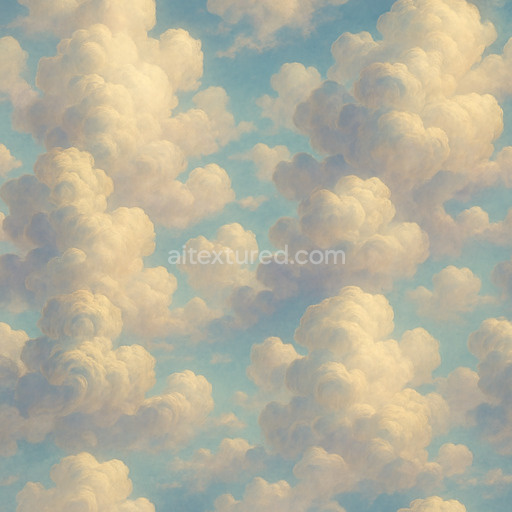
Futuristic Cirrus Seamless Texture
Seamless texture (tileable) · PNG, WEBP, PBR ZIP. License: AITextured Free Commercial License (FCL) v1.1. Free personal and commercial use. Raw resale, standalone redistribution, mirroring/scraping, competing asset packs, and AI/ML training are not allowed without written permission. Attribution is not required, but appreciated..

| ID | natural-cirrus-seamless-texture |
|---|---|
| Category | Clouds |
| Formats | PNG, WEBP, PBR ZIP |
| Size | 1k (1024x1024px), 2k (2048x2048px), 4k (4096x4096px), 8k (8192x8192px) |
| Color | sRGB |
| Tileable | Yes |
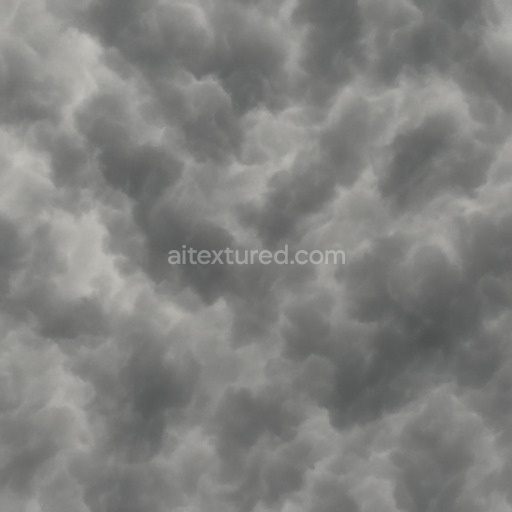
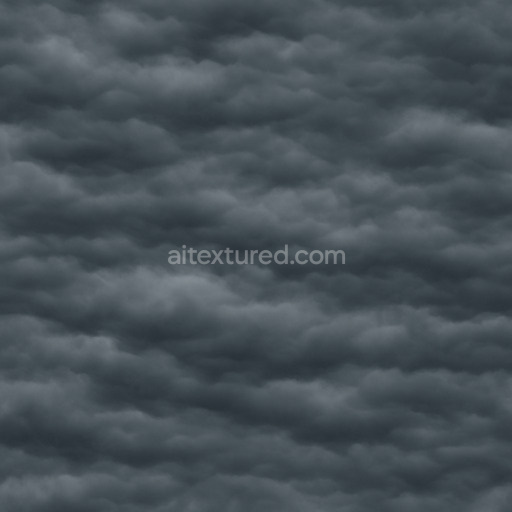
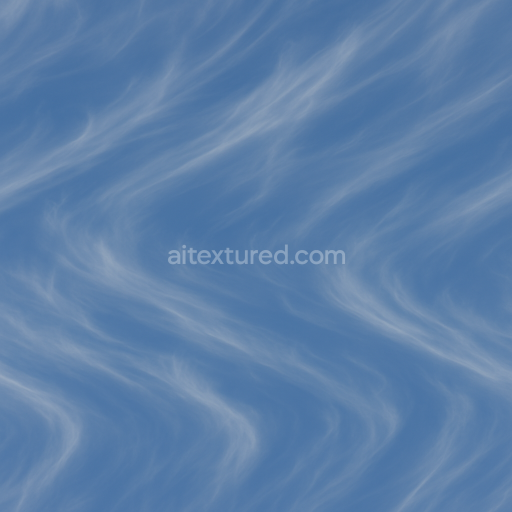
The Natural Cirrus Seamless Texture is an AI-generated tileable material crafted to replicate the delicate wispy appearance of cirrus clouds with high fidelity. This texture simulates a natural cloud substrate combining subtle variations in translucency and fine-grained opacity to evoke the light airy quality typical of high-altitude cirrus formations. In terms of composition the texture suggests a semi-organic base with soft fibrous elements dispersed throughout resembling minute ice crystal aggregates that scatter light gently. The surface finish mimics a matte slightly diffused veil with minimal gloss contributing to a believable weathered atmospheric effect. Colorants are predominantly soft whites and pale grays with subtle gradients achieved through nuanced pigment layering that enhances depth and realism without overwhelming contrast. This balanced complexity translates seamlessly into PBR channels: the BaseColor/Albedo carries the soft tonal variations; the Normal map subtly encodes the fine textural undulations and wispy filament structures; Roughness is tuned to a medium-high range to maintain the diffuse soft look; Metallic remains near zero to reflect the non-metallic nature of clouds; Ambient Occlusion captures the delicate shadowing within the texture's folds; and Height/Displacement gently elevates the wispy strands for enhanced volumetric perception in 3D scenes.
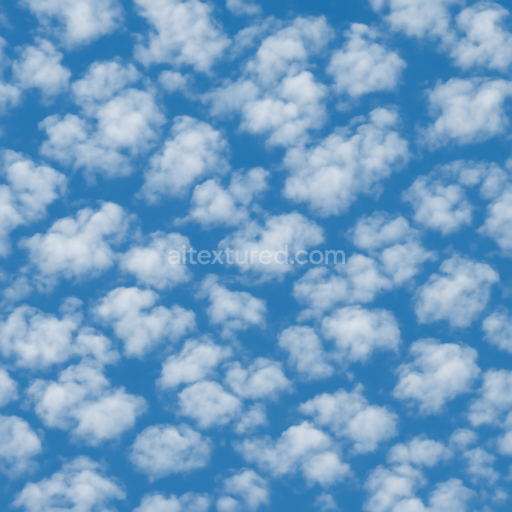
Designed for modern workflows and optimized for large UV islands this seamless natural cirrus seamless texture maintains clarity and cohesion even at scales suitable for expansive skyboxes or detailed cloud layers. Its high-resolution output available up to 8K ensures crisp detail retention across various platforms including Blender Unreal Engine and Unity. This makes it an ideal choice for archviz game environments product visualizations and interior staging where realistic cloud textures enhance ambient lighting and atmospheric depth. The texture’s repeatable predictable tiling behavior allows it to be dropped directly into PBR material setups without visible seams accelerating production pipelines and improving consistency across assets. For the best visual integration it is recommended to keep UVs uniform and matched in texel density across all cloud assets to prevent texture stretching and distortion. Adjusting roughness slightly can help fine-tune the softness of the cloud edges while subtle height or parallax mapping can amplify the volumetric impression adding a dynamic sense of depth to scenes.
This AI-generated tileable natural cirrus seamless texture offers a realistic clouds texture with detailed PBR appearance ideal for 3D preview and material composition in digital environments.
Import the texture maps into Blender with sRGB color space for albedo/base color and Non-Color for normal, roughness, metallic, AO, height, and ORM maps. Connect normal maps through a Normal Map node, then adjust UV scale with a Mapping node so the material repeats naturally on your model.
For the full step-by-step setup, see How to Use Seamless Textures in Blender. Browse related material examples in wood, concrete, and metal.
Yes. This texture is designed as a seamless tileable PBR material, so it can repeat across large surfaces without visible borders.
You can download PNG/WEBP versions and use 1K, 2K, 4K and 8K download options when available on the page.
Yes. The download options and engine-mapped ZIP workflow are designed for Blender, Unreal Engine, Unity Standard, URP and HDRP material pipelines.
Yes. The texture is available under the AITextured free commercial license. Review the license page for redistribution and AI-training restrictions.


Build, preview, and export seamless PBR materials. Generate full map sets from a single image, inspect them in a real-time WebGL viewer, and re-package maps for Unreal, Unity, and Blender—directly in your browser.
AI text-to-texture: type a prompt and get a seamless, tileable base image ready for PBR workflows (great starting point for materials).
Create a full PBR set (Normal, Roughness, AO, Metallic, etc.) from a single image. Seamless and tiling-friendly.
Instant WebGL viewer: inspect materials on a sphere, plane, and cube. Check tiling and lighting in real time.
Re-packages maps per engine: Unreal (BaseColor + ORM), Unity (Mask/MetallicSmoothness), Blender (separate channels).
PNG ↔ JPG ↔ SVG: fast convert, SVG rasterize, embed/trace options, quality & background controls.