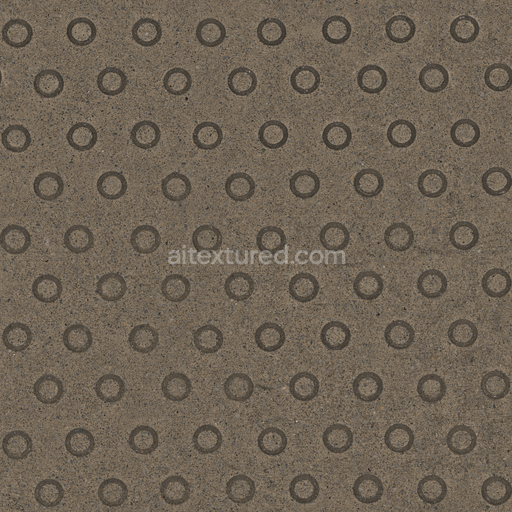
Seamless Concrete 033 by Textures - PBR 3D Texture (8K ready)
Seamless texture (tileable) · PNG, WEBP, PBR ZIP. License: AITextured Free Commercial License (FCL) v1.1. Free personal and commercial use. Raw resale, standalone redistribution, mirroring/scraping, competing asset packs, and AI/ML training are not allowed without written permission. Attribution is not required, but appreciated..

| ID | grey-asphalt-texture-free-pbr |
|---|---|
| Category | Concrete |
| Formats | PNG, WEBP, PBR ZIP |
| Size | 1k (1024x1024px), 2k (2048x2048px), 4k (4096x4096px), 8k (8192x8192px) |
| Color | sRGB |
| Tileable | Yes |
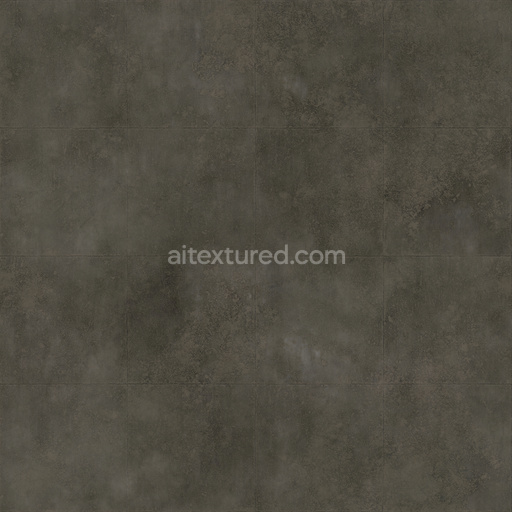
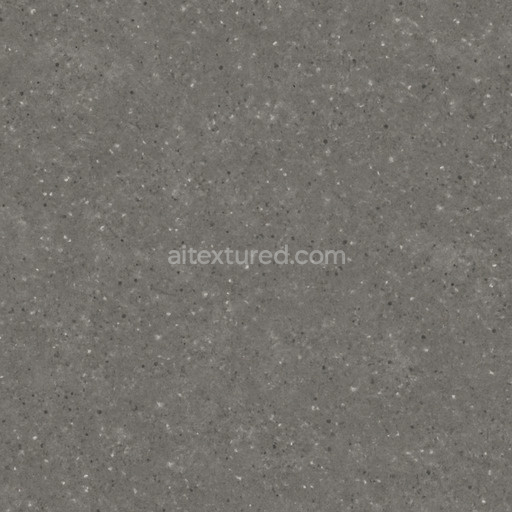
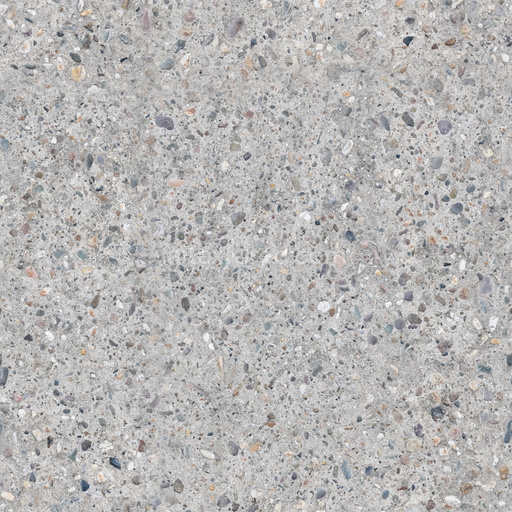
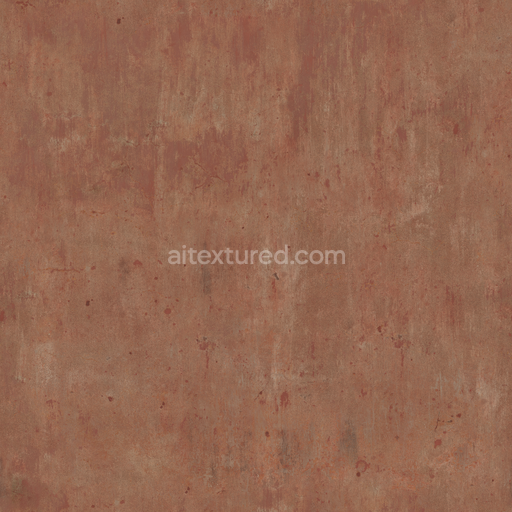
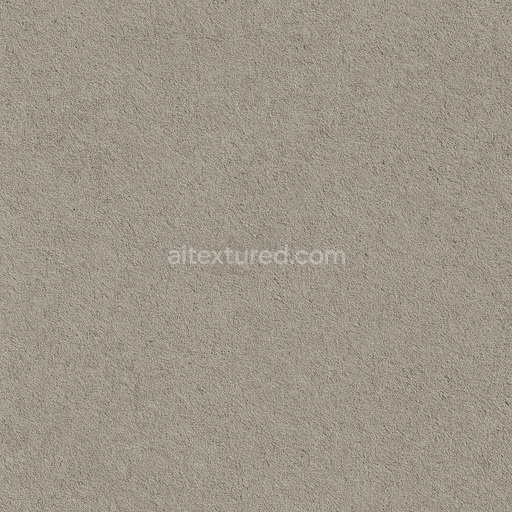
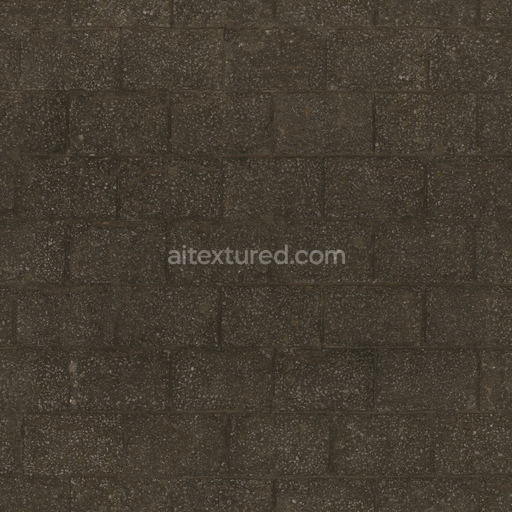
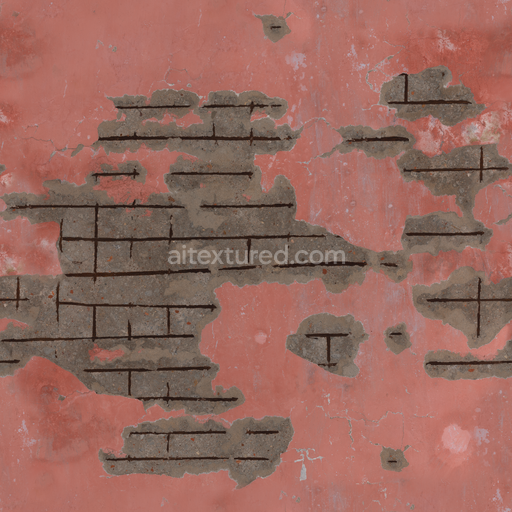
This grey asphalt texture offers a high-quality, seamless PBR material meticulously crafted to replicate the intricate composition and visual complexity of urban pavement surfaces. Its base substrate primarily consists of mineral aggregates such as crushed stone, sand, and gravel, which are tightly bound together by bituminous binders—organic polymers derived from refined petroleum. These binders function as strong adhesives, holding the granular particles firmly in place while permitting slight porosity and the formation of natural micro-cracks. These weathering effects and mechanical wear contribute to a realistic, aged appearance. The surface finish is predominantly matte, exhibiting subtle variations in roughness due to uneven grain size distribution and occasional embedded fine dust or debris, capturing the authentic, worn texture typical of city streets and roadways.
In terms of PBR channels, the BaseColor or Albedo map accurately reflects the muted grey tones characteristic of asphalt, including subtle pigment variations resulting from mineral inclusions and oxidation of the bituminous binder. The Normal map highlights the fine surface irregularities and grain orientation, enhancing light interaction and producing realistic shadowing effects on small-scale details. Roughness values are precisely calibrated to represent the semi-porous and weathered nature of asphalt—striking a balance that avoids both excessive glossiness and a completely matte finish. The Metallic channel remains close to zero, consistent with asphalt’s inherently non-metallic composition. Ambient Occlusion intensifies the perception of crevices between aggregates, while the Height or Displacement map conveys depth variations from cracks and protruding particles, significantly enhancing realism when applied to 3D models.
Rendered in resolutions up to 8K, this texture ensures exceptional clarity and detail, suitable for close-up views or expansive urban environments in Blender, Unreal Engine, and Unity. For optimal results, adjusting the UV scale to mirror real-world asphalt slab dimensions helps maintain consistent texture density and prevents distortion. Additionally, fine-tuning roughness parameters allows simulation of different weather conditions—from freshly laid, smooth surfaces to heavily worn, rain-slicked pavements—adding valuable versatility for varied scene requirements and enhancing the overall visual authenticity of your projects.
Import the texture maps into Blender with sRGB color space for albedo/base color and Non-Color for normal, roughness, metallic, AO, height, and ORM maps. Connect normal maps through a Normal Map node, then adjust UV scale with a Mapping node so the material repeats naturally on your model.
For the full step-by-step setup, see How to Use Seamless Textures in Blender. Browse related material examples in wood, concrete, and metal.
Yes. This texture is designed as a seamless tileable PBR material, so it can repeat across large surfaces without visible borders.
You can download PNG/WEBP versions and use 1K, 2K, 4K and 8K download options when available on the page.
Yes. The download options and engine-mapped ZIP workflow are designed for Blender, Unreal Engine, Unity Standard, URP and HDRP material pipelines.
Yes. The texture is available under the AITextured free commercial license. Review the license page for redistribution and AI-training restrictions.

Build, preview, and export seamless PBR materials. Generate full map sets from a single image, inspect them in a real-time WebGL viewer, and re-package maps for Unreal, Unity, and Blender—directly in your browser.
AI text-to-texture: type a prompt and get a seamless, tileable base image ready for PBR workflows (great starting point for materials).
Create a full PBR set (Normal, Roughness, AO, Metallic, etc.) from a single image. Seamless and tiling-friendly.
Instant WebGL viewer: inspect materials on a sphere, plane, and cube. Check tiling and lighting in real time.
Re-packages maps per engine: Unreal (BaseColor + ORM), Unity (Mask/MetallicSmoothness), Blender (separate channels).
PNG ↔ JPG ↔ SVG: fast convert, SVG rasterize, embed/trace options, quality & background controls.