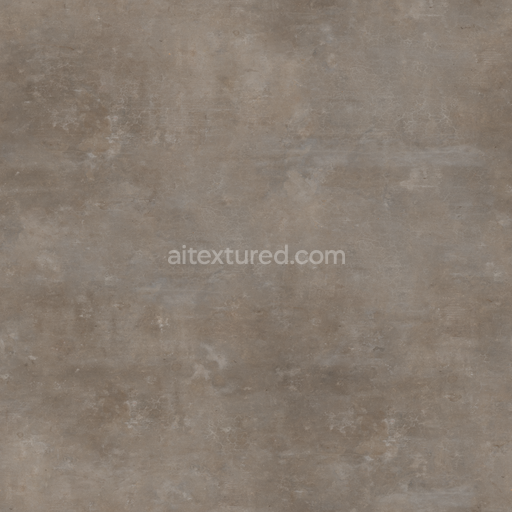
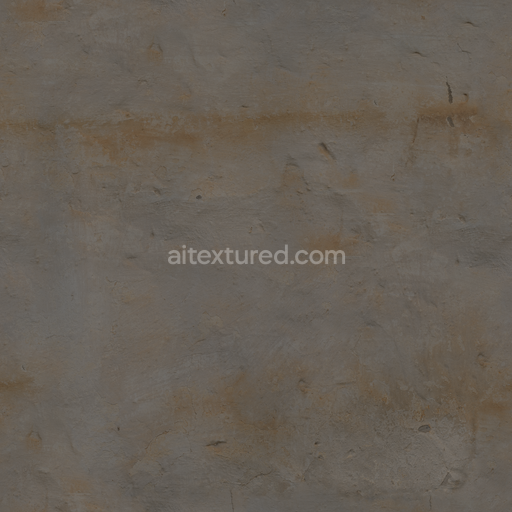
Plastered Exterior Worn - Scratched Plaster Plastered Worn Chipped Wall
Seamless texture (tileable) · PNG, WEBP, PBR ZIP. License: AITextured Free Commercial License (FCL) v1.1. Free personal and commercial use. Raw resale, standalone redistribution, mirroring/scraping, competing asset packs, and AI/ML training are not allowed without written permission. Attribution is not required, but appreciated..

| ID | concrete-slab-wall-rough-old-concrete-cracked-chipped-cement |
|---|---|
| Category | Concrete |
| Formats | PNG, WEBP, PBR ZIP |
| Size | 1k (1024x1024px), 2k (2048x2048px), 4k (4096x4096px), 8k (8192x8192px) |
| Color | sRGB |
| Tileable | Yes |
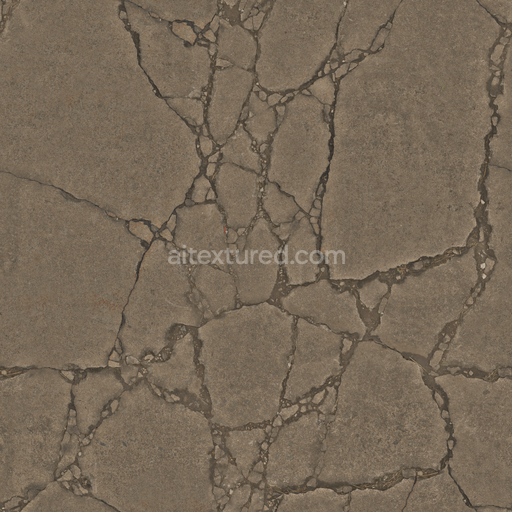
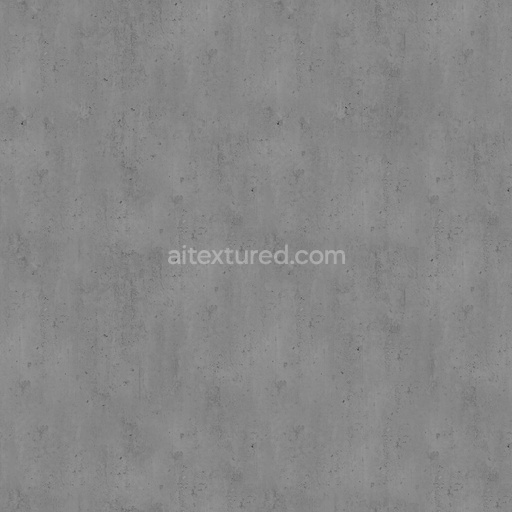
This concrete slab wall texture represents a rough old and weathered surface of cracked cement showcasing the natural aging and wear typical of exterior coarse concrete structures. The base substrate is mineral-rich concrete composed primarily of cement binders mixed with aggregates such as sand and gravel which contribute to its coarse texture and structural integrity. Over time exposure to environmental factors has caused surface imperfections including cracks chips and scratches which are faithfully captured in the texture’s physically based rendering (PBR) channels. The weathered finish highlights subtle variations in porosity and micro-surface irregularities with a predominantly matte appearance punctuated by occasional rough patches and worn edges reflecting the natural oxidation and mineral deposits common to aged concrete walls.
The PBR maps included in this seamless 3D texture package—albedo (base color) normal roughness ambient occlusion (AO) and height—work together to recreate the visual complexity of this cracked and chipped concrete slab. The albedo channel carries the muted grey tones and subtle color shifts caused by dirt dust and mineral staining while the normal map simulates the intricate surface relief of cracks and chips for enhanced depth perception. The roughness map defines how light scatters across the surface emphasizing the coarse weathered finish without metallic reflections as concrete is non-metallic by nature. Ambient occlusion adds soft shadows in crevices and cracks increasing realism and the height map enhances geometric detail to simulate displacement and parallax effects critical for close-up views in modern rendering pipelines.
Designed with seamless tiling in mind this texture is optimized for high-end 3D applications available in 4K resolution with an optional 8K upgrade for ultra-detailed projects. It integrates smoothly into popular software like Blender Unreal Engine and Unity supporting the metal/rough workflow for consistent shading across real-time and offline renderers. Calibration adjustments ensure reliable results without manual tweaking balancing detail and performance effectively across digital content creation tools and game engines. To maximize realism it is recommended to adjust the UV scale carefully to avoid repetition artifacts and fine-tune the roughness map slightly to match lighting conditions in your scene especially in exterior environments where weathering effects vary.
Import the texture maps into Blender with sRGB color space for albedo/base color and Non-Color for normal, roughness, metallic, AO, height, and ORM maps. Connect normal maps through a Normal Map node, then adjust UV scale with a Mapping node so the material repeats naturally on your model.
For the full step-by-step setup, see How to Use Seamless Textures in Blender. Browse related material examples in wood, concrete, and metal.
Yes. This texture is designed as a seamless tileable PBR material, so it can repeat across large surfaces without visible borders.
You can download PNG/WEBP versions and use 1K, 2K, 4K and 8K download options when available on the page.
Yes. The download options and engine-mapped ZIP workflow are designed for Blender, Unreal Engine, Unity Standard, URP and HDRP material pipelines.
Yes. The texture is available under the AITextured free commercial license. Review the license page for redistribution and AI-training restrictions.

Build, preview, and export seamless PBR materials. Generate full map sets from a single image, inspect them in a real-time WebGL viewer, and re-package maps for Unreal, Unity, and Blender—directly in your browser.
AI text-to-texture: type a prompt and get a seamless, tileable base image ready for PBR workflows (great starting point for materials).
Create a full PBR set (Normal, Roughness, AO, Metallic, etc.) from a single image. Seamless and tiling-friendly.
Instant WebGL viewer: inspect materials on a sphere, plane, and cube. Check tiling and lighting in real time.
Re-packages maps per engine: Unreal (BaseColor + ORM), Unity (Mask/MetallicSmoothness), Blender (separate channels).
PNG ↔ JPG ↔ SVG: fast convert, SVG rasterize, embed/trace options, quality & background controls.