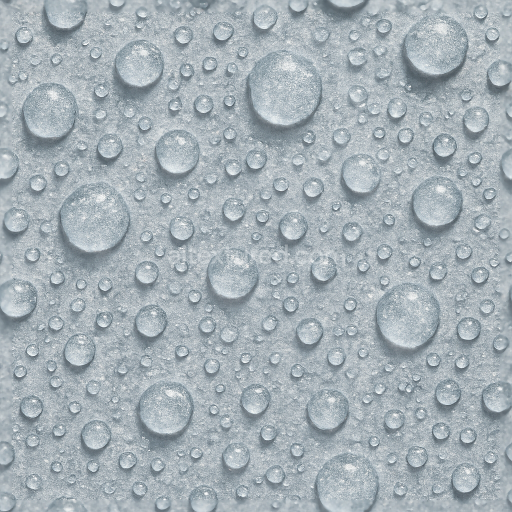
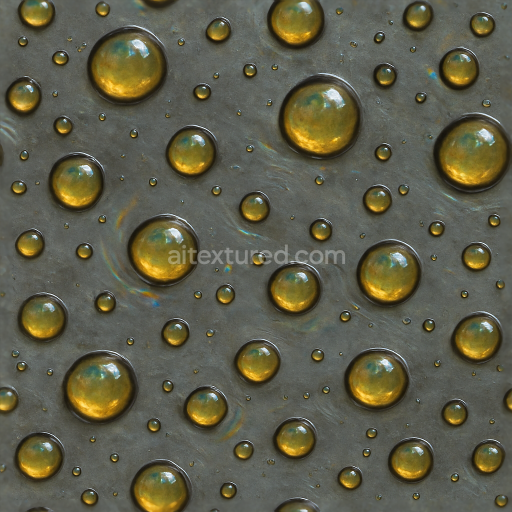
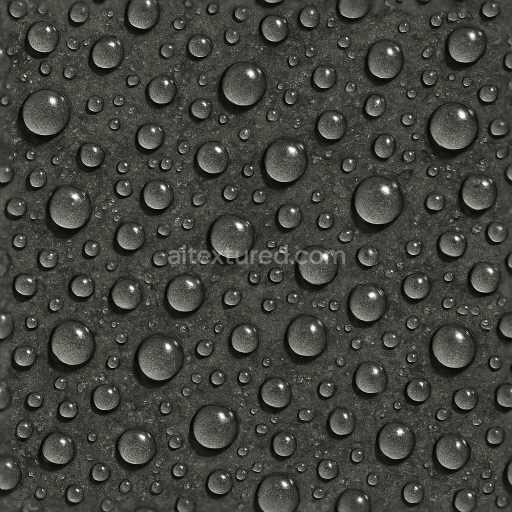
Frozen Icy Droplets On Cold Surface
Seamless texture (tileable) · PNG, WEBP, PBR ZIP. License: AITextured Free Commercial License (FCL) v1.1. Free personal and commercial use. Raw resale, standalone redistribution, mirroring/scraping, competing asset packs, and AI/ML training are not allowed without written permission. Attribution is not required, but appreciated..

| ID | seamless-3d-texture-pbr-8k-liquid-bubble-cluster-on-wet-stone-surface |
|---|---|
| Category | Drops |
| Formats | PNG, WEBP, PBR ZIP |
| Size | 1k (1024x1024px), 2k (2048x2048px), 4k (4096x4096px), 8k (8192x8192px) |
| Color | sRGB |
| Tileable | Yes |
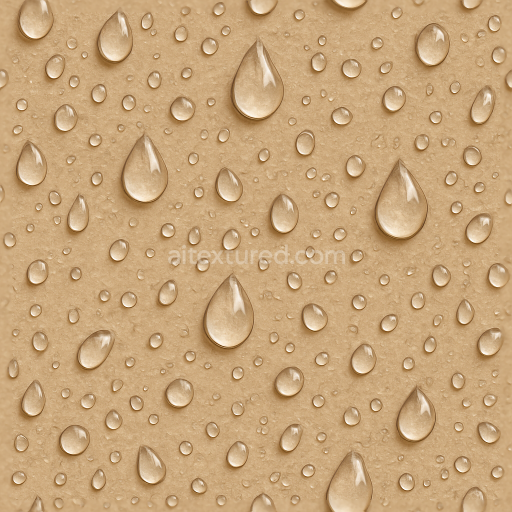
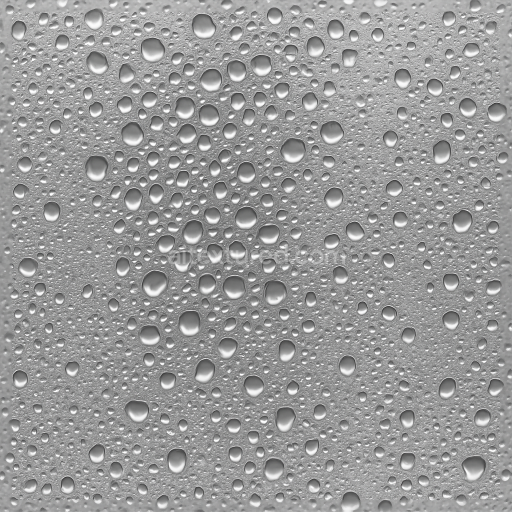
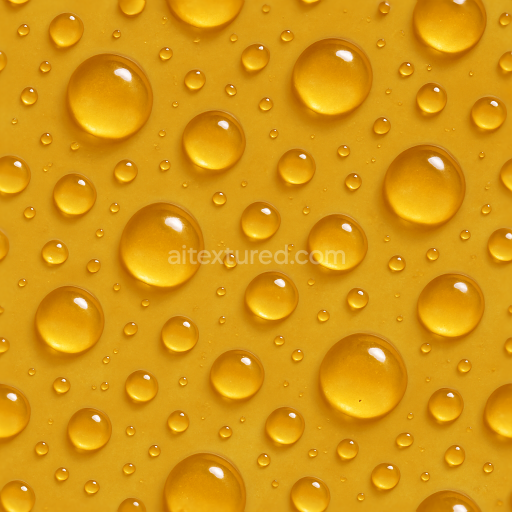
This seamless 3D PBR texture in stunning 8K resolution presents a detailed cluster of liquid bubbles resting naturally on a wet stone surface. The base substrate is a rugged mineral stone characterized by a rough uneven finish that showcases natural porosity and weathering effects. This stone foundation features subtle color variations created by mineral pigments and oxide layers giving depth and authenticity to the BaseColor/Albedo channel. The liquid bubbles adhere convincingly to the stone held together by surface tension and subtle adhesion forces creating varied bubble sizes and distributions that simulate realistic micro-variations. These details are expertly captured across the Normal and Height channels enhancing the tactile feel of the wet uneven surface and the delicate bubble contours.*
The Roughness channel skillfully balances the wetness of the stone and the glossy reflective nature of the liquid bubbles allowing highlights and reflections to respond naturally to light sources. The bubbles themselves display detailed reflections and a subtle metallic sheen in the Metallic channel simulating thin liquid films that add to the photorealistic effect. Ambient Occlusion maps emphasize the crevices and pockets where moisture collects reinforcing depth and realism. The surface finish is a combination of polished wetness on the bubbles and a more matte weathered stone texture beneath providing a convincing contrast that enhances visual complexity in industrial and natural 3D visualizations.*
Designed for seamless tiling this PBR texture is fully optimized and ready for use in Blender Unreal Engine and Unity environments supporting high-fidelity renders and real-time applications. Its 8K resolution ensures maximum detail and clarity perfect for close-up shots where texture intricacies matter. For practical usage adjusting the UV scale can help tailor the cluster size to your scene while fine-tuning the roughness value allows control over the wetness effect making the bubbles appear either more glossy or subdued depending on lighting conditions. This texture is ideal for projects requiring a convincing wet stone surface with natural liquid bubble formations enhancing realism in architectural visualization game assets and detailed environmental renders.
Import the texture maps into Blender with sRGB color space for albedo/base color and Non-Color for normal, roughness, metallic, AO, height, and ORM maps. Connect normal maps through a Normal Map node, then adjust UV scale with a Mapping node so the material repeats naturally on your model.
For the full step-by-step setup, see How to Use Seamless Textures in Blender. Browse related material examples in wood, concrete, and metal.
Yes. This texture is designed as a seamless tileable PBR material, so it can repeat across large surfaces without visible borders.
You can download PNG/WEBP versions and use 1K, 2K, 4K and 8K download options when available on the page.
Yes. The download options and engine-mapped ZIP workflow are designed for Blender, Unreal Engine, Unity Standard, URP and HDRP material pipelines.
Yes. The texture is available under the AITextured free commercial license. Review the license page for redistribution and AI-training restrictions.


Build, preview, and export seamless PBR materials. Generate full map sets from a single image, inspect them in a real-time WebGL viewer, and re-package maps for Unreal, Unity, and Blender—directly in your browser.
AI text-to-texture: type a prompt and get a seamless, tileable base image ready for PBR workflows (great starting point for materials).
Create a full PBR set (Normal, Roughness, AO, Metallic, etc.) from a single image. Seamless and tiling-friendly.
Instant WebGL viewer: inspect materials on a sphere, plane, and cube. Check tiling and lighting in real time.
Re-packages maps per engine: Unreal (BaseColor + ORM), Unity (Mask/MetallicSmoothness), Blender (separate channels).
PNG ↔ JPG ↔ SVG: fast convert, SVG rasterize, embed/trace options, quality & background controls.