Comprehensive Seamless Fabric Textures
Seamless texture (tileable) · PNG, WEBP, PBR ZIP. License: AITextured Free Commercial License (FCL) v1.1. Free personal and commercial use. Raw resale, standalone redistribution, mirroring/scraping, competing asset packs, and AI/ML training are not allowed without written permission. Attribution is not required, but appreciated..

| ID | ornate-cotton-texture-seamless |
|---|---|
| Category | Fabric |
| Formats | PNG, WEBP, PBR ZIP |
| Size | 1k (1024x1024px), 2k (2048x2048px), 4k (4096x4096px), 8k (8192x8192px) |
| Color | sRGB |
| Tileable | Yes |
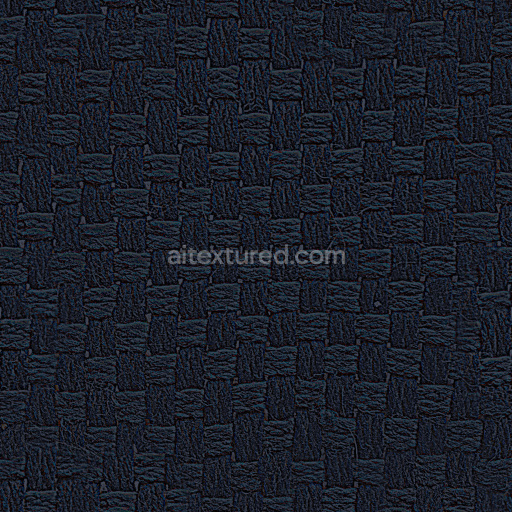
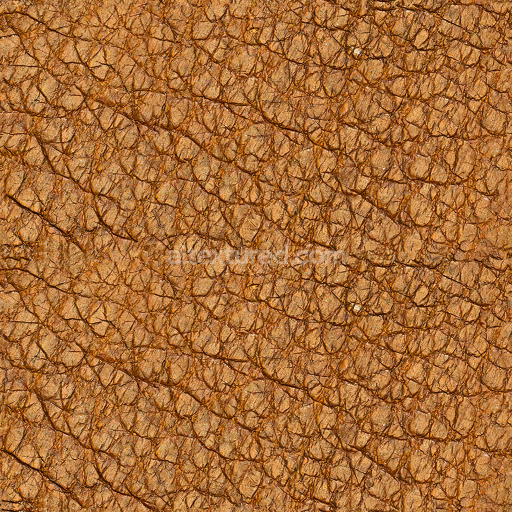
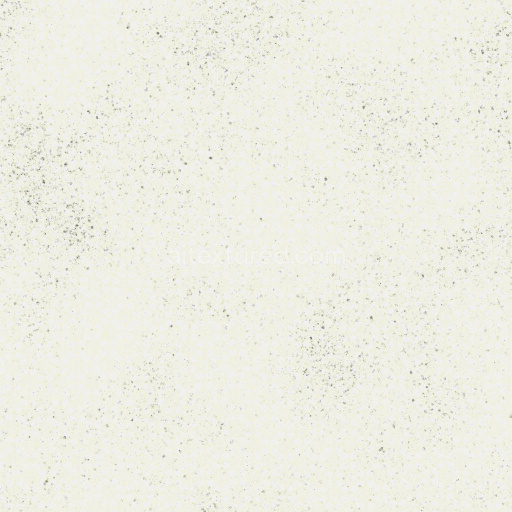
Discover the Ornate Cotton Texture Seamless high resolution up to 8K a meticulously crafted fabric texture designed to elevate your 3D projects with unmatched clarity and realism. This texture captures the intricate weave and natural softness of cotton fibers reflecting a base substrate composed of fine organic polymers intricately interlaced to create a durable yet breathable surface. The composition highlights subtle variations in fiber orientation and porosity typical of high-quality cotton fabric with natural pigments lending a warm off-white tone enhanced by delicate dye patterns that add depth and authenticity. The surface finish is matte with a soft tactile feel exhibiting slight irregularities that convey weathering and wear without compromising the fabric’s elegant appearance.
In physically based rendering (PBR) workflows this ornate cotton texture seamlessly translates across channels. The BaseColor (Albedo) map reveals the nuanced coloration and dye saturation while the Normal map accurately portrays the micro-details of the fiber weave and thread intersections creating realistic light interaction. The Roughness map balances the soft matte finish by controlling subtle light diffusion whereas the Metallic channel remains minimal reflecting the organic non-metallic nature of the textile. Ambient Occlusion enhances depth perception in crevices between threads and the Height/Displacement map provides precise surface relief to simulate the tactile quality of woven cotton making this texture perfect for high fidelity renders.
With a resolution up to 8k this tileable ornate cotton texture is optimized for modern pipelines ensuring consistency and clarity even across expansive UV islands. It integrates effortlessly into Blender Unreal Engine and Unity environments requiring minimal setup to achieve professional-grade results. Ideal for applications ranging from architectural visualization and environment art to quick look-dev and concept prototyping it supports a seamless workflow for artists and developers. For the best effect consider adjusting the UV scale to maintain realistic fabric detail and fine-tune the roughness slightly to simulate different finish levels from soft cotton linens to more weathered textiles enhancing the material’s versatility in diverse scenes.
This tileable ornate cotton texture seamless high resolution up to 8K offers a detailed fabric texture with a realistic PBR appearance ideal for PBR texture applications and 3D preview rendering.
Import the texture maps into Blender with sRGB color space for albedo/base color and Non-Color for normal, roughness, metallic, AO, height, and ORM maps. Connect normal maps through a Normal Map node, then adjust UV scale with a Mapping node so the material repeats naturally on your model.
For the full step-by-step setup, see How to Use Seamless Textures in Blender. Browse related material examples in wood, concrete, and metal.
Yes. This texture is designed as a seamless tileable PBR material, so it can repeat across large surfaces without visible borders.
You can download PNG/WEBP versions and use 1K, 2K, 4K and 8K download options when available on the page.
Yes. The download options and engine-mapped ZIP workflow are designed for Blender, Unreal Engine, Unity Standard, URP and HDRP material pipelines.
Yes. The texture is available under the AITextured free commercial license. Review the license page for redistribution and AI-training restrictions.


Generate, preview, and export seamless PBR materials for Blender, Unity, and Unreal Engine—directly in your browser.
AI text-to-texture: type a prompt and get a seamless, tileable base image ready for PBR workflows (great starting point for materials).
Create a full PBR set (Normal, Roughness, AO, Metallic, etc.) from a single image. Seamless and tiling-friendly.
Instant WebGL viewer: inspect materials on a sphere, plane, and cube. Check tiling and lighting in real time.
Re-packages maps per engine: Unreal (BaseColor + ORM), Unity (Mask/MetallicSmoothness), Blender (separate channels).
PNG ↔ JPG ↔ SVG: fast convert, SVG rasterize, embed/trace options, quality & background controls.