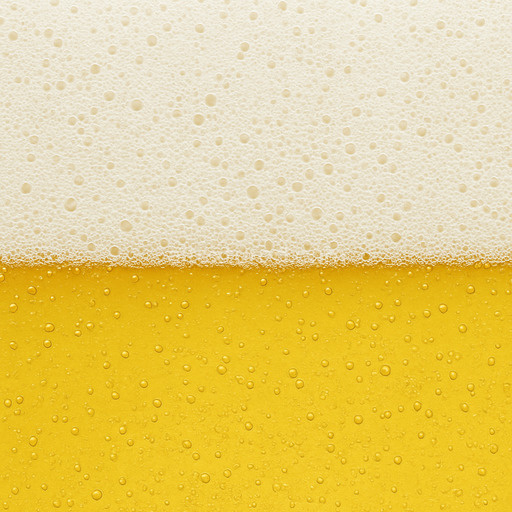
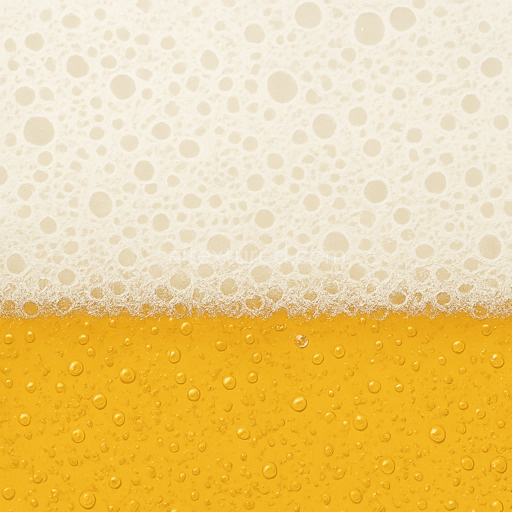
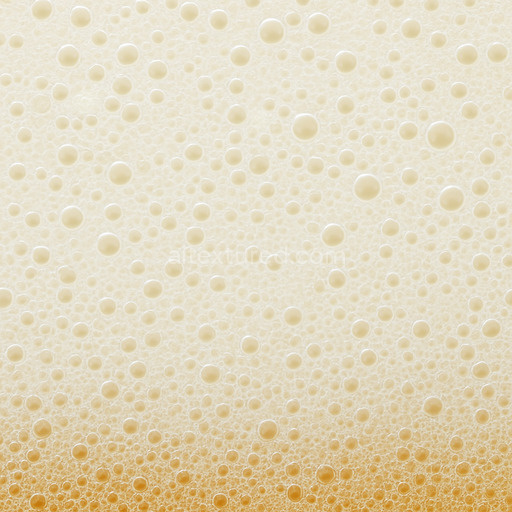
Beer Froth Seamless Texture
Seamless texture (tileable) · PNG, WEBP, PBR ZIP. License: AITextured Free Commercial License (FCL) v1.1. Free personal and commercial use. Raw resale, standalone redistribution, mirroring/scraping, competing asset packs, and AI/ML training are not allowed without written permission. Attribution is not required, but appreciated..

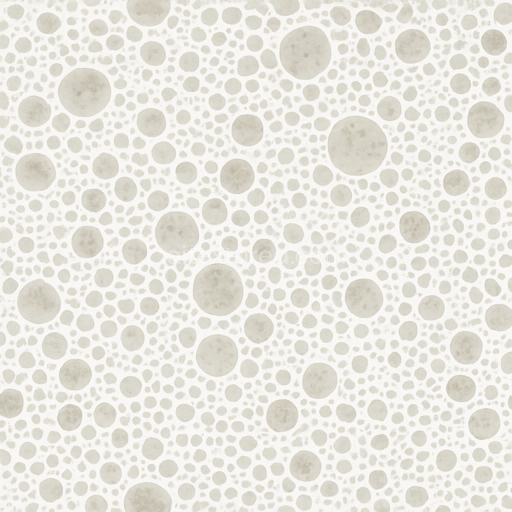
| ID | bubbly-soap-foam-seamless-texture |
|---|---|
| Category | Foam |
| Formats | PNG, WEBP, PBR ZIP |
| Size | 1k (1024x1024px), 2k (2048x2048px), 4k (4096x4096px), 8k (8192x8192px) |
| Color | sRGB |
| Tileable | Yes |
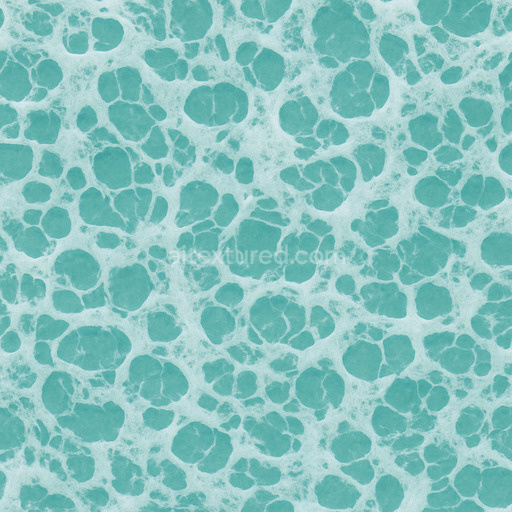
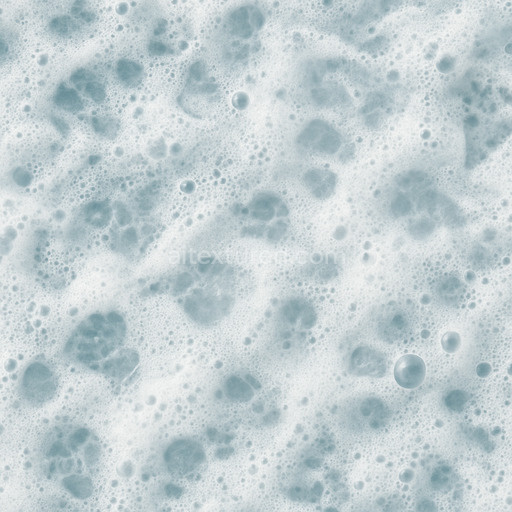
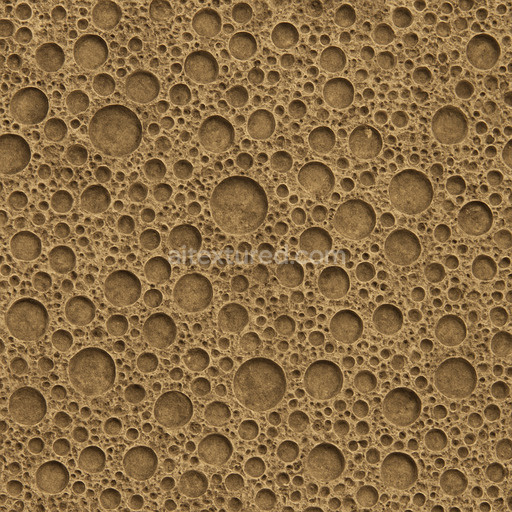
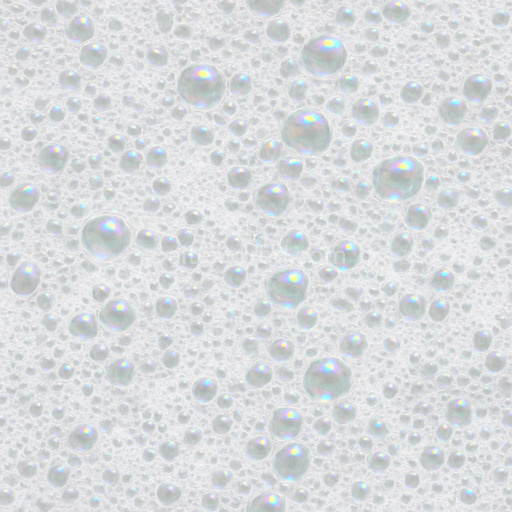
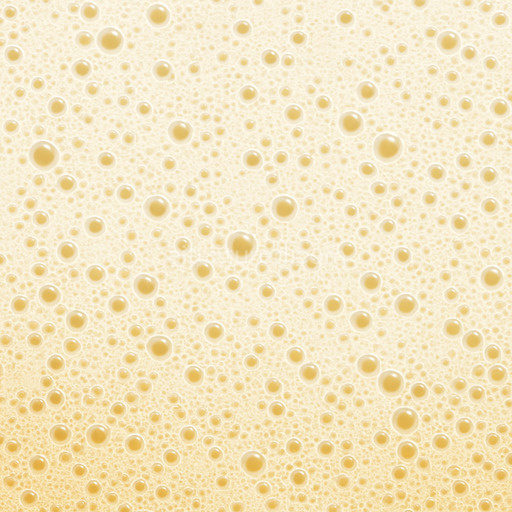
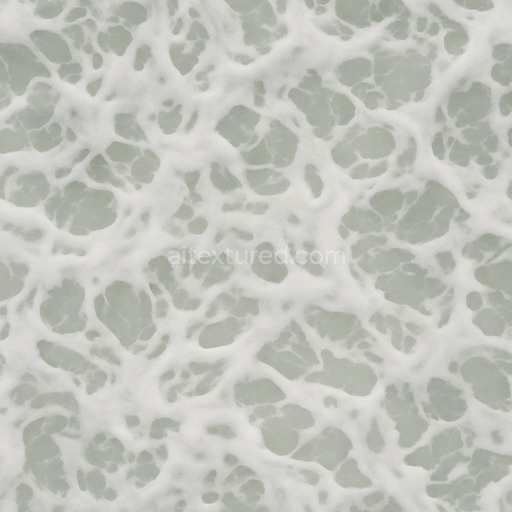
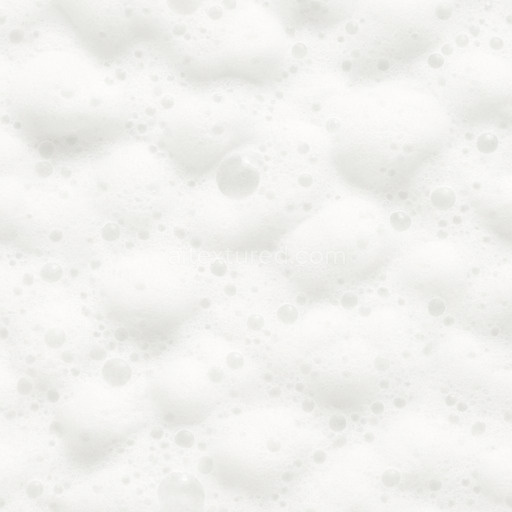
The Bubbly Soap Foam Seamless Texture is a generated tileable bubbly soap foam seamless texture crafted to enhance and accelerate your foam-related material workflows. This high-resolution texture available up to 8K delivers a clean and repeatable pattern that scales elegantly across large surfaces without visible seams making it ideal for quick look development environment art architectural visualization and concept prototyping. Designed with a polymeric organic base substrate that mimics the lightweight porous structure of real soap foam the texture captures the delicate arrangement of bubbles bound by thin liquid films stabilized by subtle surface tension effects. The composition reflects a hydrophilic matrix where minimal adhesive forces create a network of bubble walls while the surface finish emulates a soft slightly glossy film reminiscent of wet soap surfaces with gentle reflections and diffused highlights.
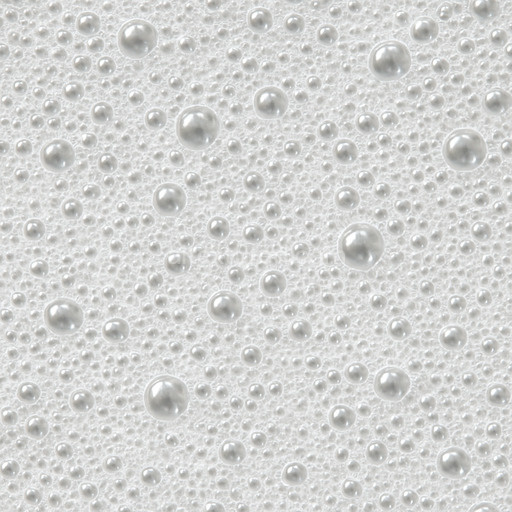
From a physically based rendering (PBR) perspective this seamless bubbly soap foam seamless texture offers detailed maps that contribute to its natural and believable appearance. The BaseColor/Albedo channel exhibits soft gradients of creamy whites and pale blues replicating the translucency and subtle iridescence of soap foam. The Normal map enhances the intricate topology of interconnected bubble surfaces and delicate ridges adding depth and realism to the material’s porous structure. Roughness values are carefully balanced to reflect a slightly polished moist surface that scatters light diffusely without excessive gloss while the Metallic channel remains near zero consistent with the non-metallic nature of soap foam. Ambient Occlusion subtly accentuates creases and bubble junctions to deepen shadows and enhance visual complexity and the Height/Displacement map highlights the undulating bubble geometry perfect for parallax or displacement adjustments to improve surface realism in close-up renders.
Optimized to work seamlessly out of the box with major 3D engines such as Blender Unreal Engine and Unity this texture bubbly soap foam seamless texture speeds up iteration loops by delivering a ready-to-use tileable solution that fits diverse creative projects. Its robust generation process balances crisp detail with controlled noise to avoid artificial uniformity ensuring a natural look that integrates effortlessly into a variety of lighting environments. For best results adjust the UV scale to maintain bubble size proportionality to your scene and fine-tune the roughness or normal map intensity to match your lighting setup keeping the material grounded and visually coherent across different angles and conditions.
The bubbly soap foam seamless texture showcases detailed foam textures with a realistic PBR appearance offering a high-quality 3D preview for accurate material visualization.
Import the texture maps into Blender with sRGB color space for albedo/base color and Non-Color for normal, roughness, metallic, AO, height, and ORM maps. Connect normal maps through a Normal Map node, then adjust UV scale with a Mapping node so the material repeats naturally on your model.
For the full step-by-step setup, see How to Use Seamless Textures in Blender. Browse related material examples in wood, concrete, and metal.
Yes. This texture is designed as a seamless tileable PBR material, so it can repeat across large surfaces without visible borders.
You can download PNG/WEBP versions and use 1K, 2K, 4K and 8K download options when available on the page.
Yes. The download options and engine-mapped ZIP workflow are designed for Blender, Unreal Engine, Unity Standard, URP and HDRP material pipelines.
Yes. The texture is available under the AITextured free commercial license. Review the license page for redistribution and AI-training restrictions.

Generate, preview, and export seamless PBR materials for Blender, Unity, and Unreal Engine—directly in your browser.
AI text-to-texture: type a prompt and get a seamless, tileable base image ready for PBR workflows (great starting point for materials).
Create a full PBR set (Normal, Roughness, AO, Metallic, etc.) from a single image. Seamless and tiling-friendly.
Instant WebGL viewer: inspect materials on a sphere, plane, and cube. Check tiling and lighting in real time.
Re-packages maps per engine: Unreal (BaseColor + ORM), Unity (Mask/MetallicSmoothness), Blender (separate channels).
PNG ↔ JPG ↔ SVG: fast convert, SVG rasterize, embed/trace options, quality & background controls.