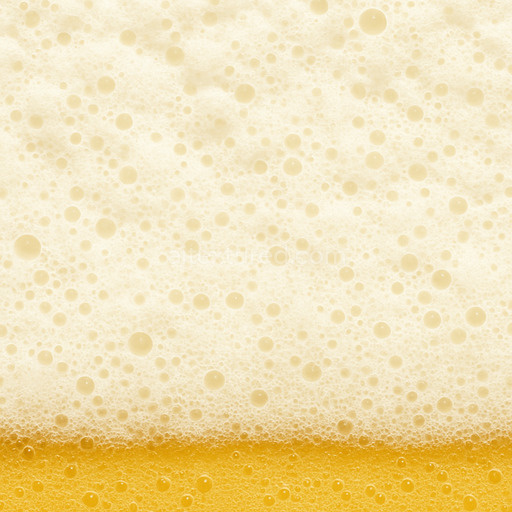
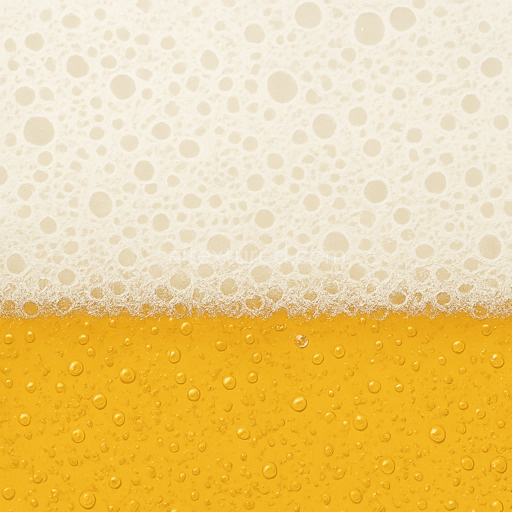
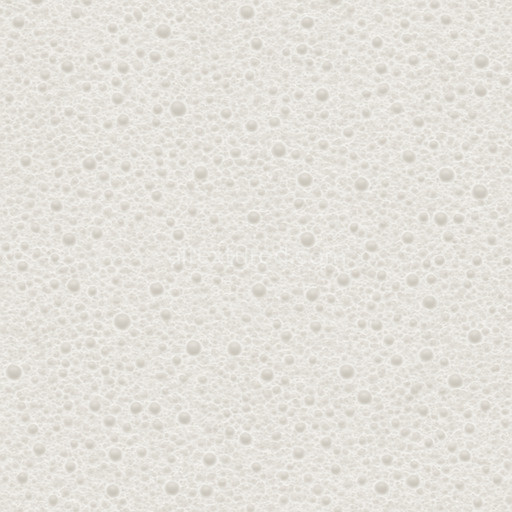
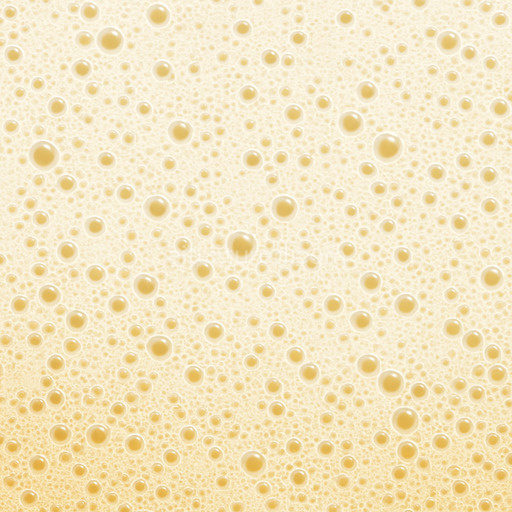
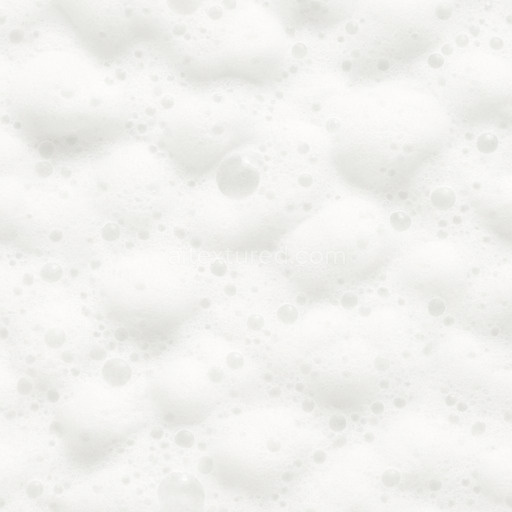
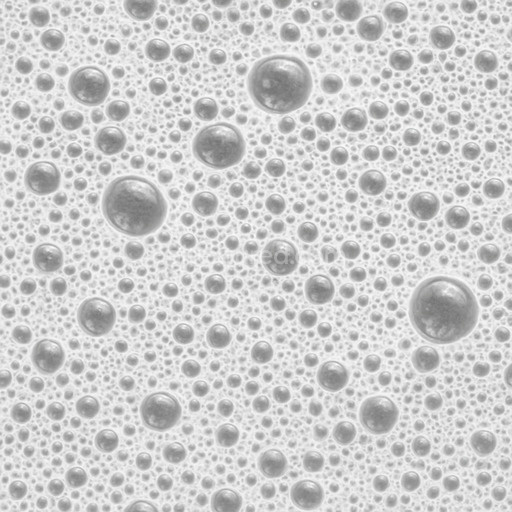
Fluffy Beer Foam Seamless Texture
Seamless texture (tileable) · PNG, WEBP, PBR ZIP. License: AITextured Free Commercial License (FCL) v1.1. Free personal and commercial use. Raw resale, standalone redistribution, mirroring/scraping, competing asset packs, and AI/ML training are not allowed without written permission. Attribution is not required, but appreciated..

| ID | beer-bubbles-seamless-texture |
|---|---|
| Category | Foam |
| Formats | PNG, WEBP, PBR ZIP |
| Size | 1k (1024x1024px), 2k (2048x2048px), 4k (4096x4096px), 8k (8192x8192px) |
| Color | sRGB |
| Tileable | Yes |
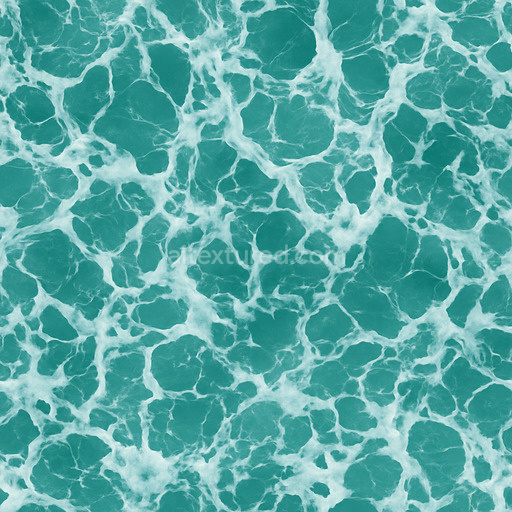
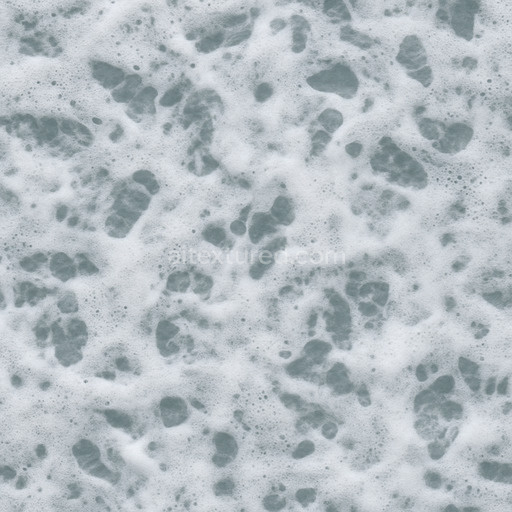
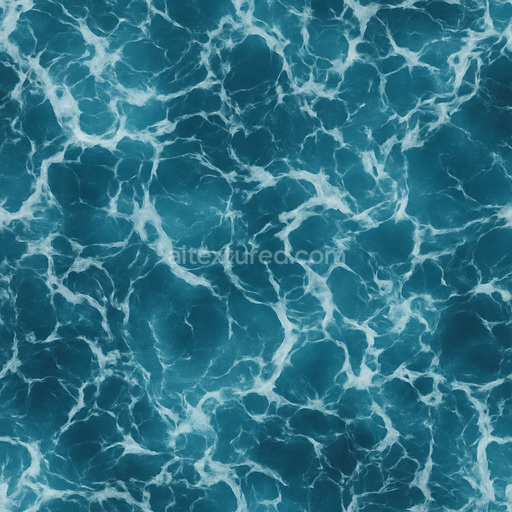
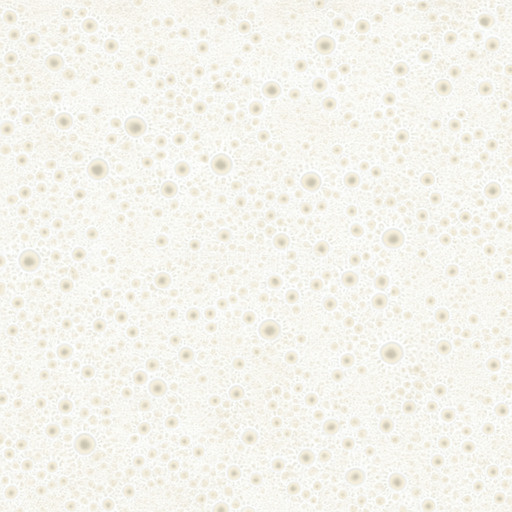
The Beer Bubbles Seamless Texture is a generated tileable texture designed specifically to replicate the intricate foam patterns found in beer bubbles. The base material conceptually simulates an organic substrate representing the delicate and translucent nature of frothy beer foam. This texture’s composition reflects a dynamic interplay between light and fluid surfaces with subtle variations in pore size and bubble clustering that emulate natural gas pockets suspended within a liquid matrix. Its surface finish evokes a smooth slightly glossy appearance consistent with wet foam enhanced by carefully controlled roughness and minimal metallic reflection to maintain a believable organic look. The colorants rely on pale amber hues and off-white pigments capturing the warm glow and translucency characteristic of freshly poured beer foam. Weathering or wear is minimal aligning with the ephemeral and fresh nature of foam bubbles rather than aged or degraded surfaces.
In terms of PBR (Physically Based Rendering) channels the BaseColor/Albedo map conveys the soft amber-to-white gradient that defines the foam’s light scattering properties. The Normal map introduces fine surface details simulating the multi-dimensional curvature and depth of overlapping bubbles giving the texture a tactile three-dimensional feel. Roughness is finely tuned to balance highlights and soft diffuse reflections replicating the slightly wet matte sheen typical of foam without introducing unwanted glossiness. The Metallic channel is kept near zero to reflect the non-metallic organic nature of beer foam. Ambient Occlusion enhances the subtle shadows within the crevices between bubbles adding depth and realism. Height or Displacement maps provide controlled relief for parallax effects allowing the texture to scale elegantly across large surfaces without visible seams crucial for seamless integration in complex 3D environments.
Created at up to 8K resolution this high-definition beer bubbles seamless texture is optimized for fast iteration workflows and works seamlessly out-of-the-box in major 3D software such as Blender Unity and Unreal Engine. The texture’s repeatable pattern ensures consistent coverage across expansive surfaces ideal for environment art architectural visualization concept prototyping and quick look development. To achieve the best visual results it is recommended to maintain uniform UV scaling across assets and carefully adjust roughness values to fine-tune the wetness and reflectivity of foam textures depending on lighting conditions. Utilizing its height map for subtle parallax or displacement effects can further enhance realism without sacrificing performance.
Overall this texture beer bubbles seamless texture provides a clean natural and believable foam texture solution that accelerates your creative workflows. Its robust generated pattern balances crisp detail with controlled noise ensuring a visually appealing and physically accurate surface that seamlessly scales across large areas without visible seams. Whether you’re working on 3D previews digital environments or architectural projects requiring authentic foam textures this tileable beer bubbles seamless texture offers a reliable and versatile material ready to integrate into your next scene.
Import the texture maps into Blender with sRGB color space for albedo/base color and Non-Color for normal, roughness, metallic, AO, height, and ORM maps. Connect normal maps through a Normal Map node, then adjust UV scale with a Mapping node so the material repeats naturally on your model.
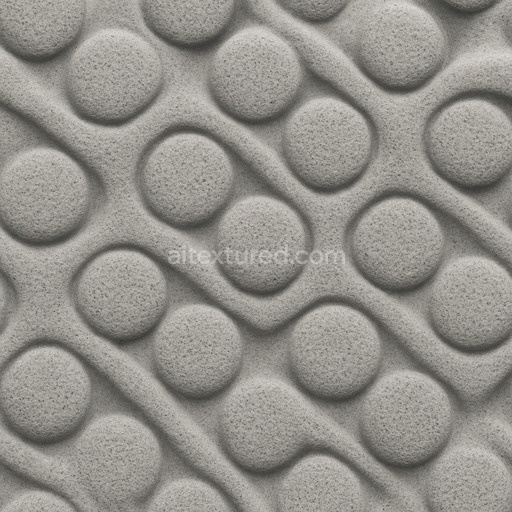
For the full step-by-step setup, see How to Use Seamless Textures in Blender. Browse related material examples in wood, concrete, and metal.
Yes. This texture is designed as a seamless tileable PBR material, so it can repeat across large surfaces without visible borders.
You can download PNG/WEBP versions and use 1K, 2K, 4K and 8K download options when available on the page.
Yes. The download options and engine-mapped ZIP workflow are designed for Blender, Unreal Engine, Unity Standard, URP and HDRP material pipelines.
Yes. The texture is available under the AITextured free commercial license. Review the license page for redistribution and AI-training restrictions.

Generate, preview, and export seamless PBR materials for Blender, Unity, and Unreal Engine—directly in your browser.
AI text-to-texture: type a prompt and get a seamless, tileable base image ready for PBR workflows (great starting point for materials).
Create a full PBR set (Normal, Roughness, AO, Metallic, etc.) from a single image. Seamless and tiling-friendly.
Instant WebGL viewer: inspect materials on a sphere, plane, and cube. Check tiling and lighting in real time.
Re-packages maps per engine: Unreal (BaseColor + ORM), Unity (Mask/MetallicSmoothness), Blender (separate channels).
PNG ↔ JPG ↔ SVG: fast convert, SVG rasterize, embed/trace options, quality & background controls.