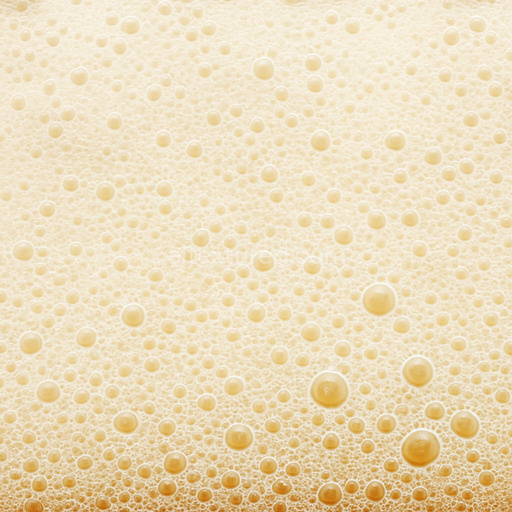
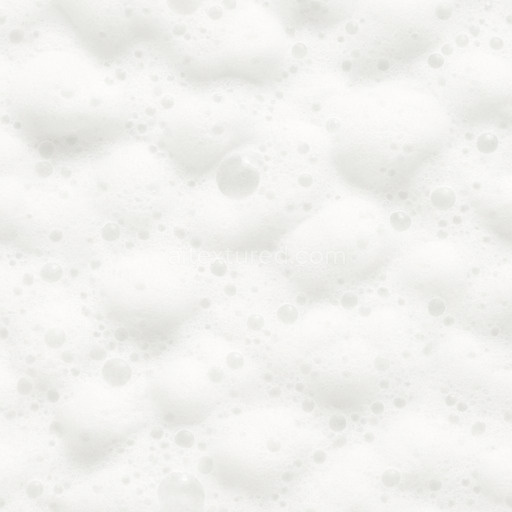
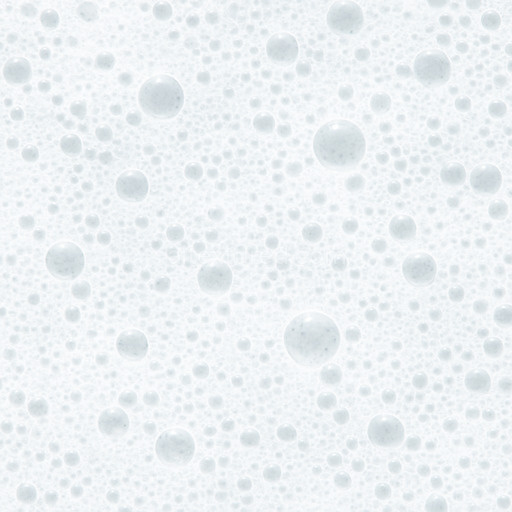
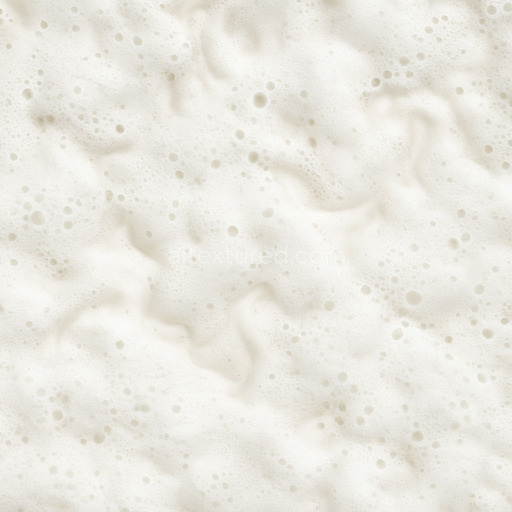
Thick Beer Foam Seamless Texture
Seamless texture (tileable) · PNG, WEBP, PBR ZIP. License: AITextured Free Commercial License (FCL) v1.1. Free personal and commercial use. Raw resale, standalone redistribution, mirroring/scraping, competing asset packs, and AI/ML training are not allowed without written permission. Attribution is not required, but appreciated..

| ID | soft-soap-foam-seamless-texture |
|---|---|
| Category | Foam |
| Formats | PNG, WEBP, PBR ZIP |
| Size | 1k (1024x1024px), 2k (2048x2048px), 4k (4096x4096px), 8k (8192x8192px) |
| Color | sRGB |
| Tileable | Yes |
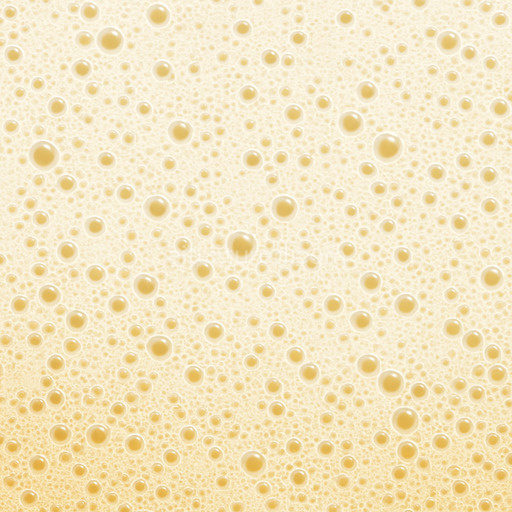
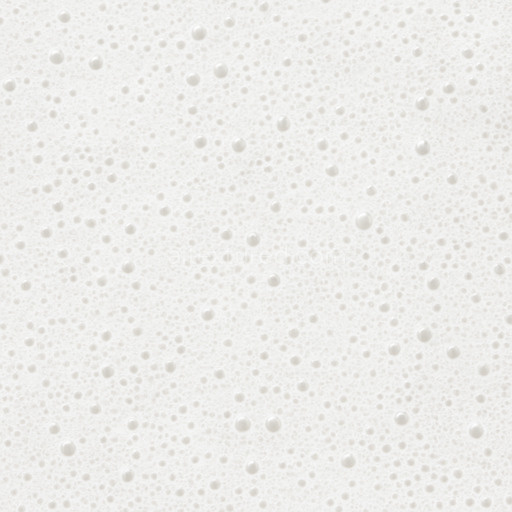
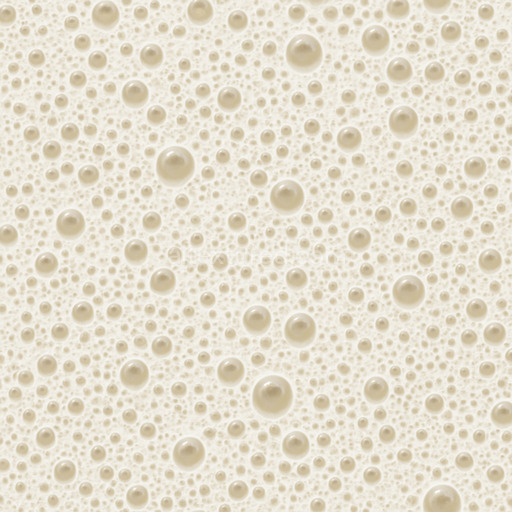
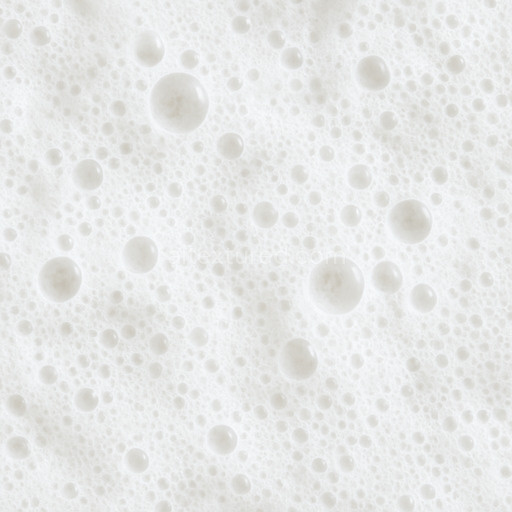
The Soft Soap Foam Seamless Texture is a meticulously crafted generated material designed to replicate the subtle complexity of soft soap foam surfaces with remarkable realism. At its core this texture emulates the delicate polymer structure typical of soap-based foams featuring a light porous substrate composed of densely packed air bubbles suspended within a thin film matrix. The surface finish is smooth yet slightly irregular capturing the fine micro-foam patterns formed by surface tension and surfactant molecules. This semi-translucent pale color palette is achieved through subtle variations in pigment concentration and light scattering which translate to the BaseColor (Albedo) channel as soft organic gradients with minimal saturation. The Normal map intricately conveys the undulating bubble-like shapes that create the foam’s characteristic dimensionality while the Roughness channel balances a mostly matte finish with localized specular highlights simulating the wet reflective qualities of soap foam without excessive glossiness. Metallic values remain near zero emphasizing the non-metallic organic nature of the material while Ambient Occlusion and Height maps enhance the perception of depth and shadow within the foam’s clustered microstructure contributing to a convincing 3D surface effect suitable for photorealistic rendering.
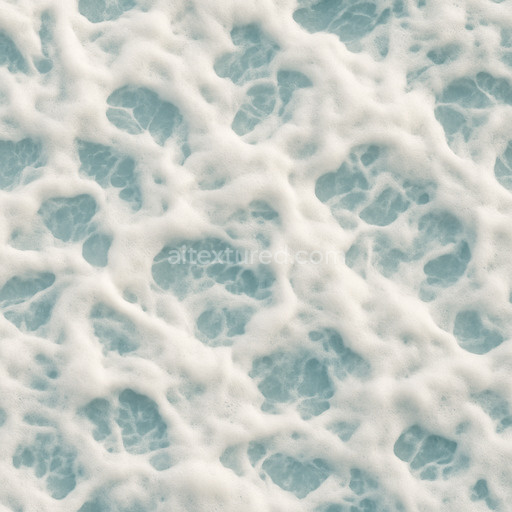
This tileable soft soap foam seamless texture excels in scalability supporting ultra-high resolutions up to 8K which ensures exceptional detail retention even on expansive surfaces. Its seamless repeatable pattern eliminates visible borders or artifacts making it ideal for real-time applications such as immersive game environments cinematic renderings level dressing and detailed material studies. The texture is fully compatible and optimized for popular 3D engines and software including Blender Unreal Engine and Unity facilitating a fast iteration loop and out-of-the-box usability. By leveraging this PBR material artists and developers can enhance their projects with organic realism and subtle surface complexity without compromising performance or workflow efficiency.
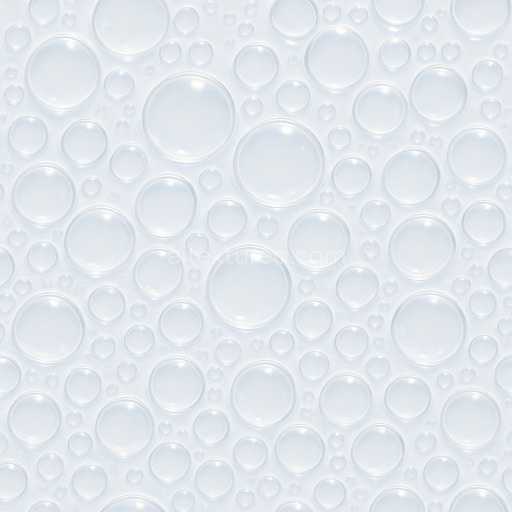
To maximize the visual impact of this foam texture in your PBR workflow it’s recommended to pair it with a fine-tuned Ambient Occlusion pass to accentuate the intricate shadows within the foam clusters and to apply a light Normal map intensity boost to emphasize the soft curvature without creating harsh edges. Adjusting the UV scale to match the scene’s proportional context helps maintain the natural appearance of the foam bubbles preventing texture stretching or repetition artifacts. Additionally fine-tuning the Roughness channel can simulate varying moisture levels—from freshly formed foam with a slight sheen to drier matte surfaces—allowing for versatile applications across different environmental conditions and lighting setups.
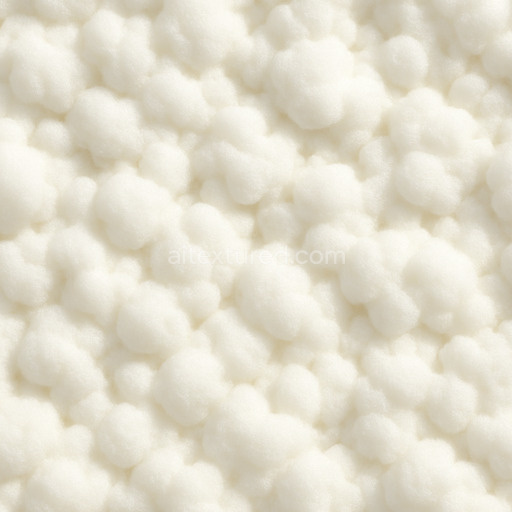
The 3D preview demonstrates the PBR texture soft soap foam seamless texture with realistic foam textures highlighting the soft soap foam seamless texture's consistent seamless texture and PBR material properties.
Import the texture maps into Blender with sRGB color space for albedo/base color and Non-Color for normal, roughness, metallic, AO, height, and ORM maps. Connect normal maps through a Normal Map node, then adjust UV scale with a Mapping node so the material repeats naturally on your model.
For the full step-by-step setup, see How to Use Seamless Textures in Blender. Browse related material examples in wood, concrete, and metal.
Yes. This texture is designed as a seamless tileable PBR material, so it can repeat across large surfaces without visible borders.
You can download PNG/WEBP versions and use 1K, 2K, 4K and 8K download options when available on the page.
Yes. The download options and engine-mapped ZIP workflow are designed for Blender, Unreal Engine, Unity Standard, URP and HDRP material pipelines.
Yes. The texture is available under the AITextured free commercial license. Review the license page for redistribution and AI-training restrictions.

Generate, preview, and export seamless PBR materials for Blender, Unity, and Unreal Engine—directly in your browser.
AI text-to-texture: type a prompt and get a seamless, tileable base image ready for PBR workflows (great starting point for materials).
Create a full PBR set (Normal, Roughness, AO, Metallic, etc.) from a single image. Seamless and tiling-friendly.
Instant WebGL viewer: inspect materials on a sphere, plane, and cube. Check tiling and lighting in real time.
Re-packages maps per engine: Unreal (BaseColor + ORM), Unity (Mask/MetallicSmoothness), Blender (separate channels).
PNG ↔ JPG ↔ SVG: fast convert, SVG rasterize, embed/trace options, quality & background controls.