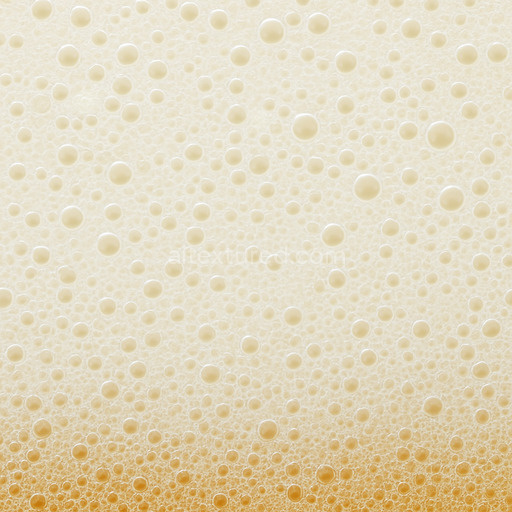
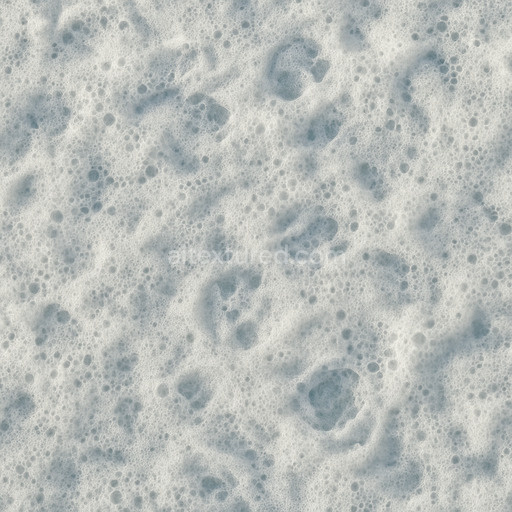
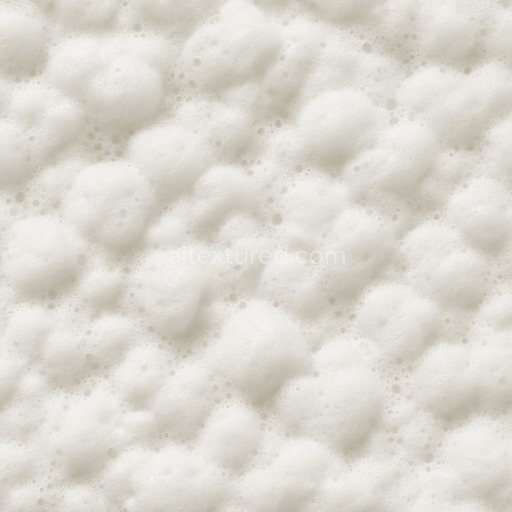
Soft Beer Foam Seamless Texture
Seamless texture (tileable) · PNG, WEBP, PBR ZIP. License: AITextured Free Commercial License (FCL) v1.1. Free personal and commercial use. Raw resale, standalone redistribution, mirroring/scraping, competing asset packs, and AI/ML training are not allowed without written permission. Attribution is not required, but appreciated..

| ID | soapy-sea-foam-seamless-texture |
|---|---|
| Category | Foam |
| Formats | PNG, WEBP, PBR ZIP |
| Size | 1k (1024x1024px), 2k (2048x2048px), 4k (4096x4096px), 8k (8192x8192px) |
| Color | sRGB |
| Tileable | Yes |
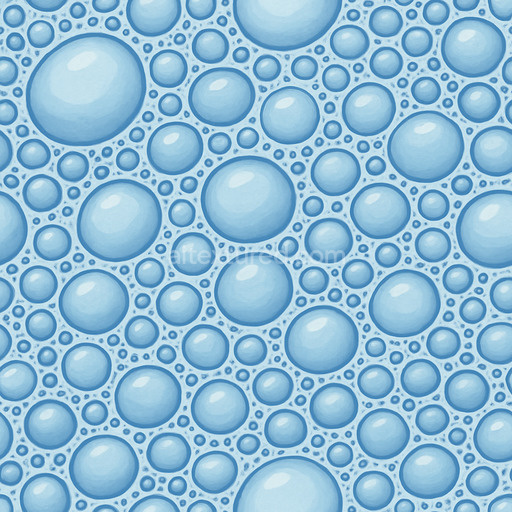
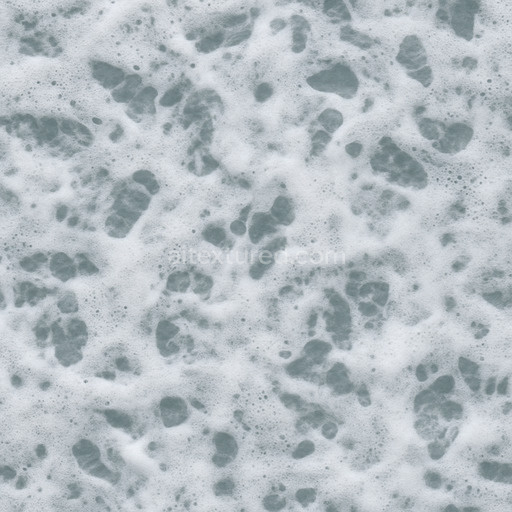
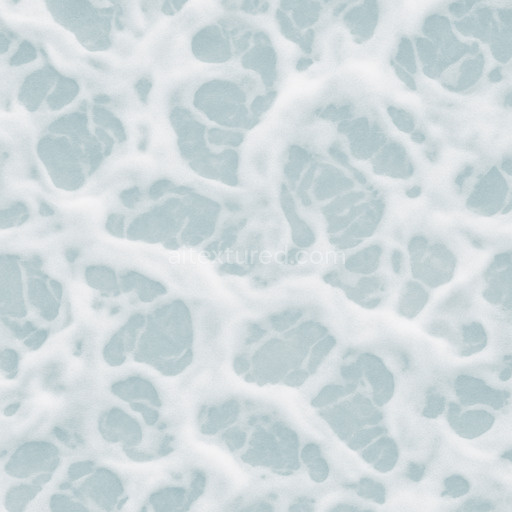
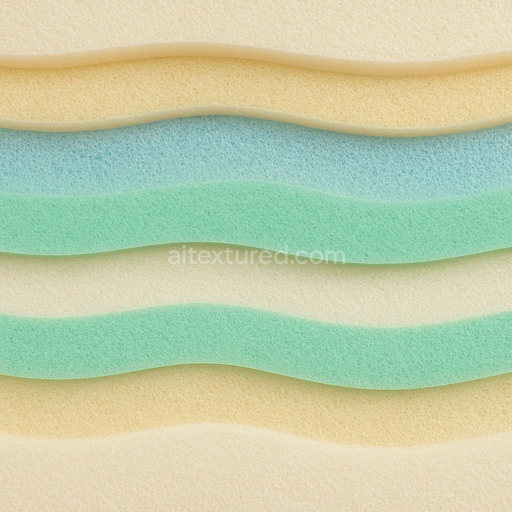
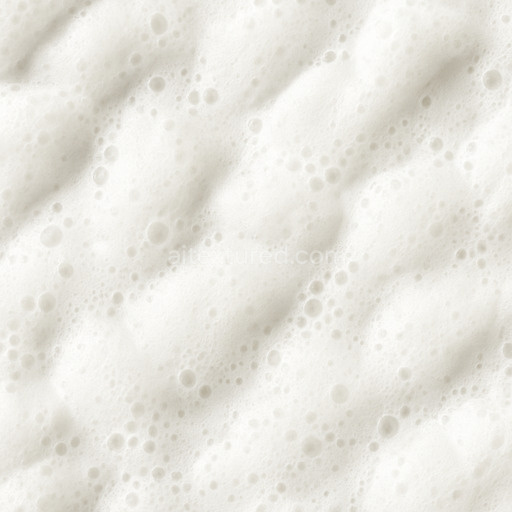
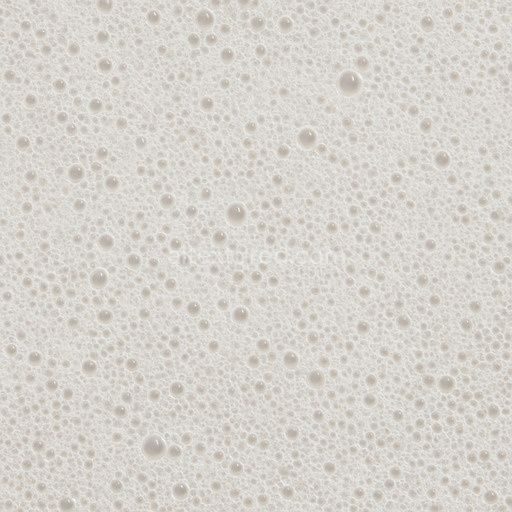
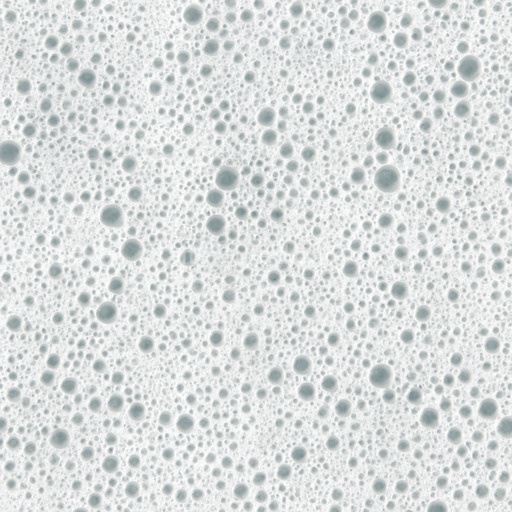
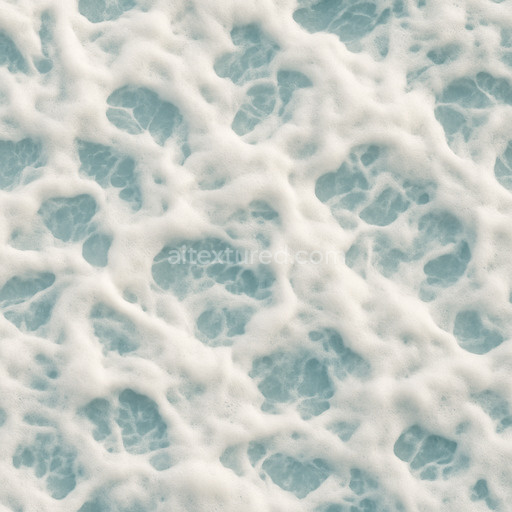
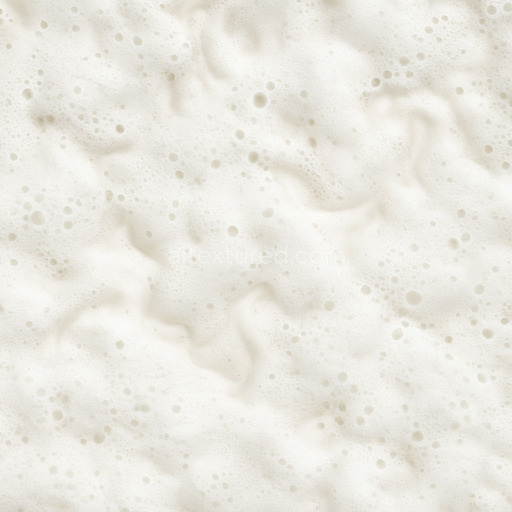
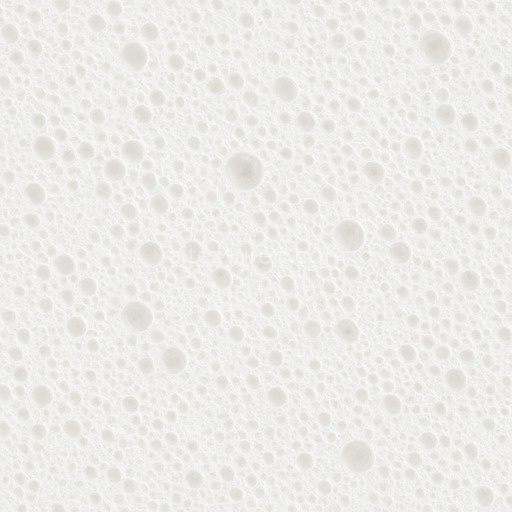
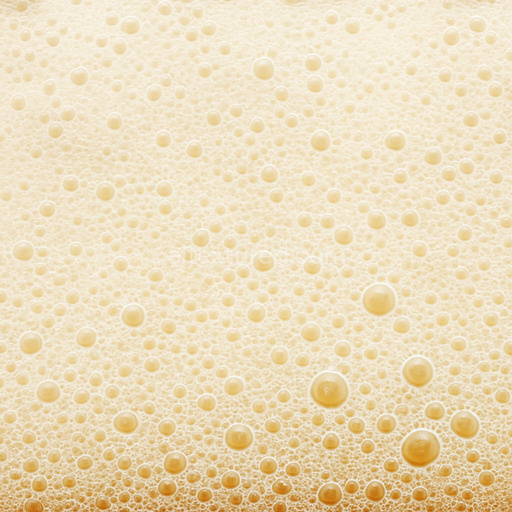
The Soapy Sea Foam Seamless Texture is a meticulously crafted generated material designed to replicate the intricate surface of sea foam enriched with delicate soap bubbles and frothy details. At its core this texture mimics an organic aqueous substrate where microbubbles and fine surfactants form a semi-translucent polymer-like layer atop a constantly shifting marine surface. The base composition suggests a complex interplay of water surfactant molecules acting as natural binders and dispersed air pockets creating a lightweight porous foam structure. The surface finish captures the wet glossy and slightly iridescent appearance characteristic of soapy sea foam with subtle variations in translucency and reflectivity adding realism. Pigments and natural colorants here are minimal emphasizing soft off-whites pale blues and faint greens that blend seamlessly in coastal environments.
In physically based rendering (PBR) workflows this tileable soapy sea foam seamless texture translates into distinct material channels for enhanced realism. The BaseColor (Albedo) channel provides the nuanced pale milky coloration with subtle gradients and translucency effects. The Normal map captures the tiny bubble clusters and foam crests generating micro-relief that interacts convincingly with lighting and shadows. The Roughness channel is finely tuned to reflect the wet smooth yet slightly uneven surface balancing glossiness and diffuse scattering while the Metallic channel remains near zero reflecting the non-metallic nature of foam. Ambient Occlusion highlights the crevices and clustered foam pockets adding depth and volume. Height or displacement maps can be employed sparingly to simulate subtle variations in foam thickness and surface breakup enhancing the tactile feel without overwhelming geometry.
Produced at a high resolution of up to 8K this seamless soapy sea foam texture ensures exceptional detail retention even on large-scale surfaces making it ideal for covering vast areas without visible repetition or artifacts. It integrates seamlessly with popular 3D tools such as Blender Unity and Unreal Engine streamlining the workflow for environment artists architectural visualization professionals and concept developers seeking quick look development and realistic scene prototyping. The texture’s seamless tiling and micro-detail fidelity keep the iteration loop fast and efficient allowing creators to focus on artistic direction rather than technical fixes.
For practical application it is recommended to adjust the UV scale to a moderate range to preserve the fine foam detail without introducing blur or pixelation. Combining the texture with subtle ambient occlusion and a low-intensity normal pass can enhance surface breakup and realism without oversharpening maintaining a natural organic feel. Slight tuning of roughness values can simulate varying wetness or drying stages of the foam adapting the material’s appearance to different environmental contexts such as shoreline splashes or weathered sea surfaces. This soapy sea foam seamless texture is a versatile production-ready asset that elevates projects requiring authentic foam materials in high-fidelity 3D previews and renderings.
The PBR texture soapy sea foam seamless texture offers a highly detailed and realistic foam texture suitable for PBR materials ensuring consistent surface appearance through its seamless soapy sea foam seamless texture design.
Import the texture maps into Blender with sRGB color space for albedo/base color and Non-Color for normal, roughness, metallic, AO, height, and ORM maps. Connect normal maps through a Normal Map node, then adjust UV scale with a Mapping node so the material repeats naturally on your model.
For the full step-by-step setup, see How to Use Seamless Textures in Blender. Browse related material examples in wood, concrete, and metal.
Yes. This texture is designed as a seamless tileable PBR material, so it can repeat across large surfaces without visible borders.
You can download PNG/WEBP versions and use 1K, 2K, 4K and 8K download options when available on the page.
Yes. The download options and engine-mapped ZIP workflow are designed for Blender, Unreal Engine, Unity Standard, URP and HDRP material pipelines.
Yes. The texture is available under the AITextured free commercial license. Review the license page for redistribution and AI-training restrictions.
Generate, preview, and export seamless PBR materials for Blender, Unity, and Unreal Engine—directly in your browser.
AI text-to-texture: type a prompt and get a seamless, tileable base image ready for PBR workflows (great starting point for materials).
Create a full PBR set (Normal, Roughness, AO, Metallic, etc.) from a single image. Seamless and tiling-friendly.
Instant WebGL viewer: inspect materials on a sphere, plane, and cube. Check tiling and lighting in real time.
Re-packages maps per engine: Unreal (BaseColor + ORM), Unity (Mask/MetallicSmoothness), Blender (separate channels).
PNG ↔ JPG ↔ SVG: fast convert, SVG rasterize, embed/trace options, quality & background controls.