
Blue Cheese Texture | Free PBR
Seamless texture (tileable) · PNG, WEBP, PBR ZIP. License: AITextured Free Commercial License (FCL) v1.1. Free personal and commercial use. Raw resale, standalone redistribution, mirroring/scraping, competing asset packs, and AI/ML training are not allowed without written permission. Attribution is not required, but appreciated..

| ID | muddy-carrot-skin-texture-free-pbr |
|---|---|
| Category | Food |
| Formats | PNG, WEBP, PBR ZIP |
| Size | 1k (1024x1024px), 2k (2048x2048px), 4k (4096x4096px), 8k (8192x8192px) |
| Color | sRGB |
| Tileable | Yes |
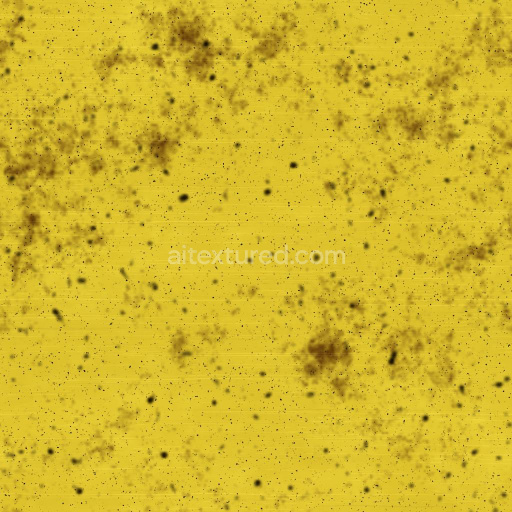
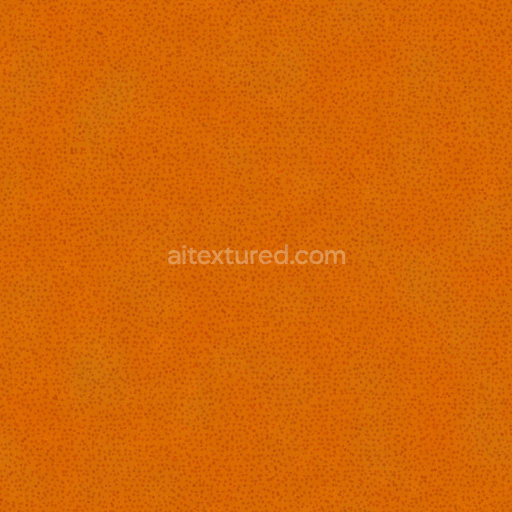
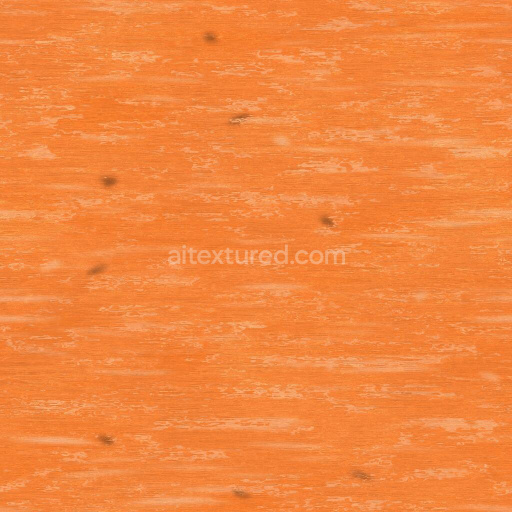
The Muddy Carrot Skin Texture captures the intricate organic surface of a carrot’s outer layer, coated with a natural layer of mud and soil. This texture emphasizes the carrot’s fibrous, slightly rough, and porous skin, highlighting the tiny cuts, specks, and irregularities formed by the natural growth process and handling. The substrate is purely organic, composed of tightly packed plant fibers and cellular structures that give the carrot skin its characteristic resilience and subtle unevenness. The mud layer acts as an earthy binder that slightly obscures the vibrant orange pigment beneath, introducing muted brown tones and enhancing the overall weathered and natural look of the surface.
In terms of physically based rendering (PBR) channels, the BaseColor or Albedo map showcases the warm orange hues of the carrot skin interspersed with darker brown mud patches and fine specks of dirt. The Normal map expertly captures the delicate ridges, cuts, and uneven grain orientation of the skin fibers, imparting realistic surface detail and depth. The Roughness map reflects the contrast between the smoother, slightly polished carrot skin and the matte, coarse mud particles, resulting in varied reflectivity that reacts naturally under different lighting conditions. The Metallic channel remains near zero, consistent with organic non-metallic materials, while the Ambient Occlusion map adds subtle shadowing around cracks and indentations to boost realism. Height or Displacement maps delineate the raised mud clumps and skin grooves, enhancing three-dimensional surface perception, especially useful for parallax or displacement effects.
This texture is provided in an 8K resolution, ensuring exceptional detail and clarity suitable for high-end rendering workflows. It is fully compatible with Blender, Unreal Engine, and Unity, optimized for seamless integration into diverse 3D scenes featuring food items, natural materials, or agricultural themes. For optimal results, it is recommended to use the subsurface scattering texture alongside this Muddy Carrot Skin Texture to simulate light penetration through the organic skin layers, adding subtle translucency and realism. Additionally, adjusting the UV scale to balance the mud grain size relative to the carrot’s natural pattern and fine-tuning roughness values can significantly enhance visual authenticity in close-up renders.
Import the texture maps into Blender with sRGB color space for albedo/base color and Non-Color for normal, roughness, metallic, AO, height, and ORM maps. Connect normal maps through a Normal Map node, then adjust UV scale with a Mapping node so the material repeats naturally on your model.
For the full step-by-step setup, see How to Use Seamless Textures in Blender. Browse related material examples in wood, concrete, and metal.
Yes. This texture is designed as a seamless tileable PBR material, so it can repeat across large surfaces without visible borders.
You can download PNG/WEBP versions and use 1K, 2K, 4K and 8K download options when available on the page.
Yes. The download options and engine-mapped ZIP workflow are designed for Blender, Unreal Engine, Unity Standard, URP and HDRP material pipelines.
Yes. The texture is available under the AITextured free commercial license. Review the license page for redistribution and AI-training restrictions.


Build, preview, and export seamless PBR materials. Generate full map sets from a single image, inspect them in a real-time WebGL viewer, and re-package maps for Unreal, Unity, and Blender—directly in your browser.
AI text-to-texture: type a prompt and get a seamless, tileable base image ready for PBR workflows (great starting point for materials).
Create a full PBR set (Normal, Roughness, AO, Metallic, etc.) from a single image. Seamless and tiling-friendly.
Instant WebGL viewer: inspect materials on a sphere, plane, and cube. Check tiling and lighting in real time.
Re-packages maps per engine: Unreal (BaseColor + ORM), Unity (Mask/MetallicSmoothness), Blender (separate channels).
PNG ↔ JPG ↔ SVG: fast convert, SVG rasterize, embed/trace options, quality & background controls.