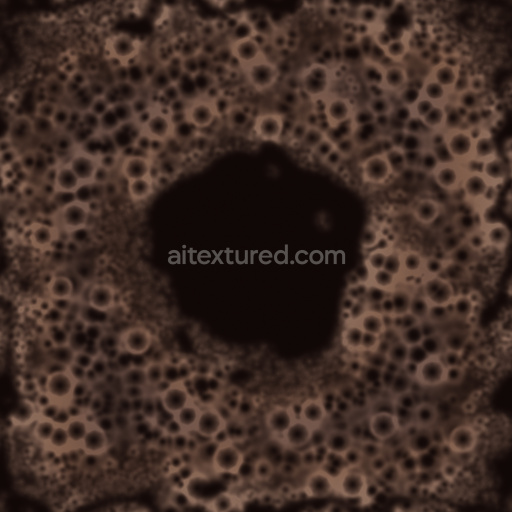
Black Coffee Foam Texture | Free PBR
Seamless texture (tileable) · PNG, WEBP, PBR ZIP. License: AITextured Free Commercial License (FCL) v1.1. Free personal and commercial use. Raw resale, standalone redistribution, mirroring/scraping, competing asset packs, and AI/ML training are not allowed without written permission. Attribution is not required, but appreciated..

| ID | ice-cream-texture-free-pbr |
|---|---|
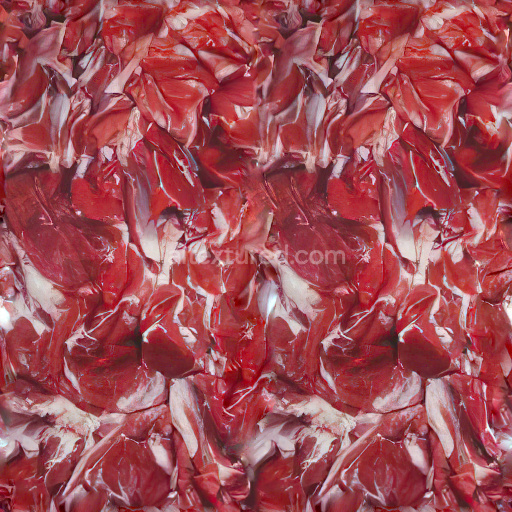
| Category | Food |
| Formats | PNG, WEBP, PBR ZIP |
| Size | 1k (1024x1024px), 2k (2048x2048px), 4k (4096x4096px), 8k (8192x8192px) |
| Color | sRGB |
| Tileable | Yes |
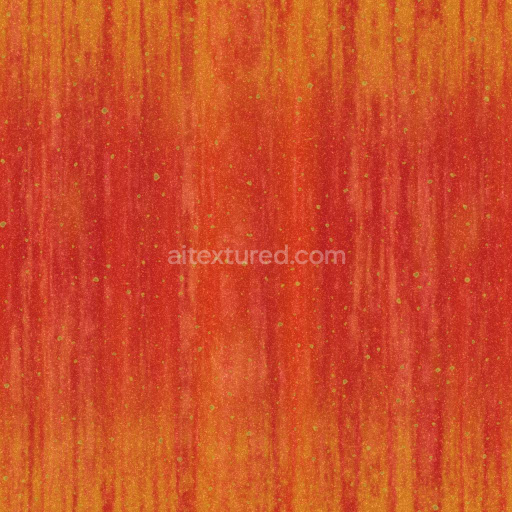
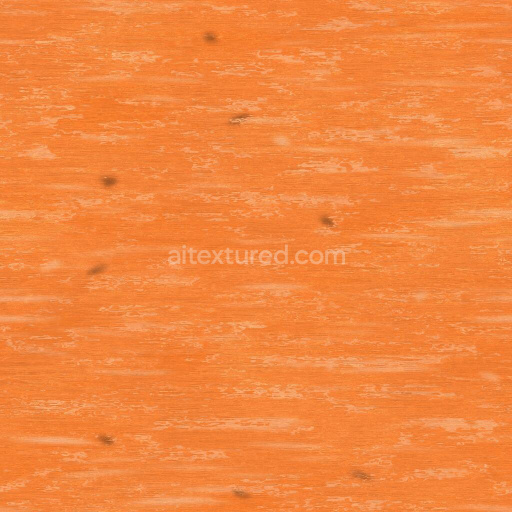
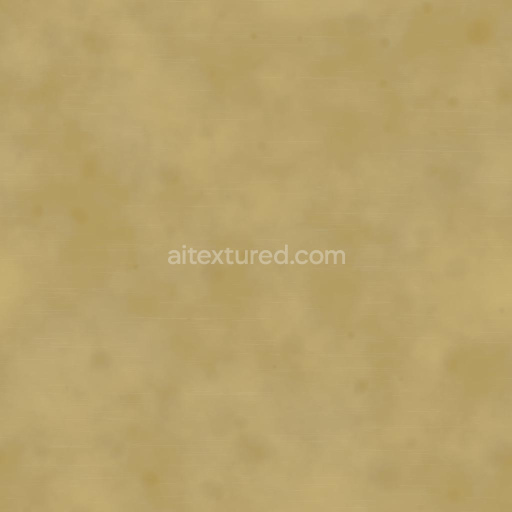
This Ice Cream Texture is a meticulously crafted, seamless PBR material designed to replicate the subtle, creamy surface of ice cream with high fidelity. The base substrate mimics an organic, semi-solid matrix that resembles frozen dairy, exhibiting a soft, slightly porous structure with gentle undulations and fine grain patterns. The material’s composition suggests a mix of fine sugar crystals and air pockets embedded in a creamy polymer-like binder, which together create a delicate interplay of translucency and solid color. This is reflected in the BaseColor/Albedo channel, where soft off-white and pale pastel hues blend naturally, conveying the smooth, inviting appearance of ice cream without harsh contrasts or saturation.*
In the Normal channel, the texture reveals finely detailed surface irregularities—tiny bumps and subtle folds that simulate the tactile sensation of a whipped, slightly melting treat. The Roughness map balances glossy and matte areas to represent varying moisture levels on the surface, with glossier highlights indicating creamier, more reflective spots and duller sections mimicking frozen or crystallized parts. There is minimal Metallic response, as expected from an organic, non-metallic material, while the Ambient Occlusion channel enhances depth and shadowing in crevices, emphasizing the three-dimensional feel. Height and Displacement maps add subtle relief, supporting realistic parallax effects when viewed at oblique angles.*
Rendered at up to 8K resolution, this texture is optimized for seamless tiling and is fully compatible with popular 3D engines such as Blender, Unreal Engine, and Unity. Its high level of detail ensures crisp visuals even on close inspection, making it ideal for use in photorealistic food renders, packaging visualizations, or stylized game assets requiring believable organic surfaces. For best results, it is recommended to adjust the UV scale carefully to avoid repetition artifacts and to fine-tune the roughness parameter to match the desired level of surface glossiness, depending on the lighting environment and intended material state—from freshly scooped to partially melted.*
Overall, this Ice Cream Texture offers a versatile and realistic material solution encapsulating the complex interplay of organic composition, surface finish, and microstructure characteristic of frozen creamy desserts, making it an excellent choice for artists and developers seeking high-quality, AITextured Free Commercial License (FCL) v1.1 PBR materials with natural appeal and technical precision.*
Import the texture maps into Blender with sRGB color space for albedo/base color and Non-Color for normal, roughness, metallic, AO, height, and ORM maps. Connect normal maps through a Normal Map node, then adjust UV scale with a Mapping node so the material repeats naturally on your model.
For the full step-by-step setup, see How to Use Seamless Textures in Blender. Browse related material examples in wood, concrete, and metal.
Yes. This texture is designed as a seamless tileable PBR material, so it can repeat across large surfaces without visible borders.
You can download PNG/WEBP versions and use 1K, 2K, 4K and 8K download options when available on the page.
Yes. The download options and engine-mapped ZIP workflow are designed for Blender, Unreal Engine, Unity Standard, URP and HDRP material pipelines.
Yes. The texture is available under the AITextured free commercial license. Review the license page for redistribution and AI-training restrictions.


Build, preview, and export seamless PBR materials. Generate full map sets from a single image, inspect them in a real-time WebGL viewer, and re-package maps for Unreal, Unity, and Blender—directly in your browser.
AI text-to-texture: type a prompt and get a seamless, tileable base image ready for PBR workflows (great starting point for materials).
Create a full PBR set (Normal, Roughness, AO, Metallic, etc.) from a single image. Seamless and tiling-friendly.
Instant WebGL viewer: inspect materials on a sphere, plane, and cube. Check tiling and lighting in real time.
Re-packages maps per engine: Unreal (BaseColor + ORM), Unity (Mask/MetallicSmoothness), Blender (separate channels).
PNG ↔ JPG ↔ SVG: fast convert, SVG rasterize, embed/trace options, quality & background controls.