Seamless Snow PBR Texture Collection
Seamless texture (tileable) · PNG, WEBP, PBR ZIP. License: AITextured Free Commercial License (FCL) v1.1. Free personal and commercial use. Raw resale, standalone redistribution, mirroring/scraping, competing asset packs, and AI/ML training are not allowed without written permission. Attribution is not required, but appreciated..

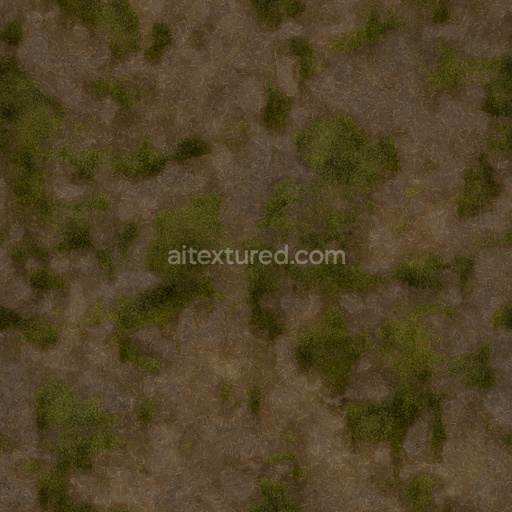
| ID | tree-roots-on-muddy-ground-free-pbr |
|---|---|
| Category | Ground surface |
| Formats | PNG, WEBP, PBR ZIP |
| Size | 1k (1024x1024px), 2k (2048x2048px), 4k (4096x4096px), 8k (8192x8192px) |
| Color | sRGB |
| Tileable | Yes |
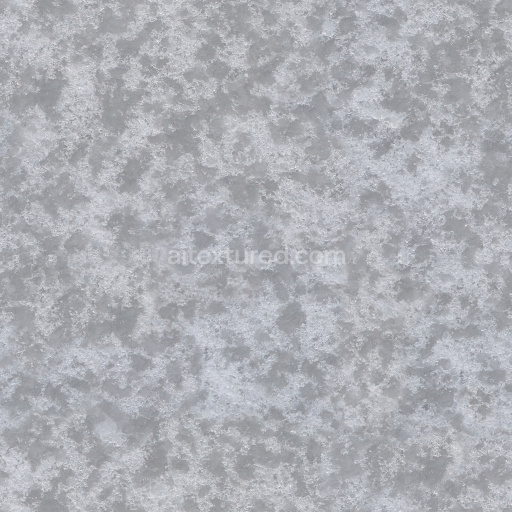
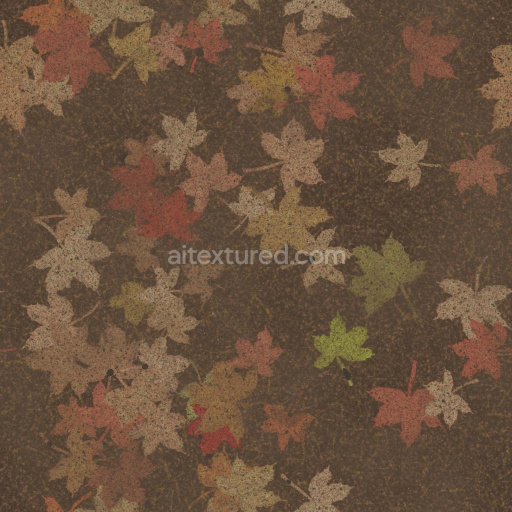
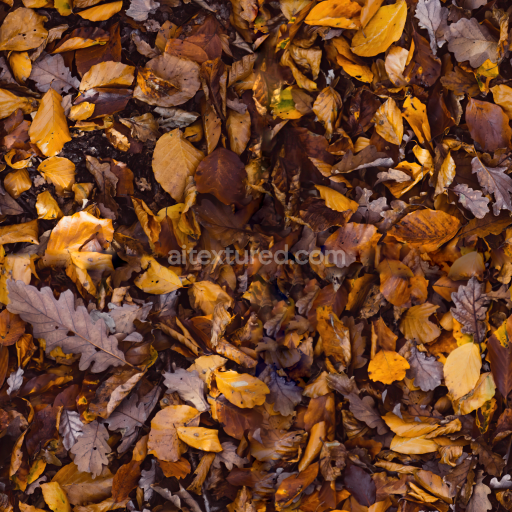
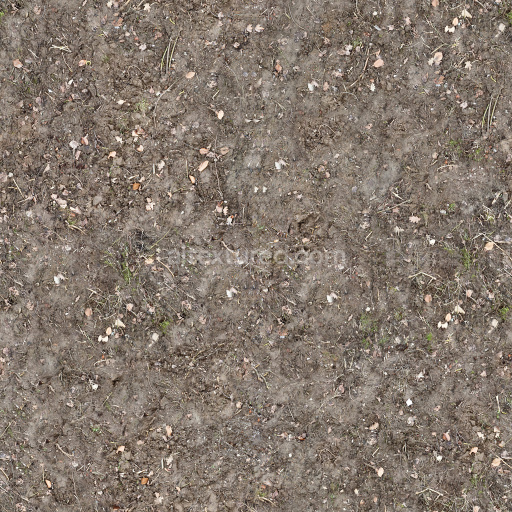
This texture captures the intricate detail of tree roots sprawling naturally across a muddy ground surface interspersed with small rocks. The base substrate consists primarily of organic material—weathered wood roots embedded in a soft, mineral-rich soil matrix. The soil’s composition includes fine clay and silt particles mixed with coarse aggregates like pebbles and gravel, creating a heterogeneous and porous ground layer. The roots exhibit fibrous textures with visible grain orientation aligned along their length, showing natural weathering and subtle surface roughness from erosion and soil contact. The color palette features earthy tones of muted browns and dark grays from the roots, contrasted by the damp, darkened mud and scattered stones, all contributing to a realistic appearance.
In terms of physically based rendering (PBR) channels, the BaseColor/Albedo map reflects the natural pigments of organic wood and moist soil, with subtle variations in hue to indicate wetness and soil composition. The Normal map emphasizes the complex relief of root bark textures and the uneven rocky ground, enhancing depth perception and surface detail. Roughness values vary across the texture, with smoother, slightly glossy areas on the wet mud and rougher, matte finishes on the dry root surfaces and rocks. The Metallic channel is negligible, as the materials are non-metallic and organic. Ambient Occlusion adds soft shadowing in crevices where roots meet the soil, increasing dimensionality. Height/Displacement maps are finely detailed, capturing the subtle elevation changes of root protrusions and embedded stones, ideal for parallax effects or tessellation.
Rendered at up to 8K resolution, this texture is optimized for seamless integration into 3D projects using Blender, Unreal Engine, and Unity, ensuring crisp detail even at close camera distances. For practical use, adjusting the UV scale to slightly enlarge the texture can help maintain the natural scale of roots and mud in outdoor scenes. Additionally, tuning the roughness map to balance wet and dry areas enhances realism by simulating moisture variation on the ground surface. This versatile texture is well-suited for environmental visualization, game terrain, and natural setting simulations where authentic ground and root detail are essential.
Import the texture maps into Blender with sRGB color space for albedo/base color and Non-Color for normal, roughness, metallic, AO, height, and ORM maps. Connect normal maps through a Normal Map node, then adjust UV scale with a Mapping node so the material repeats naturally on your model.
For the full step-by-step setup, see How to Use Seamless Textures in Blender. Browse related material examples in wood, concrete, and metal.
Yes. This texture is designed as a seamless tileable PBR material, so it can repeat across large surfaces without visible borders.
You can download PNG/WEBP versions and use 1K, 2K, 4K and 8K download options when available on the page.
Yes. The download options and engine-mapped ZIP workflow are designed for Blender, Unreal Engine, Unity Standard, URP and HDRP material pipelines.
Yes. The texture is available under the AITextured free commercial license. Review the license page for redistribution and AI-training restrictions.


Generate, preview, and export seamless PBR materials for Blender, Unity, and Unreal Engine—directly in your browser.
AI text-to-texture: type a prompt and get a seamless, tileable base image ready for PBR workflows (great starting point for materials).
Create a full PBR set (Normal, Roughness, AO, Metallic, etc.) from a single image. Seamless and tiling-friendly.
Instant WebGL viewer: inspect materials on a sphere, plane, and cube. Check tiling and lighting in real time.
Re-packages maps per engine: Unreal (BaseColor + ORM), Unity (Mask/MetallicSmoothness), Blender (separate channels).
PNG ↔ JPG ↔ SVG: fast convert, SVG rasterize, embed/trace options, quality & background controls.