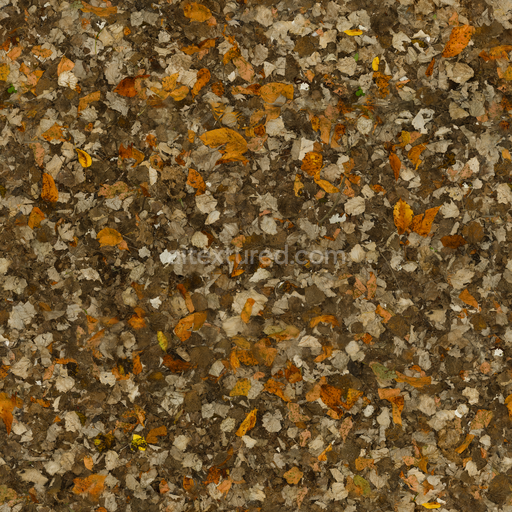
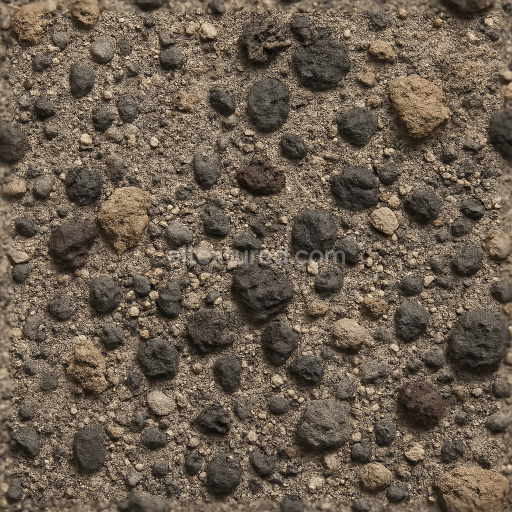
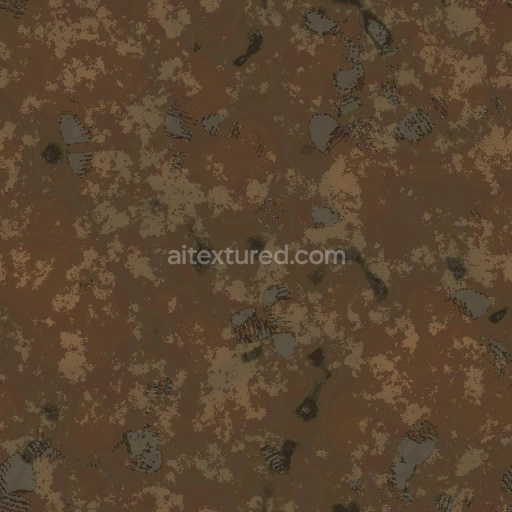
Dirt Forest Leaves
Seamless texture (tileable) · PNG, WEBP, PBR ZIP. License: AITextured Free Commercial License (FCL) v1.1. Free personal and commercial use. Raw resale, standalone redistribution, mirroring/scraping, competing asset packs, and AI/ML training are not allowed without written permission. Attribution is not required, but appreciated..

| ID | sandy-trail-texture-with-rocks-pebbles-and-plants-free-pbr |
|---|---|
| Category | Ground surface |
| Formats | PNG, WEBP, PBR ZIP |
| Size | 1k (1024x1024px), 2k (2048x2048px), 4k (4096x4096px), 8k (8192x8192px) |
| Color | sRGB |
| Tileable | Yes |
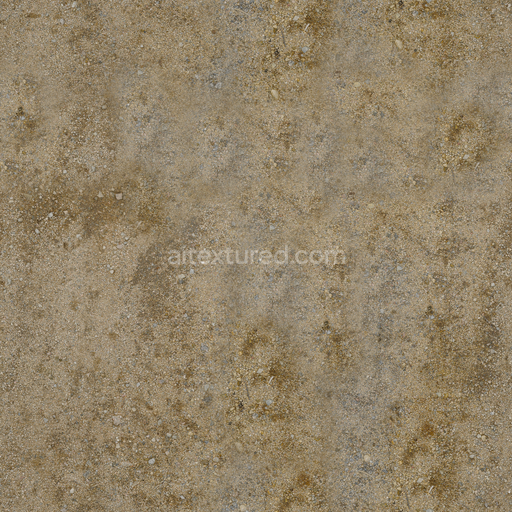
This highly detailed Sandy Trail Texture features a natural composition of fine sandy earth interspersed with various-sized rocks, smooth pebbles, and scattered low-lying plants. The base substrate mimics organic mineral soil, primarily composed of weathered quartz and feldspar grains bound loosely by natural clay and fine silt particles. This gives the surface a subtly granular, porous structure with moderate roughness and slight color variation from light beige sands to warm gray and soft brown stone elements. The scattered vegetation is represented by small patches of dried grasses and leafy plants, contributing organic fibers and greenish-brown hues that enhance the natural authenticity of the texture.
The texture’s surface finish is matte with a slightly rough feel, reflecting typical outdoor trail conditions exposed to weathering, erosion, and natural compaction. The PBR maps are expertly crafted to capture these material characteristics: the BaseColor/Albedo channel displays accurate earthy tones with subtle variations in sand, stone, and plant pigments; the Normal map reveals intricate surface details such as rock edges, pebble bumps, and plant veins; Roughness highlights the contrast between the smooth pebbles and the coarse sandy matrix; Metallic is kept near zero to emphasize the non-metallic, natural composition; Ambient Occlusion deepens shadowed crevices and plant bases for enhanced depth perception; Height/Displacement channels provide realistic elevation changes for enhanced parallax effects in 3D environments.
Rendered in up to 8K resolution, this seamless PBR texture is optimized for use in Blender, Unreal Engine, and Unity, ensuring high fidelity and flexibility for game development, architectural visualization, and digital art projects. For best results, it is recommended to adjust the UV scale to maintain the natural grain size and to fine-tune roughness values depending on lighting conditions—lowering roughness slightly can simulate occasional wet patches on the trail. The height map can also be used with parallax occlusion mapping to achieve convincing depth and surface variation without excessive geometry.
Import the texture maps into Blender with sRGB color space for albedo/base color and Non-Color for normal, roughness, metallic, AO, height, and ORM maps. Connect normal maps through a Normal Map node, then adjust UV scale with a Mapping node so the material repeats naturally on your model.
For the full step-by-step setup, see How to Use Seamless Textures in Blender. Browse related material examples in wood, concrete, and metal.
Yes. This texture is designed as a seamless tileable PBR material, so it can repeat across large surfaces without visible borders.
You can download PNG/WEBP versions and use 1K, 2K, 4K and 8K download options when available on the page.
Yes. The download options and engine-mapped ZIP workflow are designed for Blender, Unreal Engine, Unity Standard, URP and HDRP material pipelines.
Yes. The texture is available under the AITextured free commercial license. Review the license page for redistribution and AI-training restrictions.


Generate, preview, and export seamless PBR materials for Blender, Unity, and Unreal Engine—directly in your browser.
AI text-to-texture: type a prompt and get a seamless, tileable base image ready for PBR workflows (great starting point for materials).
Create a full PBR set (Normal, Roughness, AO, Metallic, etc.) from a single image. Seamless and tiling-friendly.
Instant WebGL viewer: inspect materials on a sphere, plane, and cube. Check tiling and lighting in real time.
Re-packages maps per engine: Unreal (BaseColor + ORM), Unity (Mask/MetallicSmoothness), Blender (separate channels).
PNG ↔ JPG ↔ SVG: fast convert, SVG rasterize, embed/trace options, quality & background controls.