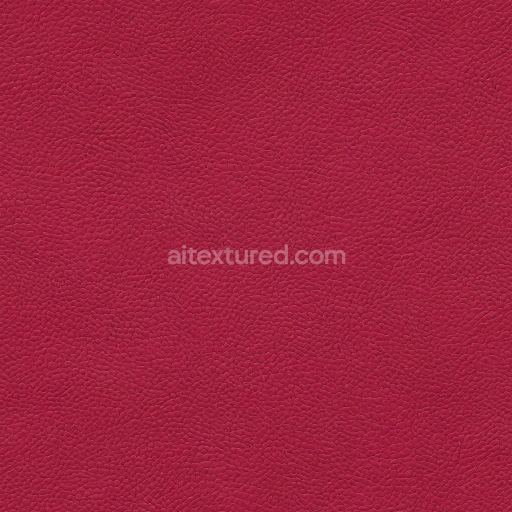
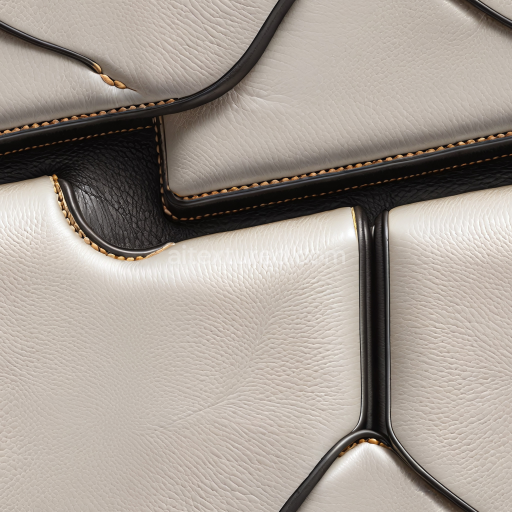
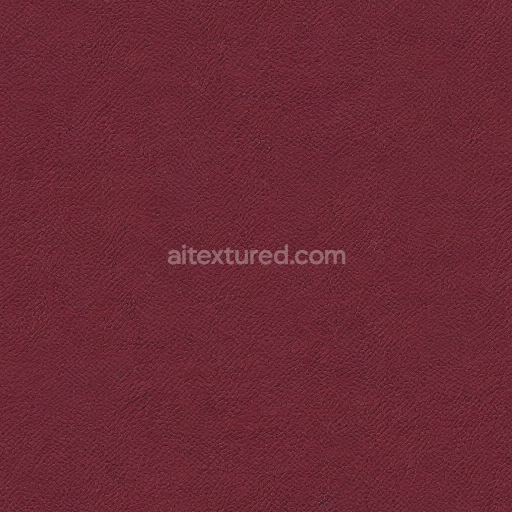
Pebbled Pink Leather PBR Texture with Fine Grain Detail
Seamless texture (tileable) · PNG, WEBP, PBR ZIP. License: AITextured Free Commercial License (FCL) v1.1. Free personal and commercial use. Raw resale, standalone redistribution, mirroring/scraping, competing asset packs, and AI/ML training are not allowed without written permission. Attribution is not required, but appreciated..

| ID | patent-leather-high-gloss |
|---|---|
| Category | Leather |
| Formats | PNG, WEBP, PBR ZIP |
| Size | 1k (1024x1024px), 2k (2048x2048px), 4k (4096x4096px), 8k (8192x8192px) |
| Color | sRGB |
| Tileable | Yes |
The patent leather high gloss texture is an exquisitely crafted AI-generated seamless material designed to replicate the unique composition and finish of genuine patent leather. This texture captures the smooth polymer-coated leather surface known for its high-gloss mirror-like shine achieved through a lacquered resin binder layered atop a fine leather substrate. The base material typically consists of natural leather fibers tightly aligned and treated to reduce porosity sealed under multiple glossy polymer varnish layers that enhance durability and reflective qualities. The subtle grain orientation and minimal surface imperfections contribute to the texture’s realism while the high-gloss finish is responsible for its striking reflective depth and smooth tactile appearance. The intricate interplay of colorants—pigments embedded in the base leather and transparent oxide layers within the lacquer—creates a rich uniform hue that responds dynamically to lighting conditions.
This tileable patent leather high gloss texture set features all essential PBR maps at an impressive resolution of up to 8K ensuring exceptional detail and accuracy for any 3D visualization project. The BaseColor/Albedo map conveys the true color saturation and subtle tonal variations of the leather and lacquer layers while the Normal map captures micro-detail such as fine grain and the gentle undulations of the coated surface. The Roughness channel precisely controls the reflective smoothness emphasizing the glossy finish's polished nature and the Metallic map maintains the organic non-metallic character of leather. Ambient Occlusion adds realistic shadowing in creases and folds enhancing depth perception whereas the Height/Displacement map simulates the tactile elevation differences on the surface making the gloss appear tangible and three-dimensional. This comprehensive material definition ensures the texture performs flawlessly across industry-standard engines including Blender Unreal Engine and Unity with a real-time 3D preview to aid in material assessment and workflow acceleration.
Ideal for enhancing leather materials in product visualization environment art architectural rendering and concept prototyping this seamless patent leather high gloss texture allows for uniform coverage of large surfaces without visible repetition or distortion. To maintain the flawless tileability and material integrity it is advised to keep consistent UV scaling on your 3D models. Adjusting the roughness map provides flexibility in tailoring the gloss intensity to suit different lighting scenarios or artistic requirements while utilizing the height or parallax maps adds convincing surface depth that elevates realism for close-up shots. By integrating this meticulously generated PBR texture into your project pipeline you can efficiently achieve professional-grade results with realistic reflections structural consistency and enhanced micro-detail across diverse digital environments and rendering engines.
Import the texture maps into Blender with sRGB color space for albedo/base color and Non-Color for normal, roughness, metallic, AO, height, and ORM maps. Connect normal maps through a Normal Map node, then adjust UV scale with a Mapping node so the material repeats naturally on your model.
For the full step-by-step setup, see How to Use Seamless Textures in Blender. Browse related material examples in wood, concrete, and metal.
Yes. This texture is designed as a seamless tileable PBR material, so it can repeat across large surfaces without visible borders.
You can download PNG/WEBP versions and use 1K, 2K, 4K and 8K download options when available on the page.
Yes. The download options and engine-mapped ZIP workflow are designed for Blender, Unreal Engine, Unity Standard, URP and HDRP material pipelines.
Yes. The texture is available under the AITextured free commercial license. Review the license page for redistribution and AI-training restrictions.


Build, preview, and export seamless PBR materials. Generate full map sets from a single image, inspect them in a real-time WebGL viewer, and re-package maps for Unreal, Unity, and Blender—directly in your browser.
AI text-to-texture: type a prompt and get a seamless, tileable base image ready for PBR workflows (great starting point for materials).
Create a full PBR set (Normal, Roughness, AO, Metallic, etc.) from a single image. Seamless and tiling-friendly.
Instant WebGL viewer: inspect materials on a sphere, plane, and cube. Check tiling and lighting in real time.
Re-packages maps per engine: Unreal (BaseColor + ORM), Unity (Mask/MetallicSmoothness), Blender (separate channels).
PNG ↔ JPG ↔ SVG: fast convert, SVG rasterize, embed/trace options, quality & background controls.