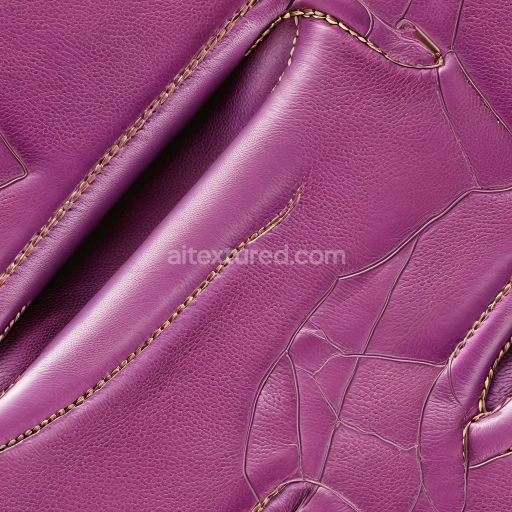
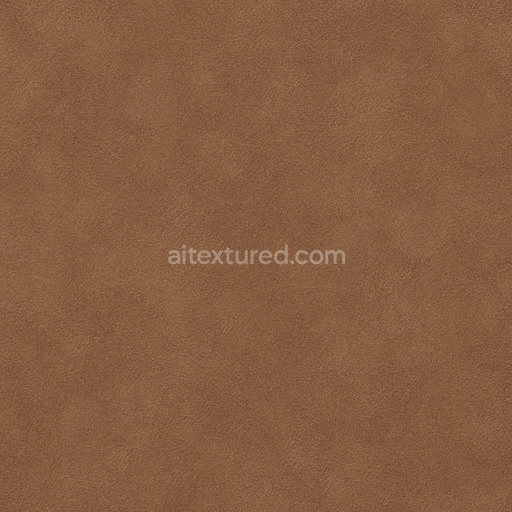
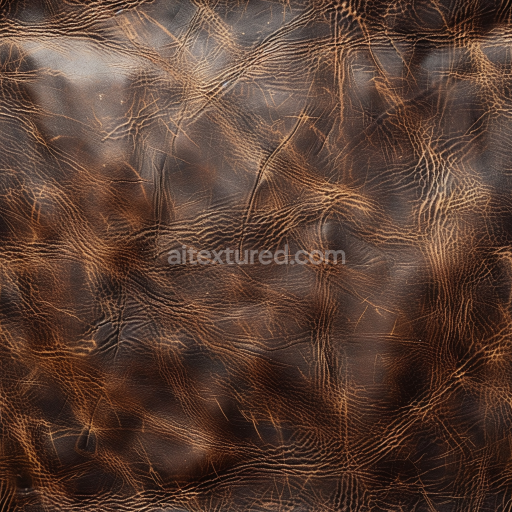
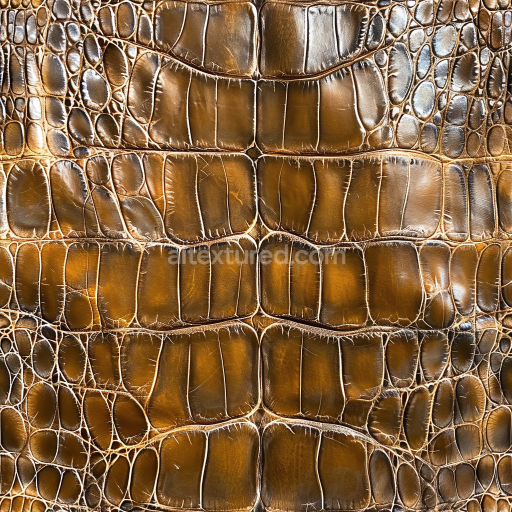
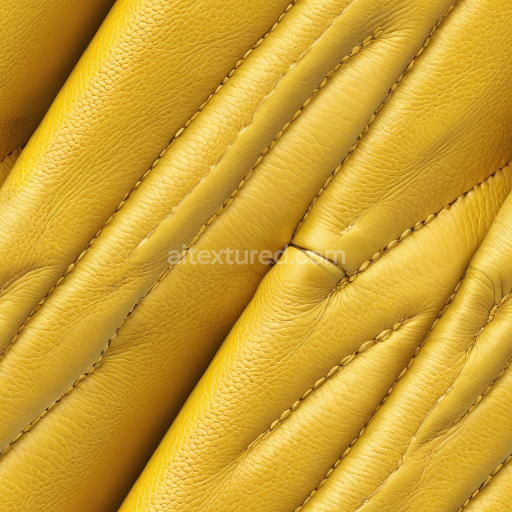
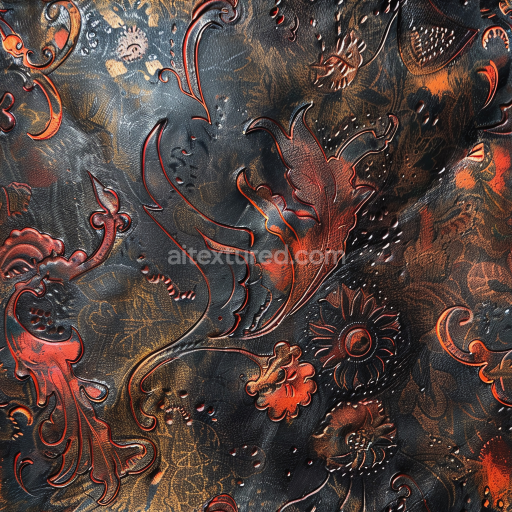
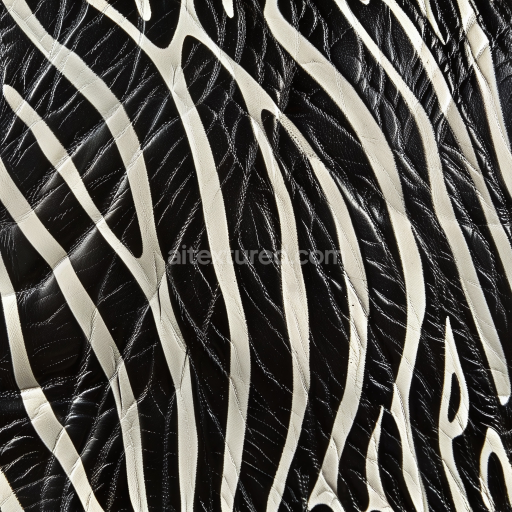
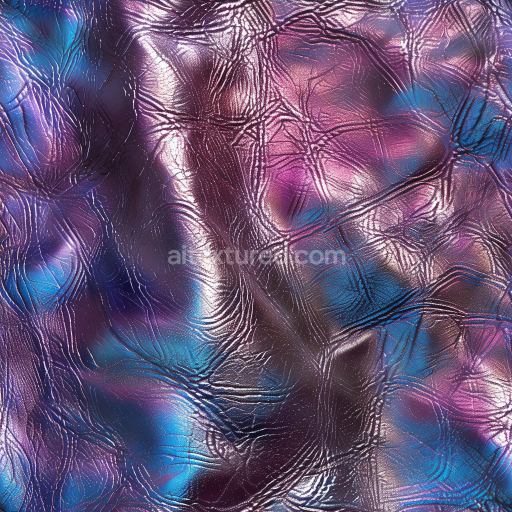
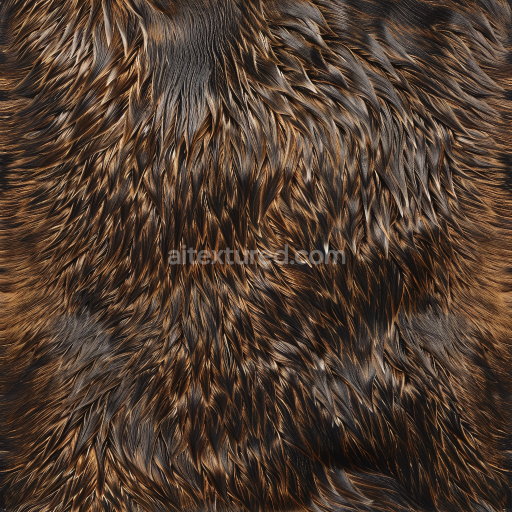
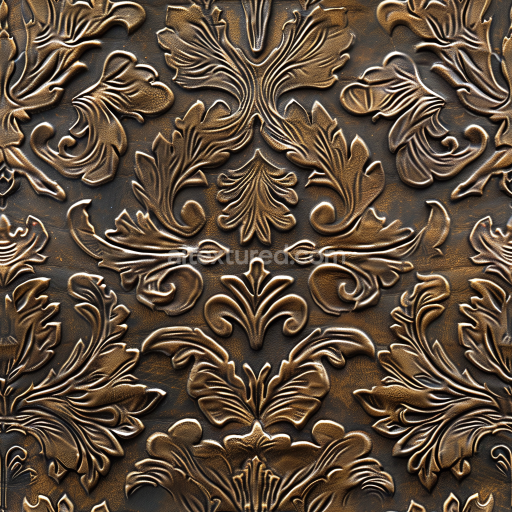
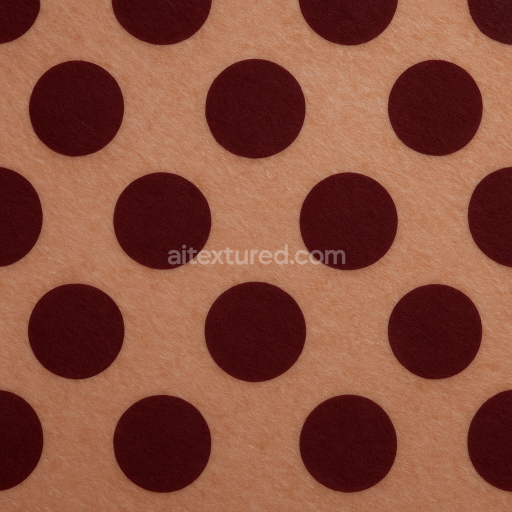
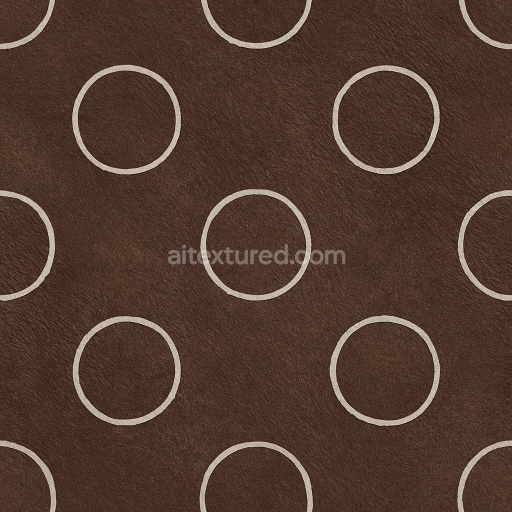
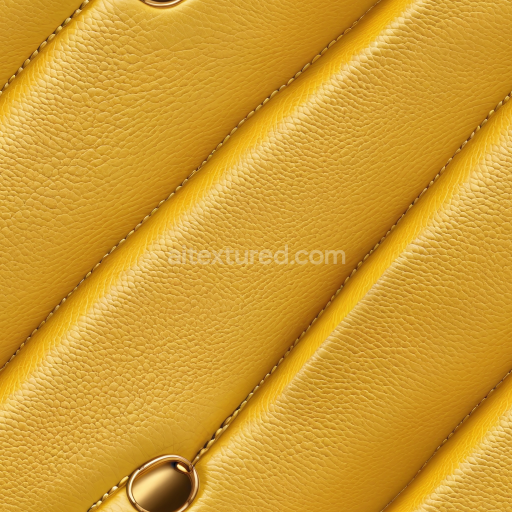
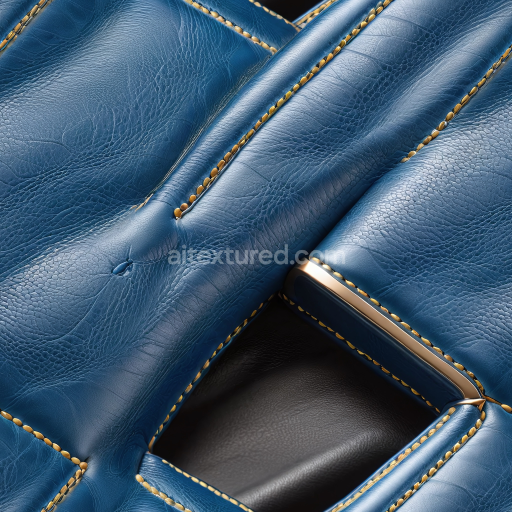
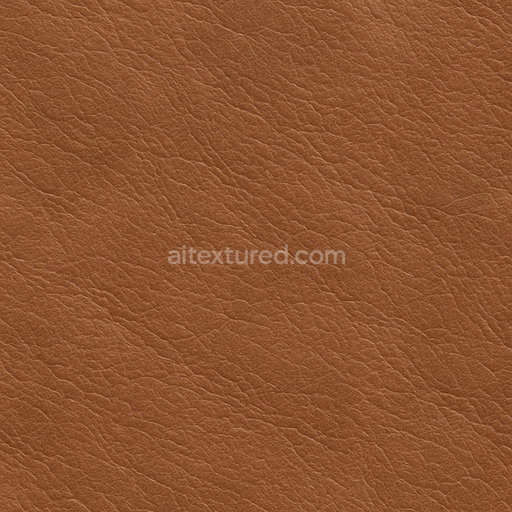
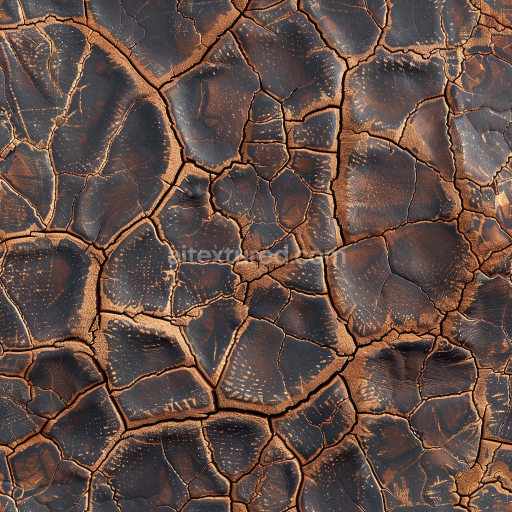
The synthetic suede texture seamless high resolution up to 8k is a meticulously crafted AI-generated material that authentically replicates the complex surface qualities of synthetic suede fabric. This texture simulates a polymer-based substrate where a finely napped microfiber layer is securely bonded to a flexible synthetic backing through advanced adhesive technology. The composition is characterized by densely packed synthetic fibers carefully oriented to produce a soft velvety finish that captures the subtle variations in porosity and fiber density found in real suede. The surface exhibits a natural matte softness enhanced by expertly embedded pigments within the base layer which deliver consistent yet nuanced coloration without artificial uniformity. This approach ensures realistic light absorption and prevents unwanted glossiness maintaining the tactile warm appearance synonymous with high-quality synthetic suede.
In physically based rendering (PBR) workflows this tileable synthetic suede texture seamless high resolution up to 8k delivers exceptional detail and accuracy across all texture maps. The BaseColor (Albedo) channel faithfully represents the soft muted tones and delicate shadowing inherent to suede surfaces while the Normal map intricately recreates the fine fiber grain and subtle surface irregularities that define the material’s tactile character. The Roughness map is precisely calibrated to reflect the low specularity and gentle diffusion of light typical of suede producing a natural matte effect with controlled highlights. Metallic values remain consistently low reinforcing the non-metallic nature of the fabric and Ambient Occlusion enhances the perception of depth and shadow within the fibrous texture. Height and Displacement maps contribute additional dimensionality by simulating the variable pile height adding realism and texture complexity when rendered in 3D environments.
Rendered at ultra-high resolutions up to 8k this seamless synthetic suede texture integrates seamlessly with leading 3D software platforms such as Blender Unity and Unreal Engine offering reliable and repeatable results across diverse creative workflows. It is ideal for accelerating projects in architectural visualization game environment design product mockups and interior staging where realistic leather textures are essential. For optimal realism it is recommended to adjust the roughness intensity and normal map strength based on your scene’s lighting conditions to ensure the suede surface remains believable under varying illumination. Additionally carefully scaling UV coordinates to correspond with the physical size of the suede fabric helps maintain proportional detail and prevents distortion preserving the texture’s natural appearance.
By incorporating this tileable synthetic suede texture seamless high resolution up to 8k into your material library you gain access to a versatile high-fidelity resource that balances sharp detail with controlled surface noise enabling faster iterations and more immersive 3D previews. Its robust AI-driven generation process guarantees a natural look that closely mirrors authentic synthetic suede making this texture an indispensable asset for any project requiring realistic leather textures with seamless tiling and exceptional high-resolution performance.
The AI-generated synthetic suede texture seamless high resolution up to 8k offers a highly detailed and realistic PBR appearance ensuring consistent material quality with seamless synthetic suede texture seamless high resolution up to 8k for advanced rendering applications.
How to Use These Seamless PBR Textures in Blender
This guide shows how to connect a full PBR texture set to Principled BSDF in Blender (Cycles or Eevee). Works with any of our seamless textures free download, including PBR PNG materials for Blender / Unreal / Unity.
What’s inside the download
*_albedo.png — Base Color (sRGB)*_normal.png — Normal map (Non-Color)*_roughness.png — Roughness (Non-Color)*_metallic.png — Metallic (Non-Color)*_ao.png — Ambient Occlusion (Non-Color)*_height.png — Height / Displacement (Non-Color)*_ORM.png — Packed map (R=AO, G=Roughness, B=Metallic, Non-Color)

Quick start (Node Wrangler, 30 seconds)
- Enable the addon: Edit → Preferences → Add-ons → Node Wrangler.
- Create a material and select the Principled BSDF node.
- Press Ctrl + Shift + T and select the maps
albedo, normal, roughness, metallic (skip height and ORM for now) → Open.
The addon wires Base Color, Normal (with a Normal Map node), Roughness, and Metallic automatically.
- Add AO and Height using the “Manual wiring” steps below (5 and 6).
Manual wiring (full control)
- Create a material (Material Properties → New) and open the Shader Editor.
- Add an Image Texture node for each map. Set Color Space:
- Albedo → sRGB
- AO, Roughness, Metallic, Normal, Height, ORM → Non-Color
- Connect to Principled BSDF:
albedo → Base Colorroughness → Roughnessmetallic → Metallic (for wood this often stays near 0)normal → Normal Map node (Type: Tangent Space) → Normal of Principled.
If details look “inverted”, enable Invert Y on the Normal Map node.
- Ambient Occlusion (AO):
- Add a MixRGB (or Mix Color) node in mode Multiply.
- Input A =
albedo, Input B = ao, Factor = 1.0.
- Output of Mix → Base Color of Principled (replaces the direct albedo connection).
- Height / Displacement:
Cycles — true displacement
- Material Properties → Settings → Displacement: Displacement and Bump.
- Add a Displacement node: connect
height → Height, set Midlevel = 0.5, Scale = 0.02–0.08 (tune to taste).
- Output of Displacement → Material Output → Displacement.
- Add geometry density (e.g., Subdivision Surface) so displacement has polygons to work with.
Eevee (or lightweight Cycles) — bump only
- Add a Bump node:
height → Height.
- Set Strength = 0.2–0.5, Distance = 0.05–0.1, and connect Normal output to Principled’s Normal.
Using the packed ORM texture (optional)
Instead of separate AO/Roughness/Metallic maps you can use the single *_ORM.png:
- Add one Image Texture (Non-Color) → Separate RGB (or Separate Color).
- R (red) → AO (use it in the Multiply node with albedo as above).
- G (green) → Roughness of Principled.
- B (blue) → Metallic of Principled.
UVs & seamless tiling
- These textures are seamless. If your mesh has no UVs, go to UV Editing → Smart UV Project.
- For scale/repeat, add Texture Coordinate (UV) → Mapping and plug it into all texture nodes.
Increase Mapping → Scale (e.g., 2/2/2) to tile more densely.
Recommended starter values
- Normal Map Strength: 0.5–1.0
- Bump Strength: ~0.3
- Displacement Scale (Cycles): ~0.03
Common pitfalls
- Wrong Color Space (normals/roughness/etc. must be Non-Color).
- “Inverted” details → enable Invert Y on the Normal Map node.
- Over-strong relief → lower Displacement Scale or Bump Strength.
Example: Download Wood Textures and instantly apply parquet or rustic planks inside Blender for architectural visualization.
To add the downloaded texture, go to Add — Texture — Image Texture.

Add a node and click the Open button.

Select the required texture on your hard drive and connect Color to Base Color.

