
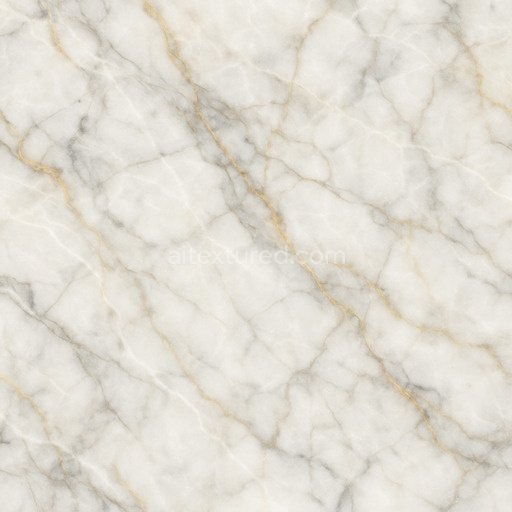
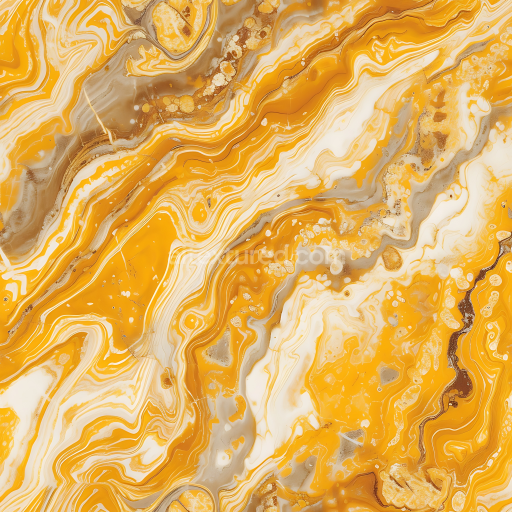
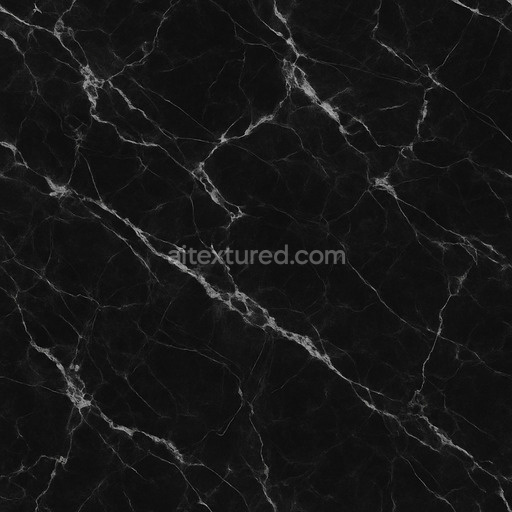
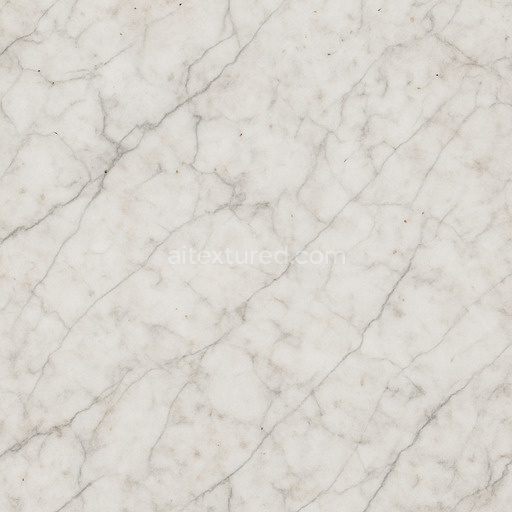
Crema Marfil Natural Marble PBR Texture with Fine Veins
Seamless texture (tileable) · PNG, WEBP, PBR ZIP. License: AITextured Free Commercial License (FCL) v1.1. Free personal and commercial use. Raw resale, standalone redistribution, mirroring/scraping, competing asset packs, and AI/ML training are not allowed without written permission. Attribution is not required, but appreciated..

| ID | black-terrazzo-tile-texture-with-pink-fragments-free-pbr |
|---|---|
| Category | Marble |
| Formats | PNG, WEBP, PBR ZIP |
| Size | 1k (1024x1024px), 2k (2048x2048px), 4k (4096x4096px), 8k (8192x8192px) |
| Color | sRGB |
| Tileable | Yes |
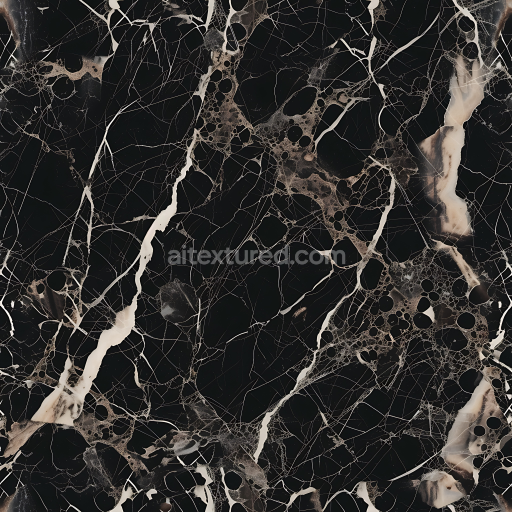
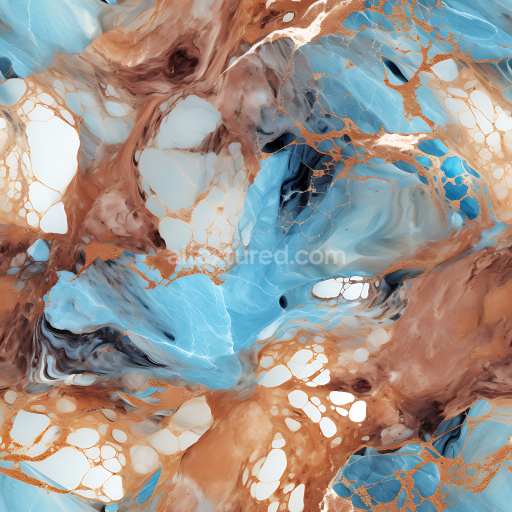
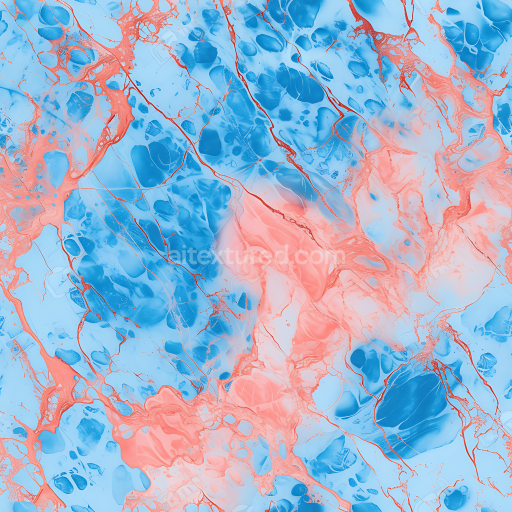
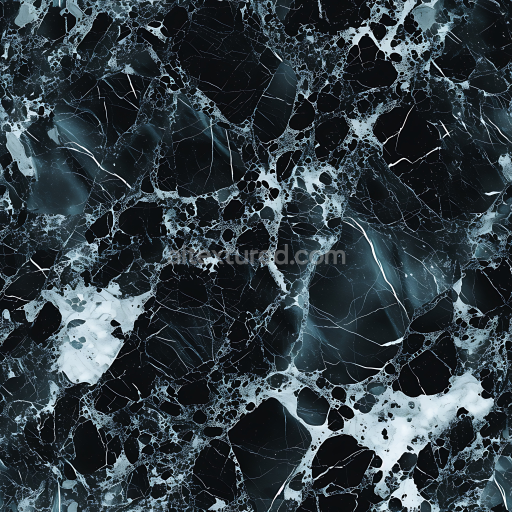
This black terrazzo tile texture features a sophisticated composition of mineral-based aggregates embedded within a dense cementitious substrate, creating a durable and visually striking surface. The base material is a finely ground ceramic-cement mix, providing a solid foundation that mimics authentic terrazzo flooring. Embedded within this matrix are vibrant pink fragments—composed of naturally pigmented stone chips—that add contrast and character to the overall pattern. The surface is polished to a smooth, semi-gloss finish, enhancing the depth and realism of the individual fragments while maintaining a subtle tactile quality. The texture’s porosity is minimal, reflecting the compact, sealed nature of high-quality terrazzo surfaces, making it ideal for both interior and exterior applications where aesthetics and resilience are paramount.
In the PBR workflow, this texture leverages multiple channels to faithfully reproduce the material’s physical properties. The BaseColor/Albedo map captures the deep black base color alongside the scattered, irregular pink fragments, ensuring accurate color representation without baked lighting. The Normal map enhances the perception of subtle surface irregularities and the embedded stone chips’ edges, lending a realistic 3D relief. Roughness values vary gently across the surface, with the polished cement base exhibiting low roughness, while the exposed stone fragments show slightly higher roughness, contributing to nuanced light scattering. Metallic properties are negligible, consistent with the non-metallic nature of terrazzo. Ambient Occlusion maps emphasize the micro-shadows between chips and within slight surface recesses, adding depth to the final render. Height or Displacement maps provide additional detail for parallax effects or true mesh displacement, enhancing realism in close-up views.
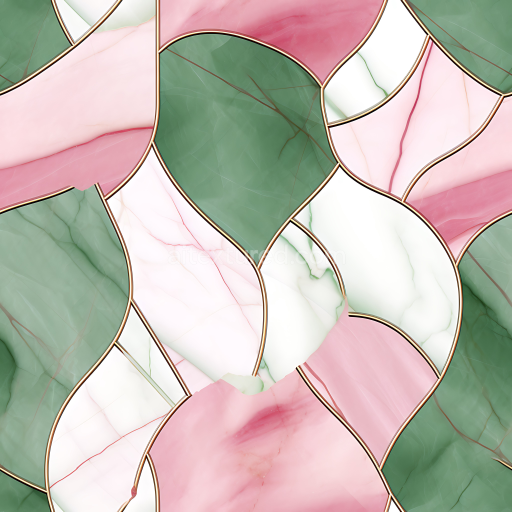
Rendered at up to 8K resolution, this seamless texture is optimized for use in Blender, Unreal Engine, and Unity, enabling artists and developers to achieve photorealistic results in architectural visualization, interior design, and game environments. For optimal results, it is recommended to adjust the UV scale to match the intended tile size, ensuring the pink fragments remain proportionate and visually balanced. Additionally, fine-tuning the roughness map can help replicate varying polishing levels, from a high-gloss showroom floor to a more matte, worn surface. Utilizing the height map for parallax occlusion mapping can further enhance the tactile feel of the terrazzo, especially in close-up camera shots.
Import the texture maps into Blender with sRGB color space for albedo/base color and Non-Color for normal, roughness, metallic, AO, height, and ORM maps. Connect normal maps through a Normal Map node, then adjust UV scale with a Mapping node so the material repeats naturally on your model.
For the full step-by-step setup, see How to Use Seamless Textures in Blender. Browse related material examples in wood, concrete, and metal.
Yes. This texture is designed as a seamless tileable PBR material, so it can repeat across large surfaces without visible borders.
You can download PNG/WEBP versions and use 1K, 2K, 4K and 8K download options when available on the page.
Yes. The download options and engine-mapped ZIP workflow are designed for Blender, Unreal Engine, Unity Standard, URP and HDRP material pipelines.
Yes. The texture is available under the AITextured free commercial license. Review the license page for redistribution and AI-training restrictions.
Generate, preview, and export seamless PBR materials for Blender, Unity, and Unreal Engine—directly in your browser.
AI text-to-texture: type a prompt and get a seamless, tileable base image ready for PBR workflows (great starting point for materials).
Create a full PBR set (Normal, Roughness, AO, Metallic, etc.) from a single image. Seamless and tiling-friendly.
Instant WebGL viewer: inspect materials on a sphere, plane, and cube. Check tiling and lighting in real time.
Re-packages maps per engine: Unreal (BaseColor + ORM), Unity (Mask/MetallicSmoothness), Blender (separate channels).
PNG ↔ JPG ↔ SVG: fast convert, SVG rasterize, embed/trace options, quality & background controls.