
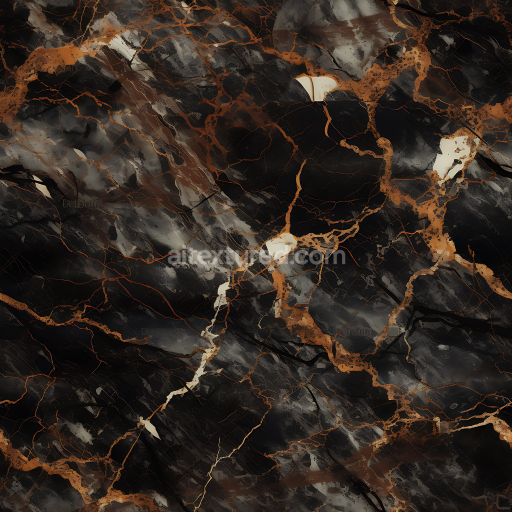
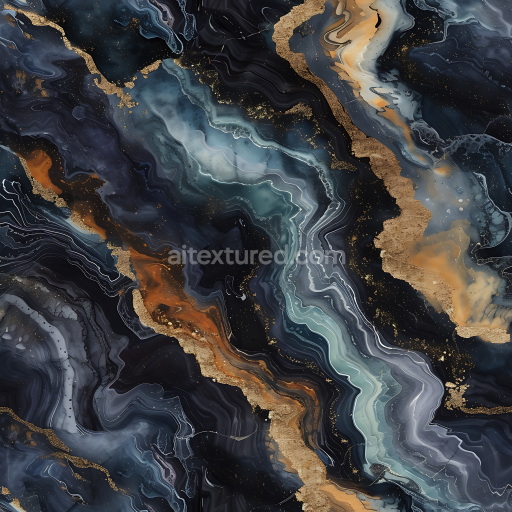
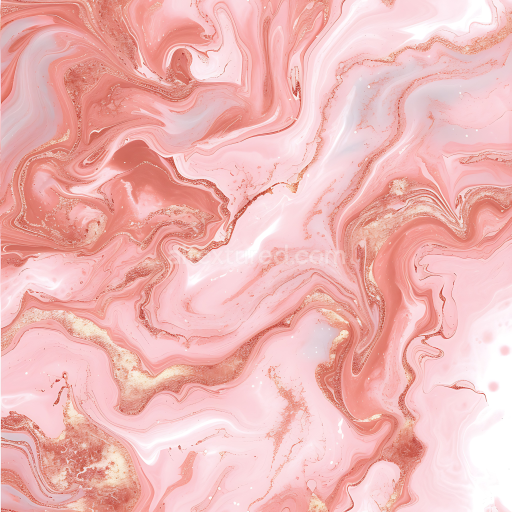
Arabescato Natural Marble PBR Texture with Bold Veins and Warm Accents
Seamless texture (tileable) · PNG, WEBP, PBR ZIP. License: AITextured Free Commercial License (FCL) v1.1. Free personal and commercial use. Raw resale, standalone redistribution, mirroring/scraping, competing asset packs, and AI/ML training are not allowed without written permission. Attribution is not required, but appreciated..

| ID | nero-marquina-marble-white-streaks |
|---|---|
| Category | Marble |
| Formats | PNG, WEBP, PBR ZIP |
| Size | 1k (1024x1024px), 2k (2048x2048px), 4k (4096x4096px), 8k (8192x8192px) |
| Color | sRGB |
| Tileable | Yes |
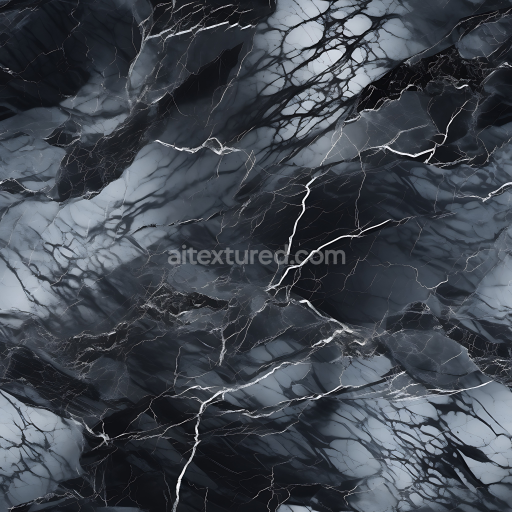
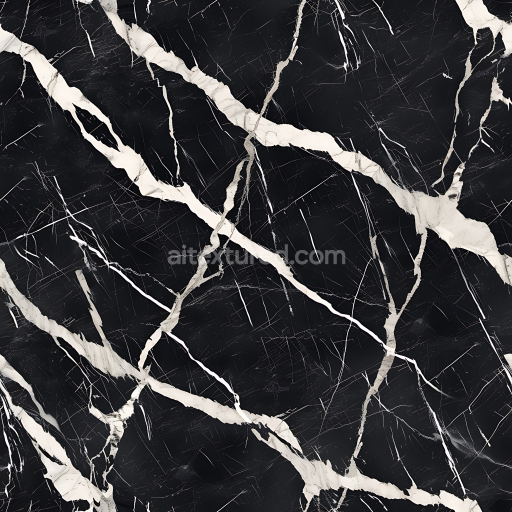
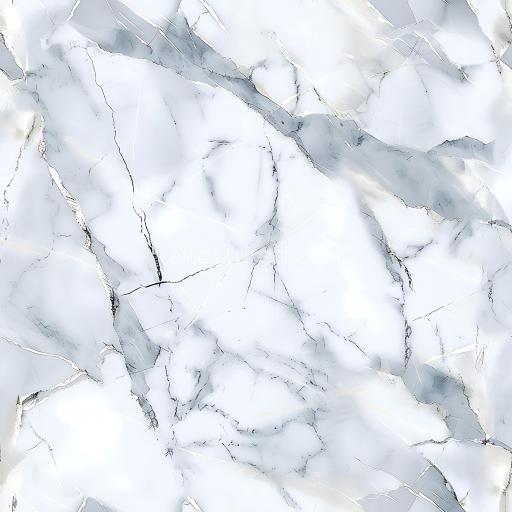
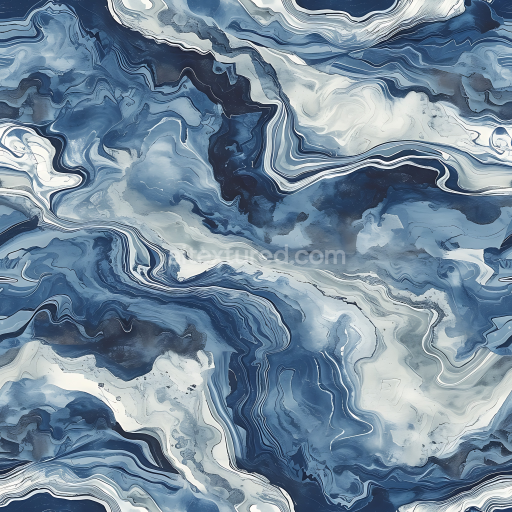
The Nero Marquina Marble White Streaks texture reproduces the authentic elegance and complexity of genuine Nero Marquina marble a natural stone celebrated for its striking black base with sharp white veins. This marble’s substrate consists predominantly of fine-grained calcite a crystalline form of calcium carbonate which contributes to its dense low-porosity structure and durable surface. The interplay of deep black calcite with characteristic white calcite streaks results in a visually captivating contrast that highlights the stone’s mineral composition. The surface is traditionally polished to a high gloss creating a smooth reflective finish that softly captures ambient light and accentuates the intricate vein patterns. The white streaks appear as natural pigment inclusions embedded within the stone matrix adding depth and dimensionality to the material’s overall appearance.
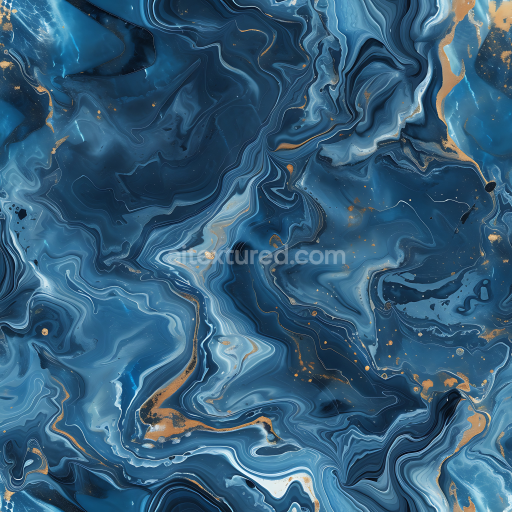
This seamless Nero Marquina Marble White Streaks texture is meticulously crafted for high fidelity and realism delivered in ultra-high resolution up to 8K to render every subtle variation in veins and surface detail with exceptional clarity. The accompanying physically based rendering (PBR) map set enhances the material’s lifelike qualities: the BaseColor or Albedo channel presents the deep black background contrasted by vivid white streaks; Normal maps simulate microscopic surface undulations that mimic the natural grain and polish of marble; Roughness maps finely tune the glossiness replicating the polished yet slightly variegated and tactile finish typical of this stone; Metallic maps remain near zero reflecting marble’s non-metallic nature; Ambient Occlusion maps add nuanced shadowing in crevices and vein intersections; and Height/Displacement maps emphasize subtle elevation changes lending convincing surface relief without compromising rendering performance.
Designed for seamless tiling this tileable Nero Marquina Marble White Streaks texture integrates smoothly into 3D workflows fully compatible with leading rendering engines such as Blender Unreal Engine and Unity. To maximize realism adjusting the UV scale is recommended to control the density and size of the white streaks relative to your model’s dimensions ensuring a natural yet customizable appearance. Additionally tuning the roughness values can help achieve the desired surface reflectivity from a mirror-like polished marble to a softer honed finish. Subtle use of the height or parallax map further enhances tactile authenticity by simulating natural surface relief improving depth perception in real-time 3D previews and renders. This premium texture set offers a robust solution for artists and designers seeking to enrich their projects with the timeless beauty and intricate detail of Nero Marquina marble.
Import the texture maps into Blender with sRGB color space for albedo/base color and Non-Color for normal, roughness, metallic, AO, height, and ORM maps. Connect normal maps through a Normal Map node, then adjust UV scale with a Mapping node so the material repeats naturally on your model.
For the full step-by-step setup, see How to Use Seamless Textures in Blender. Browse related material examples in wood, concrete, and metal.
Yes. This texture is designed as a seamless tileable PBR material, so it can repeat across large surfaces without visible borders.
You can download PNG/WEBP versions and use 1K, 2K, 4K and 8K download options when available on the page.
Yes. The download options and engine-mapped ZIP workflow are designed for Blender, Unreal Engine, Unity Standard, URP and HDRP material pipelines.
Yes. The texture is available under the AITextured free commercial license. Review the license page for redistribution and AI-training restrictions.
Generate, preview, and export seamless PBR materials for Blender, Unity, and Unreal Engine—directly in your browser.
AI text-to-texture: type a prompt and get a seamless, tileable base image ready for PBR workflows (great starting point for materials).
Create a full PBR set (Normal, Roughness, AO, Metallic, etc.) from a single image. Seamless and tiling-friendly.
Instant WebGL viewer: inspect materials on a sphere, plane, and cube. Check tiling and lighting in real time.
Re-packages maps per engine: Unreal (BaseColor + ORM), Unity (Mask/MetallicSmoothness), Blender (separate channels).
PNG ↔ JPG ↔ SVG: fast convert, SVG rasterize, embed/trace options, quality & background controls.