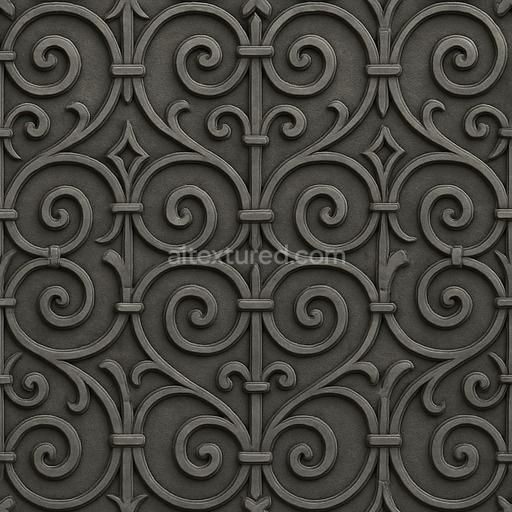
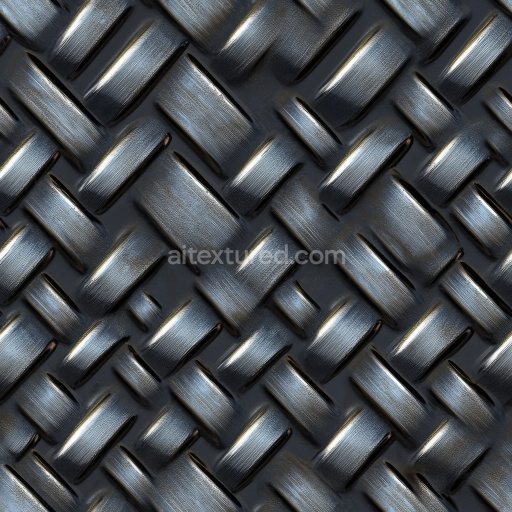
Decorative Iron Seamless Texture
Seamless texture (tileable) · PNG, WEBP, PBR ZIP. License: AITextured Free Commercial License (FCL) v1.1. Free personal and commercial use. Raw resale, standalone redistribution, mirroring/scraping, competing asset packs, and AI/ML training are not allowed without written permission. Attribution is not required, but appreciated..

| ID | archviz-armor-army-chainlink-knight-medieval-mesh |
|---|---|
| Category | Metal |
| Formats | PNG, WEBP, PBR ZIP |
| Size | 1k (1024x1024px), 2k (2048x2048px), 4k (4096x4096px), 8k (8192x8192px) |
| Color | sRGB |
| Tileable | Yes |
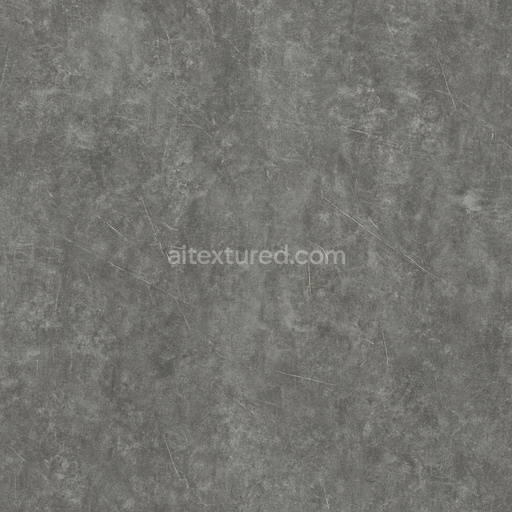
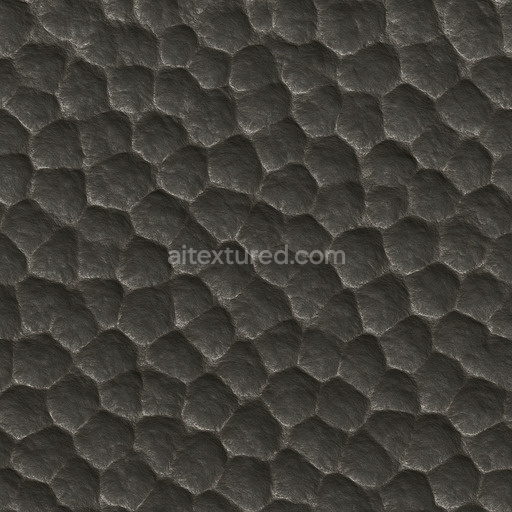
This seamless PBR texture represents a meticulously crafted medieval chainlink armor mesh designed to simulate the intricate metallic weave of a knight’s protective gear in an army setting. The base substrate is forged metal exhibiting a cold brushed steel finish that captures the characteristic interplay of light and shadow on interlinked rings. The texture’s composition reveals tightly woven metal links with subtle grain orientation that enhances the sense of depth and realism. The metal surface carries a slight oxidation layer with muted colorants derived from natural oxide pigments lending an authentic aged look without excessive corrosion. The porous nature of the mesh is minimal emphasizing the compact dense structure of soldier-grade armor while the surface finish balances a polished sheen with worn abrasions typical of medieval military use.
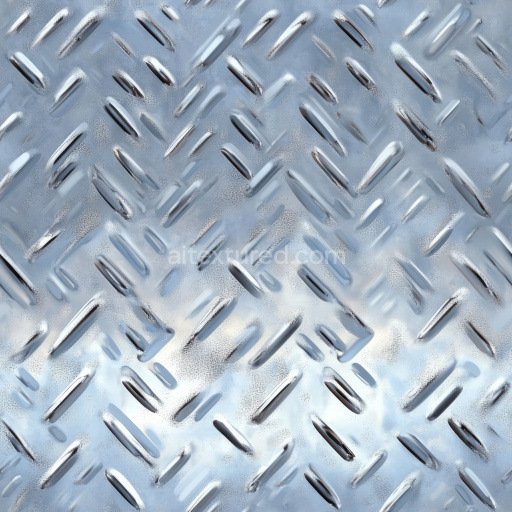
In the PBR workflow the BaseColor (Albedo) channel accurately conveys the metallic blue-gray hues combined with darker shadowed crevices between the chainlinks reflecting the alloy’s natural coloration without artificial tinting. The Normal map captures the complex interlacing of the mesh highlighting the raised edges and overlapping rings to enhance three-dimensional realism. Roughness values are finely tuned to represent a predominantly smooth but subtly varied metallic surface with slightly higher roughness in recessed areas to simulate wear and metal grain. The Metallic channel is fully engaged to reflect the authentic metal nature of the armor while Ambient Occlusion intensifies shadowing within the weave adding depth to the mesh. Height/Displacement maps provide precise surface undulations that enhance the tactile feel of the chainlink structure in both real-time and offline rendering engines.
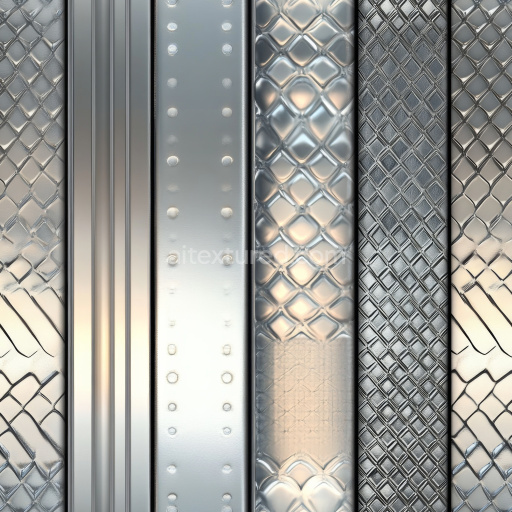
This texture is optimized at up to 8K resolution ensuring exceptional detail and clarity for close-up visualization in architectural visualization (archviz) military-themed game engines and real-time applications such as Blender Unreal Engine and Unity. It is prepared with consistent color space and gamma settings to match diverse project workflows seamlessly. The set includes all commonly used substance designer maps facilitating quick look-dev and easy integration into complex shader setups. For best results adjusting the UV scale to match the intended armor size and moderately tuning roughness can help balance realism and artistic intent especially in dynamic lighting environments.
Designed for versatility and high fidelity this chainlink knight armor mesh texture supports creative freedom in military and medieval visualization projects. Its physically based seamless surface ensures scalability without visible repetition making it an excellent choice for both close inspection and large-scale armor coverage. Attribution is appreciated but not required reflecting a commitment to quality and usability across visualization game engines and rendering workflows.
Import the texture maps into Blender with sRGB color space for albedo/base color and Non-Color for normal, roughness, metallic, AO, height, and ORM maps. Connect normal maps through a Normal Map node, then adjust UV scale with a Mapping node so the material repeats naturally on your model.
For the full step-by-step setup, see How to Use Seamless Textures in Blender. Browse related material examples in wood, concrete, and metal.
Yes. This texture is designed as a seamless tileable PBR material, so it can repeat across large surfaces without visible borders.
You can download PNG/WEBP versions and use 1K, 2K, 4K and 8K download options when available on the page.
Yes. The download options and engine-mapped ZIP workflow are designed for Blender, Unreal Engine, Unity Standard, URP and HDRP material pipelines.
Yes. The texture is available under the AITextured free commercial license. Review the license page for redistribution and AI-training restrictions.

Build, preview, and export seamless PBR materials. Generate full map sets from a single image, inspect them in a real-time WebGL viewer, and re-package maps for Unreal, Unity, and Blender—directly in your browser.
AI text-to-texture: type a prompt and get a seamless, tileable base image ready for PBR workflows (great starting point for materials).
Create a full PBR set (Normal, Roughness, AO, Metallic, etc.) from a single image. Seamless and tiling-friendly.
Instant WebGL viewer: inspect materials on a sphere, plane, and cube. Check tiling and lighting in real time.
Re-packages maps per engine: Unreal (BaseColor + ORM), Unity (Mask/MetallicSmoothness), Blender (separate channels).
PNG ↔ JPG ↔ SVG: fast convert, SVG rasterize, embed/trace options, quality & background controls.