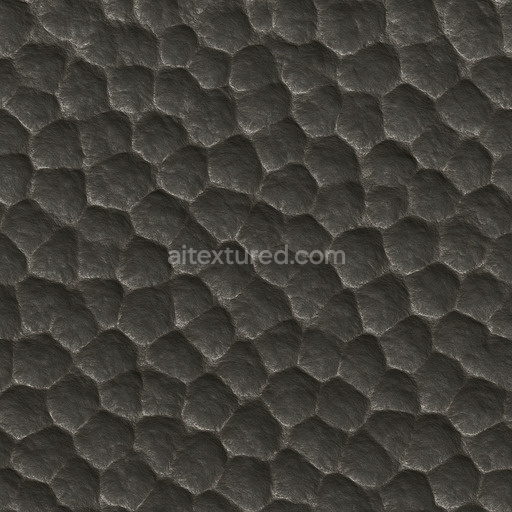
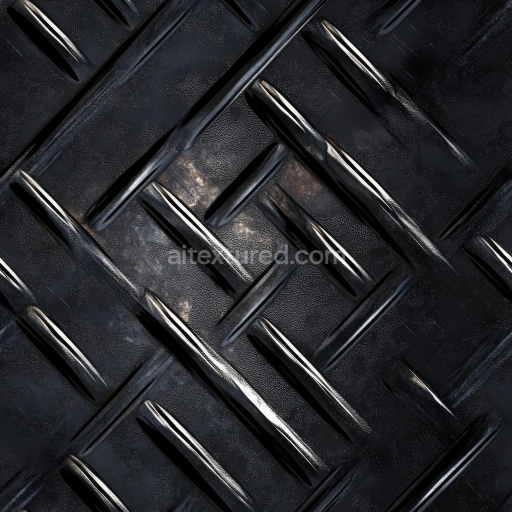
Hammered Iron Irregular Dents
Seamless texture (tileable) · PNG, WEBP, PBR ZIP. License: AITextured Free Commercial License (FCL) v1.1. Free personal and commercial use. Raw resale, standalone redistribution, mirroring/scraping, competing asset packs, and AI/ML training are not allowed without written permission. Attribution is not required, but appreciated..

| ID | oxidized-copper-with-verdigris-patches |
|---|---|
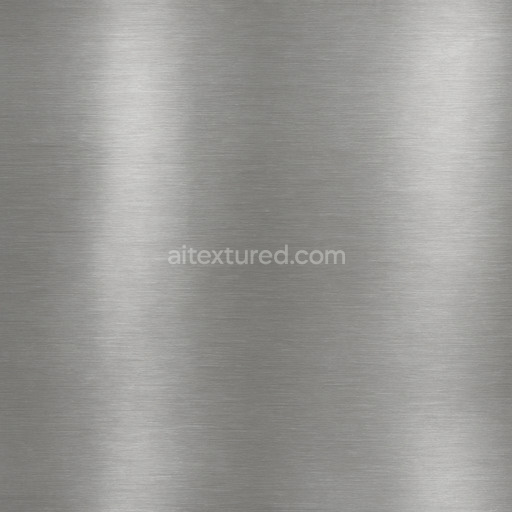
| Category | Metal |
| Formats | PNG, WEBP, PBR ZIP |
| Size | 1k (1024x1024px), 2k (2048x2048px), 4k (4096x4096px), 8k (8192x8192px) |
| Color | sRGB |
| Tileable | Yes |
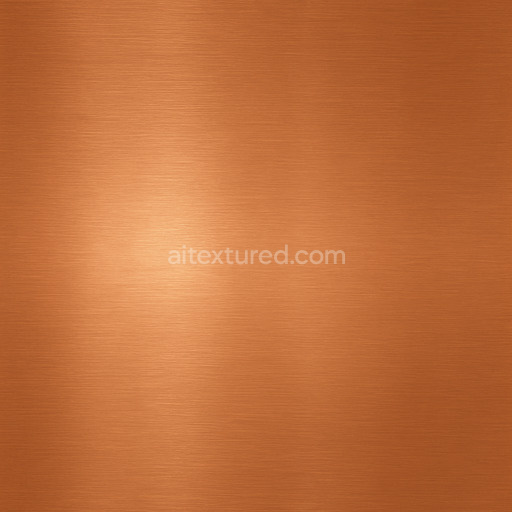
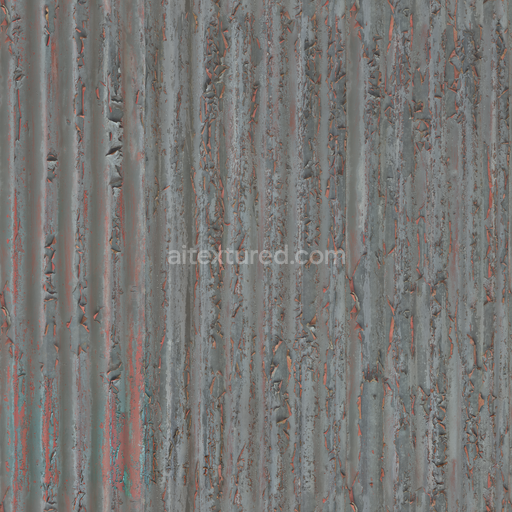
The oxidized copper with verdigris patches texture represents a sophisticated metal surface characterized by natural weathering processes that affect copper substrates over time. This material’s base is pure copper whose exposure to moisture and oxygen leads to the formation of a layered patina—an intricate blend of oxidation and verdigris deposits composed primarily of copper carbonate compounds. The resulting surface exhibits a complex interplay of greenish-blue verdigris patches interspersed with exposed oxidized copper areas yielding a visually rich and dynamic finish. The texture captures subtle variations in porosity and surface roughness caused by corrosion and mineral buildup creating a tactile uneven surface that enhances realism. This weathered finish neither fully polished nor uniformly brushed conveys authentic aging effects with nuanced color shifts and fine grain details throughout the metallic surface.
In terms of materials composition the texture’s metal base is augmented by natural oxide layers acting as binders that stabilize the verdigris patches and contribute to the surface’s chemical complexity. These oxide layers influence the reflectivity and microstructure which are accurately represented in the PBR channels: the BaseColor/Albedo map reveals the vivid contrast between the copper’s warm reddish-brown tones and the cooler green patina; the Normal map captures fine surface bumps and corrosion-induced irregularities; Roughness defines areas of varied glossiness ranging from matte verdigris expanses to semi-reflective oxidized copper; Metallic ensures the surface retains the characteristic metallic sheen of copper; Ambient Occlusion adds depth to crevices and pits formed by weathering while Height/Displacement highlights subtle topographic differences from corrosion and layered mineral deposits. Together these maps provide maximum versatility for realistic rendering across different scales and lighting environments.
This seamless oxidized copper with verdigris patches texture is designed for high-resolution workflows available up to 8K ensuring crystal-clear detail even on extensive UV islands. Its tileable nature supports consistent repetition without visible seams making it ideal for architectural visualization product design game environments and interior staging. The texture integrates effortlessly with popular 3D software such as Blender Unreal Engine and Unity enabling fast iteration and seamless pipeline compatibility. For best results maintaining uniform UV scale across assets preserves the texture’s fidelity and prevents stretching. Adjusting the roughness map can further refine surface reflectivity to emphasize the natural oxidation contrast and verdigris patina enhancing authenticity in your 3D preview and final renders.
The tileable oxidized copper with verdigris patches texture offers a realistic PBR appearance while the PBR texture oxidized copper with verdigris patches enhances metal textures by accurately simulating corrosion and surface detail.
Import the texture maps into Blender with sRGB color space for albedo/base color and Non-Color for normal, roughness, metallic, AO, height, and ORM maps. Connect normal maps through a Normal Map node, then adjust UV scale with a Mapping node so the material repeats naturally on your model.
For the full step-by-step setup, see How to Use Seamless Textures in Blender. Browse related material examples in wood, concrete, and metal.
Yes. This texture is designed as a seamless tileable PBR material, so it can repeat across large surfaces without visible borders.
You can download PNG/WEBP versions and use 1K, 2K, 4K and 8K download options when available on the page.
Yes. The download options and engine-mapped ZIP workflow are designed for Blender, Unreal Engine, Unity Standard, URP and HDRP material pipelines.
Yes. The texture is available under the AITextured free commercial license. Review the license page for redistribution and AI-training restrictions.

Build, preview, and export seamless PBR materials. Generate full map sets from a single image, inspect them in a real-time WebGL viewer, and re-package maps for Unreal, Unity, and Blender—directly in your browser.
AI text-to-texture: type a prompt and get a seamless, tileable base image ready for PBR workflows (great starting point for materials).
Create a full PBR set (Normal, Roughness, AO, Metallic, etc.) from a single image. Seamless and tiling-friendly.
Instant WebGL viewer: inspect materials on a sphere, plane, and cube. Check tiling and lighting in real time.
Re-packages maps per engine: Unreal (BaseColor + ORM), Unity (Mask/MetallicSmoothness), Blender (separate channels).
PNG ↔ JPG ↔ SVG: fast convert, SVG rasterize, embed/trace options, quality & background controls.