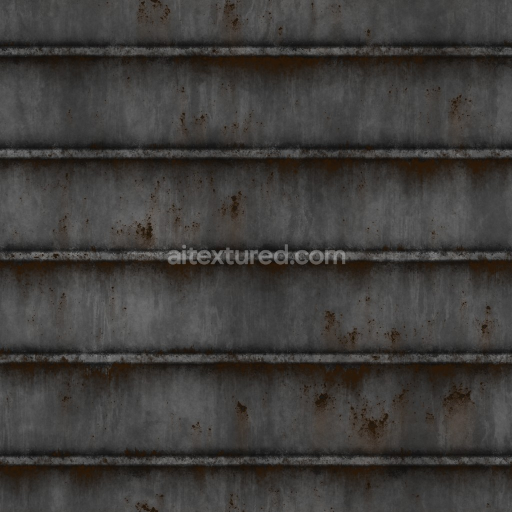
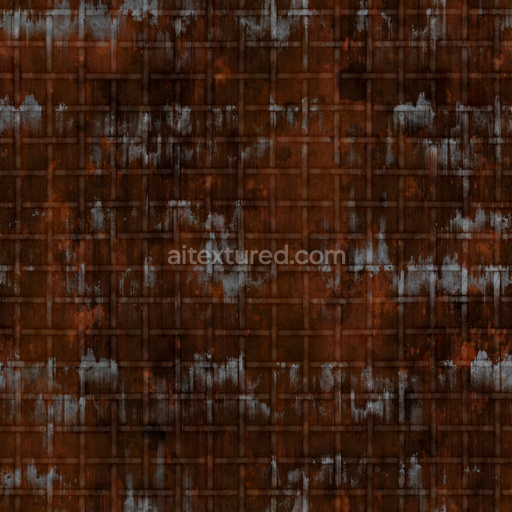
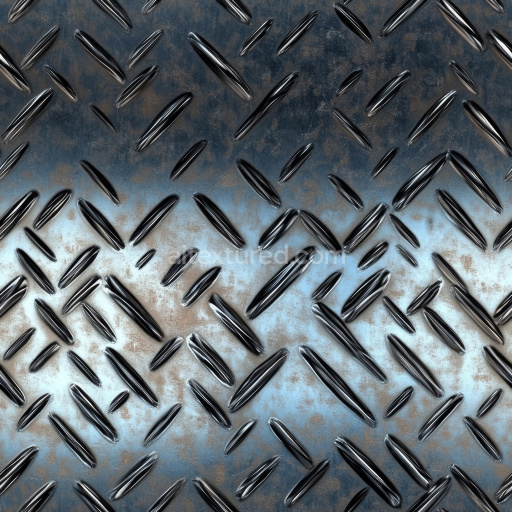
Archviz Corrugated Iron Metal Rust Rusted Steel - Seamless PBR Texture
Seamless texture (tileable) · PNG, WEBP, PBR ZIP. License: AITextured Free Commercial License (FCL) v1.1. Free personal and commercial use. Raw resale, standalone redistribution, mirroring/scraping, competing asset packs, and AI/ML training are not allowed without written permission. Attribution is not required, but appreciated..

| ID | oxidized-metal-plate-texture-with-round-cap-nails-free-pbr |
|---|---|
| Category | Metal |
| Formats | PNG, WEBP, PBR ZIP |
| Size | 1k (1024x1024px), 2k (2048x2048px), 4k (4096x4096px), 8k (8192x8192px) |
| Color | sRGB |
| Tileable | Yes |
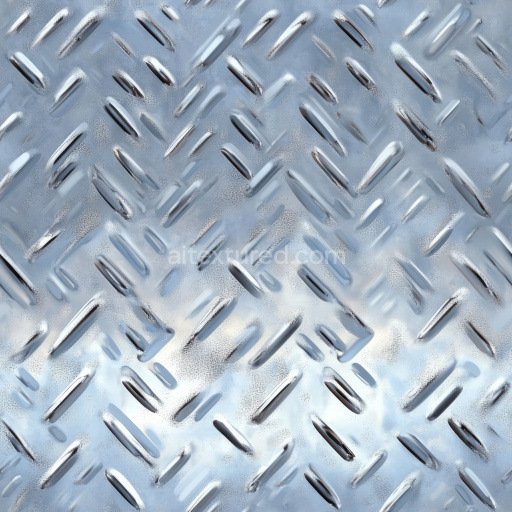
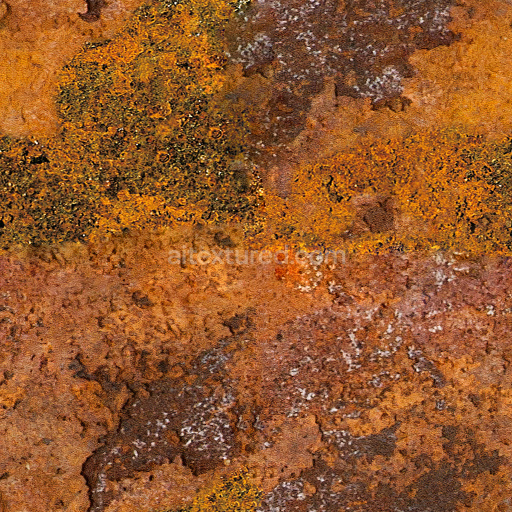
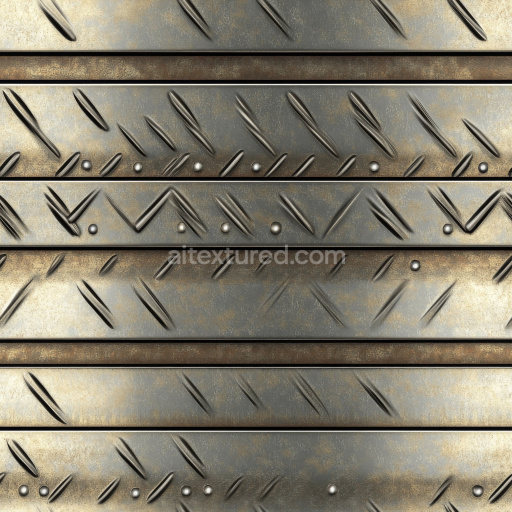
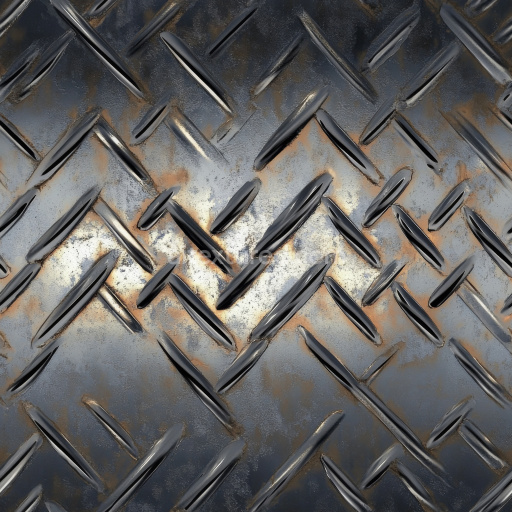
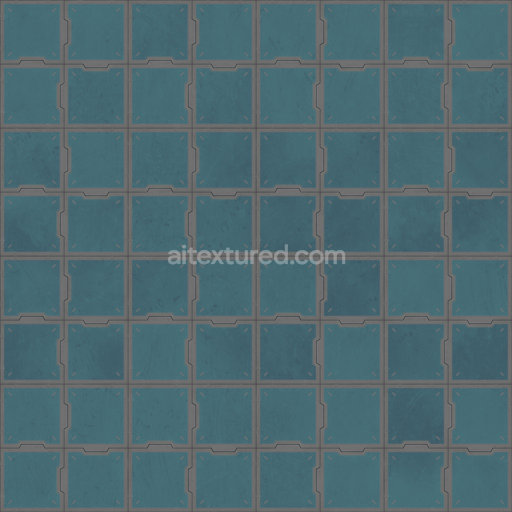
This high-quality seamless PBR texture presents an oxidized metal plate surface detailed with round cap nails, perfectly capturing the rich interplay of materials and natural weathering effects. The base substrate is a robust metal plate, most likely steel or iron, which has undergone extensive natural oxidation over time. This process creates a distinct layer of rust and patina, contributing to the texture’s depth and realism. The oxidized surface reveals a complex variety of iron oxide pigments, spanning from deep reddish-browns to subtle orange hues, all indicative of prolonged exposure to moisture and atmospheric conditions. Complementing the aged metal are the round cap nails embedded within the plate, whose slightly polished heads reflect light differently due to minimal corrosion and wear, adding a contrasting detail that enhances authenticity. The surface finish combines rough, uneven rust patches with a few smoother, worn metal areas, highlighting the material’s porosity and grain orientation shaped by manufacturing processes and environmental exposure.
In terms of PBR workflow, this texture excels in conveying material authenticity through its multiple channels. The BaseColor (Albedo) channel vividly displays the nuanced oxidation colors and underlying metal tones, while the Normal map captures subtle surface bumps created by corrosion, nail heads, and irregularities, enhancing tactile realism. The Roughness channel varies between matte, heavily rusted areas and the glossier, minimally corroded nail caps, effectively controlling reflectivity to simulate the diverse finishes found on weathered metal surfaces. The Metallic channel distinctly separates the metallic plate components from the non-metallic rust layers, further improving material fidelity. Ambient Occlusion highlights crevices around the nails and oxidized patches, adding natural depth and shadowing. Meanwhile, Height or Displacement maps accurately represent slight elevation differences caused by corrosion buildup and nail protrusions, ideal for detailed parallax effects in real-time rendering engines.
Rendered at an ultra-detailed 8K resolution, this texture ensures crisp, clear visuals even on expansive surfaces, making it fully optimized for use in Blender, Unreal Engine, and Unity. For best results, adjusting the UV scale to align with your model’s physical dimensions is recommended to preserve the natural grain and corrosion patterns without distortion. Additionally, fine-tuning the Roughness channel can help balance reflectivity, allowing artists to emphasize either the weathered matte oxidation or the subtly polished nail heads based on scene lighting and artistic intention. This oxidized metal plate texture with round cap nails offers a versatile and realistic material choice for industrial, architectural, and game asset projects requiring authentic aged metal surfaces with seamless integration across modern 3D platforms.
Import the texture maps into Blender with sRGB color space for albedo/base color and Non-Color for normal, roughness, metallic, AO, height, and ORM maps. Connect normal maps through a Normal Map node, then adjust UV scale with a Mapping node so the material repeats naturally on your model.
For the full step-by-step setup, see How to Use Seamless Textures in Blender. Browse related material examples in wood, concrete, and metal.
Yes. This texture is designed as a seamless tileable PBR material, so it can repeat across large surfaces without visible borders.
You can download PNG/WEBP versions and use 1K, 2K, 4K and 8K download options when available on the page.
Yes. The download options and engine-mapped ZIP workflow are designed for Blender, Unreal Engine, Unity Standard, URP and HDRP material pipelines.
Yes. The texture is available under the AITextured free commercial license. Review the license page for redistribution and AI-training restrictions.

Build, preview, and export seamless PBR materials. Generate full map sets from a single image, inspect them in a real-time WebGL viewer, and re-package maps for Unreal, Unity, and Blender—directly in your browser.
AI text-to-texture: type a prompt and get a seamless, tileable base image ready for PBR workflows (great starting point for materials).
Create a full PBR set (Normal, Roughness, AO, Metallic, etc.) from a single image. Seamless and tiling-friendly.
Instant WebGL viewer: inspect materials on a sphere, plane, and cube. Check tiling and lighting in real time.
Re-packages maps per engine: Unreal (BaseColor + ORM), Unity (Mask/MetallicSmoothness), Blender (separate channels).
PNG ↔ JPG ↔ SVG: fast convert, SVG rasterize, embed/trace options, quality & background controls.