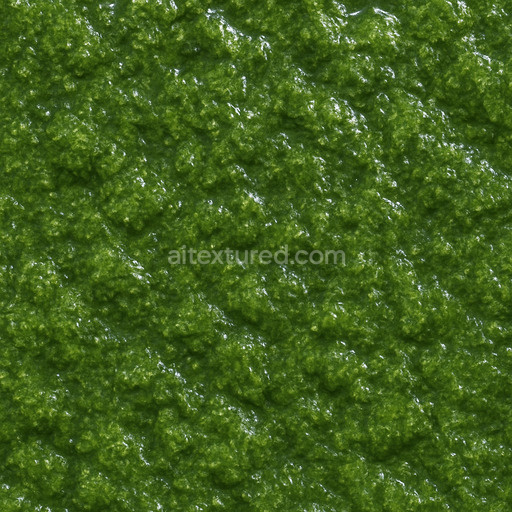
Polished Green Moss Seamless Texture
Seamless texture (tileable) · PNG, WEBP, PBR ZIP. License: AITextured Free Commercial License (FCL) v1.1. Free personal and commercial use. Raw resale, standalone redistribution, mirroring/scraping, competing asset packs, and AI/ML training are not allowed without written permission. Attribution is not required, but appreciated..

| ID | smooth-green-moss-texture-seamless |
|---|---|
| Category | Moss |
| Formats | PNG, WEBP, PBR ZIP |
| Size | 1k (1024x1024px), 2k (2048x2048px), 4k (4096x4096px), 8k (8192x8192px) |
| Color | sRGB |
| Tileable | Yes |
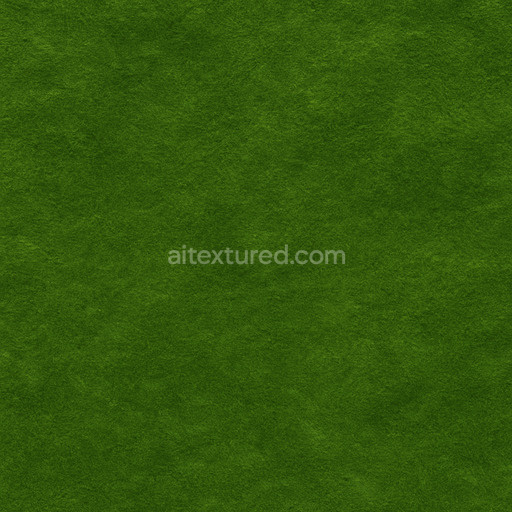
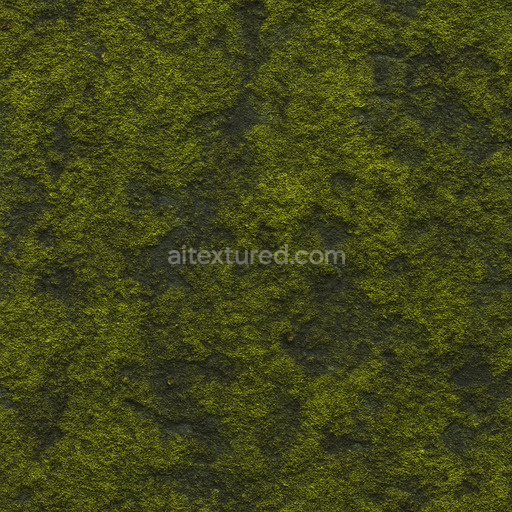
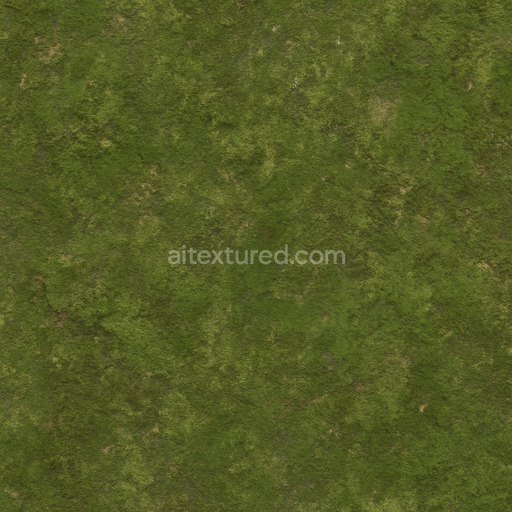
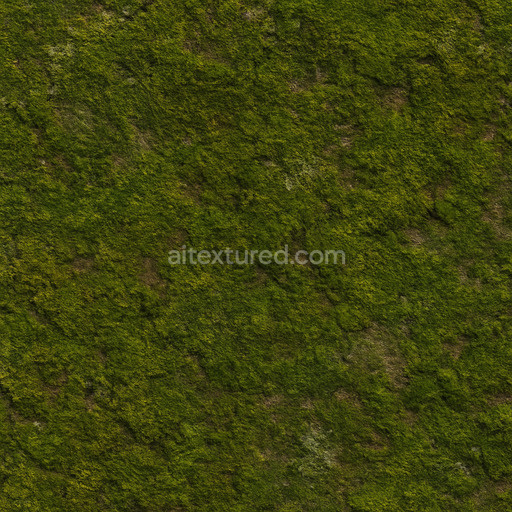
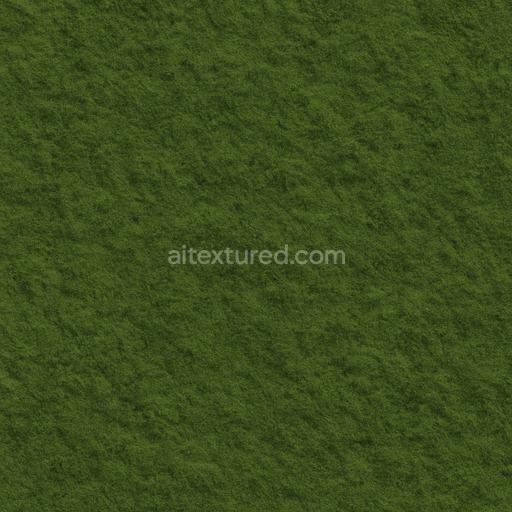
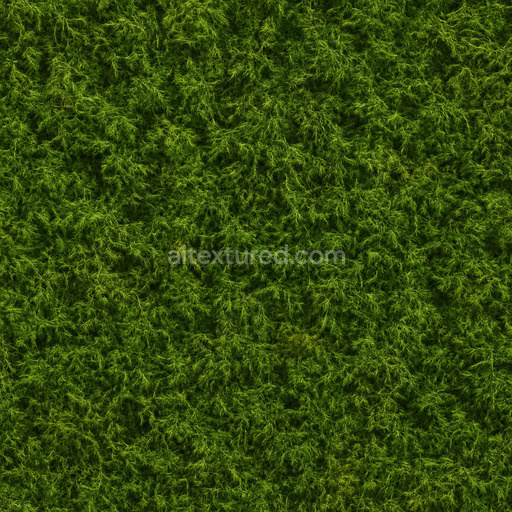
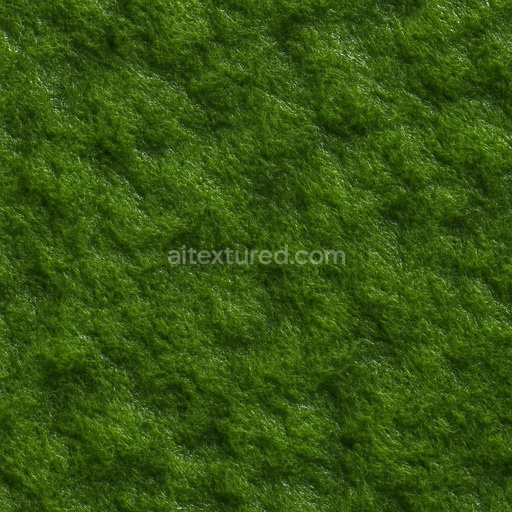
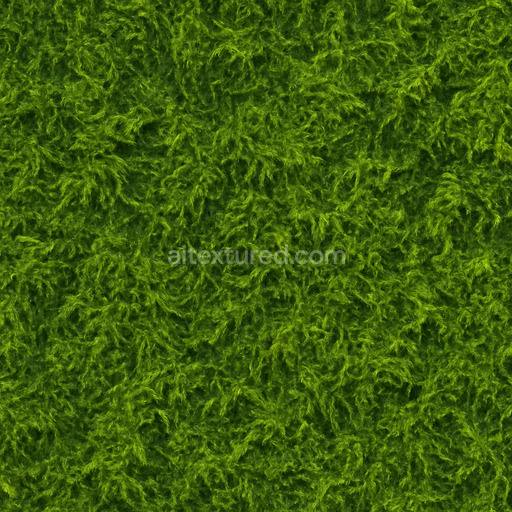
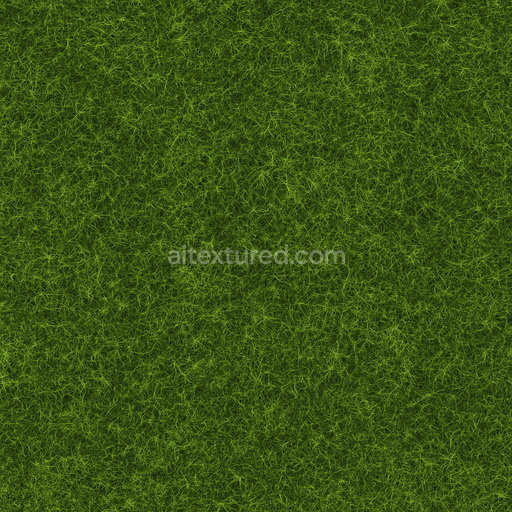
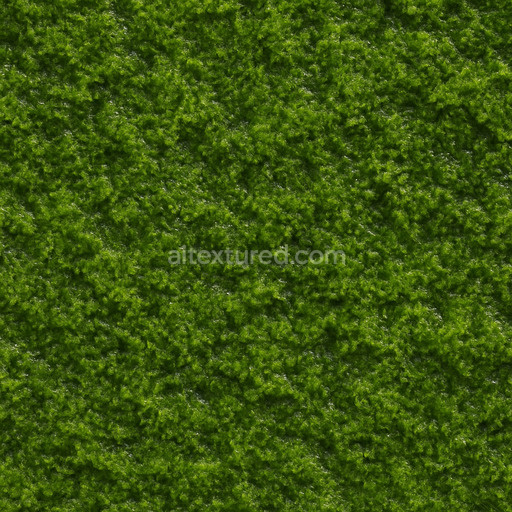
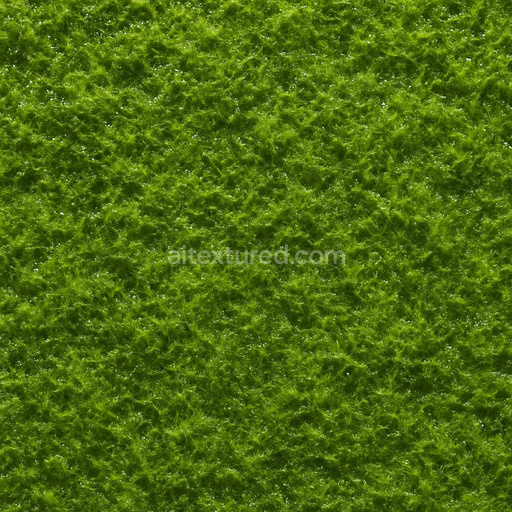
The Smooth Green Moss Texture Seamless high resolution up to 8K is an expertly crafted tileable surface designed to replicate the organic complexity of natural moss. This texture captures the fine interplay of moisture-retentive organic fibers and mineral-rich substrate that form moss colonies exhibiting subtle variations in porosity fiber density and surface weathering. The base composition reflects a living soft plant layer with intertwined hyphae and chlorophyll pigments lending the rich green tonal range visible in the BaseColor/Albedo channel. These pigments combined with slight earth-toned mineral deposits create a natural color variation that enhances realism. The texture’s surface finish is matte and softly diffused avoiding glossiness while showing delicate roughness and micro-structure details characteristic of moss as expressed in the Roughness channel. The Normal map emphasizes the gentle undulations and fibrous overlay adding depth and tactile authenticity without excessive height displacement while Ambient Occlusion subtly enhances shadowed crevices for a believable three-dimensional appearance. The Metallic channel is kept neutral reflecting the organic non-metallic nature of moss and the Height/Displacement map supports mild parallax effects to reinforce surface irregularities and natural layering.
This seamless smooth green moss texture seamless high resolution up to 8K is optimized for use in high-end 3D workflows supporting resolutions up to 8192 x 8192 pixels for maximum detail and clarity. It integrates effortlessly with popular rendering engines and modeling software such as Blender Unreal Engine and Unity providing artists and developers with a reliable repeatable pattern that scales elegantly across vast environmental surfaces without visible seams or distortion. The carefully balanced noise and crisp detail make this texture smooth green moss texture seamless high resolution up to 8K ideal for environment art architectural visualization quick look-development and concept prototyping where naturalistic organic surfaces are essential. Its tileable nature ensures efficiency and flexibility in scene assembly enabling faster iterations and consistent visual results.
For practical usage it is recommended to adjust the UV scale carefully to match the intended moss coverage area preserving the realistic density of fibers and color variation. Additionally tuning the roughness channel in your material settings can help adapt the texture to different lighting conditions allowing the moss to appear either damp and lush or dry and weathered depending on the scene context. Slight modifications to the normal and height intensity can further ground the texture within your environment enhancing the perception of depth and organic complexity. Incorporating this smooth green moss texture seamless high resolution up to 8K into your material library will significantly streamline workflow while delivering high-fidelity believable moss surfaces optimized for modern 3D previews and real-time applications.
Import the texture maps into Blender with sRGB color space for albedo/base color and Non-Color for normal, roughness, metallic, AO, height, and ORM maps. Connect normal maps through a Normal Map node, then adjust UV scale with a Mapping node so the material repeats naturally on your model.
For the full step-by-step setup, see How to Use Seamless Textures in Blender. Browse related material examples in wood, concrete, and metal.
Yes. This texture is designed as a seamless tileable PBR material, so it can repeat across large surfaces without visible borders.
You can download PNG/WEBP versions and use 1K, 2K, 4K and 8K download options when available on the page.
Yes. The download options and engine-mapped ZIP workflow are designed for Blender, Unreal Engine, Unity Standard, URP and HDRP material pipelines.
Yes. The texture is available under the AITextured free commercial license. Review the license page for redistribution and AI-training restrictions.
Build, preview, and export seamless PBR materials. Generate full map sets from a single image, inspect them in a real-time WebGL viewer, and re-package maps for Unreal, Unity, and Blender—directly in your browser.
AI text-to-texture: type a prompt and get a seamless, tileable base image ready for PBR workflows (great starting point for materials).
Create a full PBR set (Normal, Roughness, AO, Metallic, etc.) from a single image. Seamless and tiling-friendly.
Instant WebGL viewer: inspect materials on a sphere, plane, and cube. Check tiling and lighting in real time.
Re-packages maps per engine: Unreal (BaseColor + ORM), Unity (Mask/MetallicSmoothness), Blender (separate channels).
PNG ↔ JPG ↔ SVG: fast convert, SVG rasterize, embed/trace options, quality & background controls.