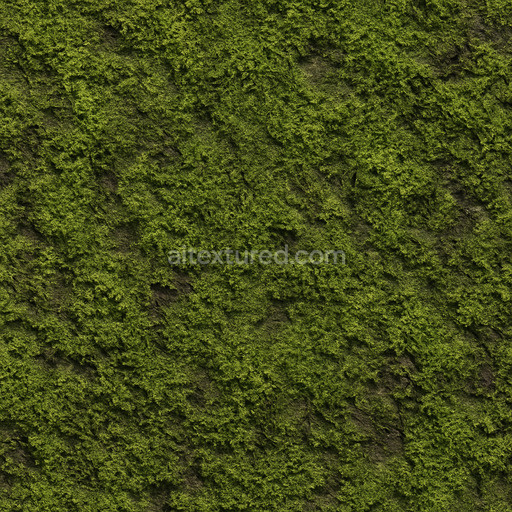
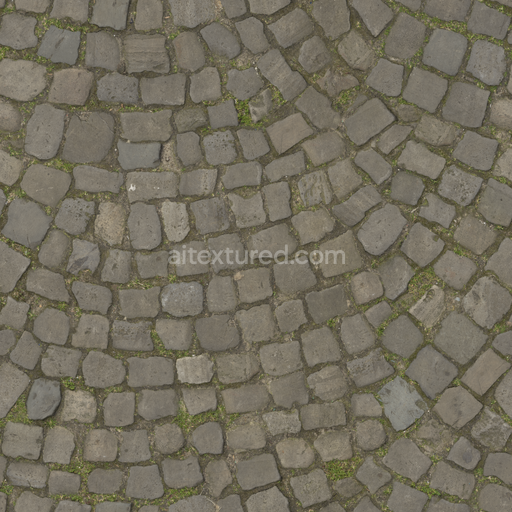
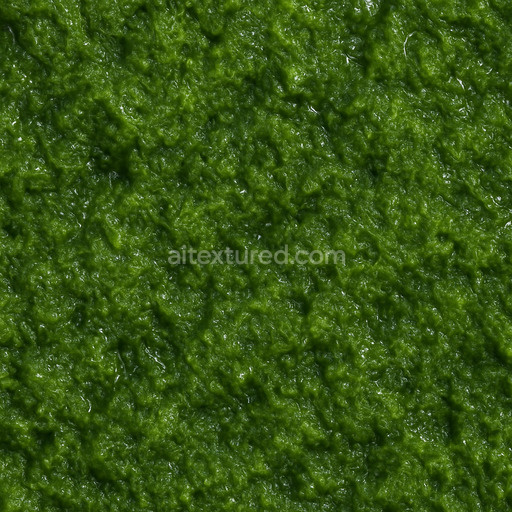
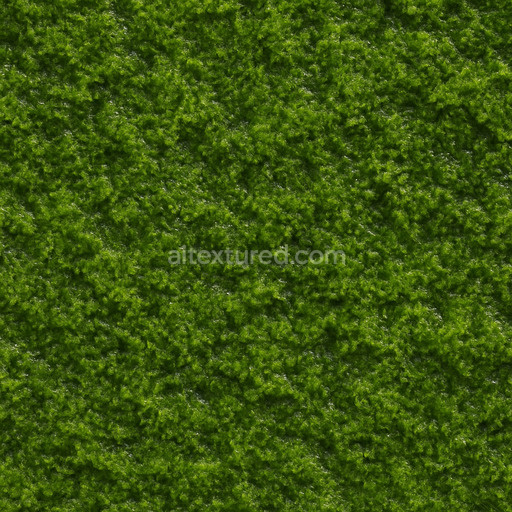
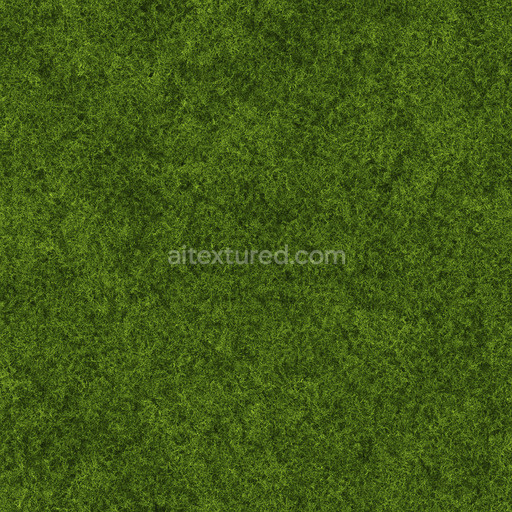
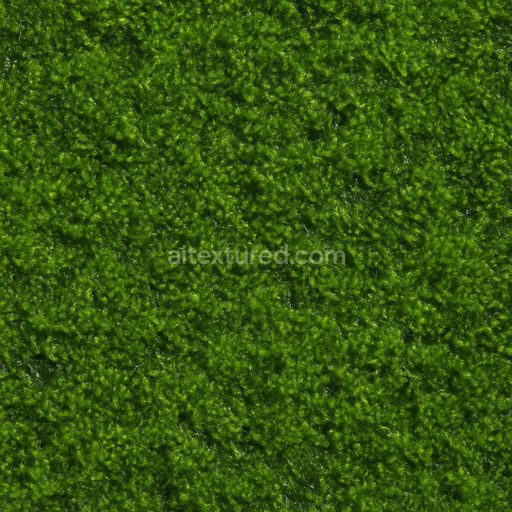
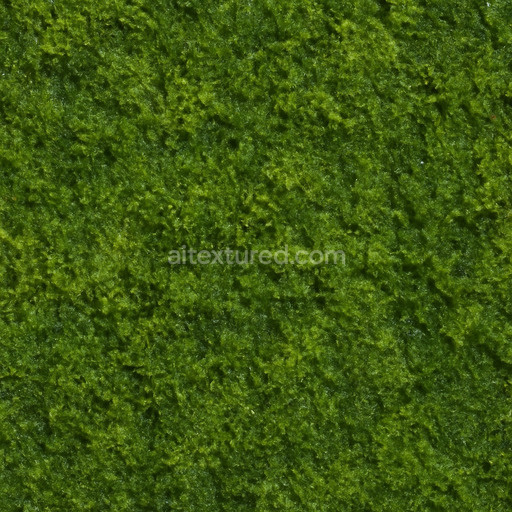
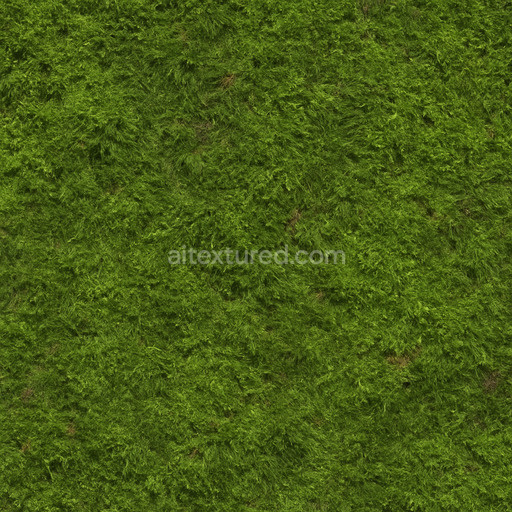
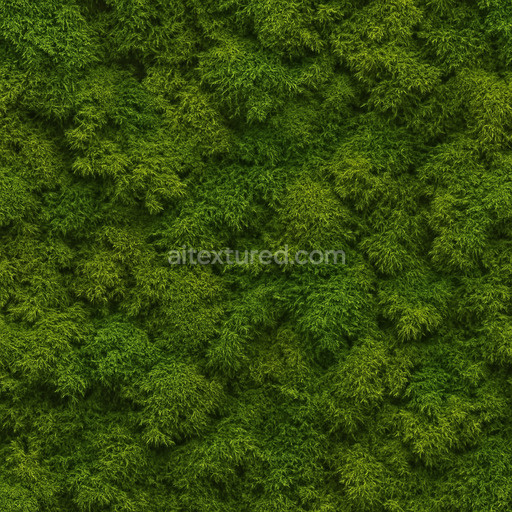
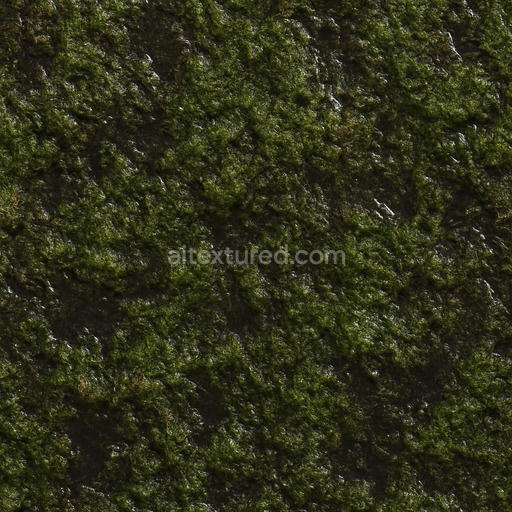
Rough Forest Moss Seamless Texture
Seamless texture (tileable) · PNG, WEBP, PBR ZIP. License: AITextured Free Commercial License (FCL) v1.1. Free personal and commercial use. Raw resale, standalone redistribution, mirroring/scraping, competing asset packs, and AI/ML training are not allowed without written permission. Attribution is not required, but appreciated..

| ID | archviz-ground-moss-rock-rocks-stone-vegetable |
|---|---|
| Category | Moss |
| Formats | PNG, WEBP, PBR ZIP |
| Size | 1k (1024x1024px), 2k (2048x2048px), 4k (4096x4096px), 8k (8192x8192px) |
| Color | sRGB |
| Tileable | Yes |
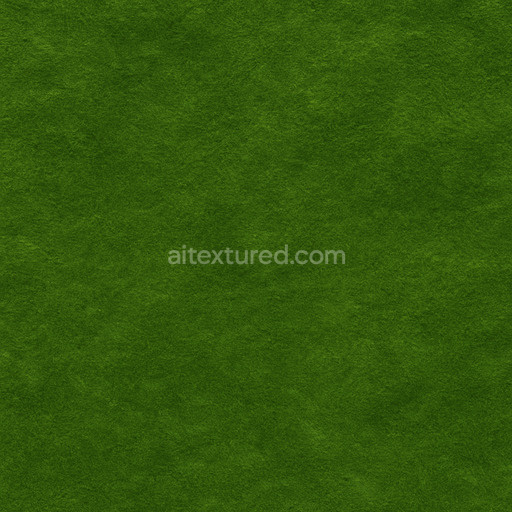
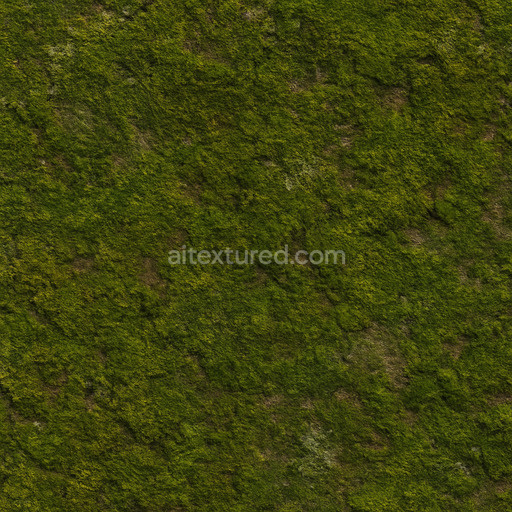
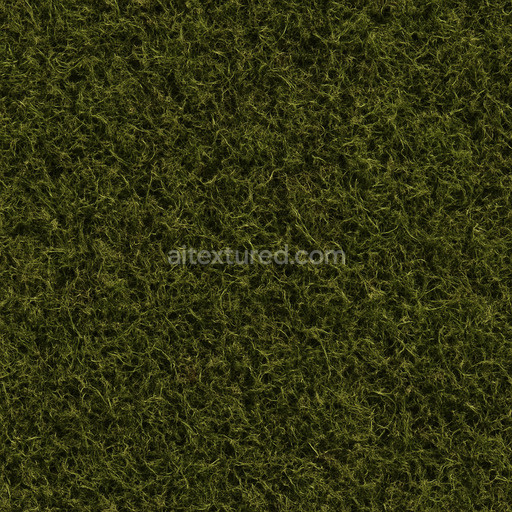
This seamless Archviz Ground Moss Rock Rocks Stone Vegetable texture is expertly crafted to replicate the intricate composition of natural outdoor surfaces where mineral-rich stone and living moss converge. The base substrate features fine-grained mineral-dense rock that exhibits subtle porosity and gentle weathering conveying an authentic aging process typical of exposed ground materials. Interspersed sporadically across this stone foundation are vibrant green moss patches forming a living vegetable layer that significantly enhances the organic complexity and realism of the surface. The overall finish is matte with a slightly rough tactile quality capturing the dry weathered nature of mossy stone and earth. Earth-toned pigments and mineral oxide layers blend seamlessly within the BaseColor/Albedo channel producing a harmonious and natural color palette ideal for photorealistic architectural visualization environments.
Designed for physically based rendering workflows this texture set includes high-resolution maps up to 8K compatible with leading software such as Blender (Cycles and Eevee) Unreal Engine and Unity. The Normal and Height/Displacement maps precisely capture the fine surface undulations and micro-details of both the rock aggregates and the delicate moss coverage resulting in convincing depth and tactile variation. Roughness values are carefully calibrated to portray the stone’s dry non-metallic surface reflected by an almost black Metallic channel that emphasizes the absence of metal content. Ambient Occlusion maps subtly enhance shading in crevices and moss clusters increasing depth perception without overpowering the diffuse colors thereby maintaining a natural and balanced appearance across all channels.
When integrating this texture into your projects adjusting the UV scale can tailor the presence of moss and stone details to your scene’s spatial needs—larger UV scales emphasize fine moss textures suitable for close-ups while smaller scales ensure a natural look for expansive ground surfaces. Additionally fine-tuning roughness values allows for nuanced differentiation between the moisture-retaining moss patches and the arid rock substrate elevating realism. Utilizing the Height map to introduce subtle parallax or displacement effects adds convincing depth to flat geometry without compromising performance. This versatile and high-quality texture set provides a practical solution for achieving naturalistic ground surfaces that seamlessly blend mossy rock stone and living vegetable elements within any archviz project.
Import the texture maps into Blender with sRGB color space for albedo/base color and Non-Color for normal, roughness, metallic, AO, height, and ORM maps. Connect normal maps through a Normal Map node, then adjust UV scale with a Mapping node so the material repeats naturally on your model.
For the full step-by-step setup, see How to Use Seamless Textures in Blender. Browse related material examples in wood, concrete, and metal.
Yes. This texture is designed as a seamless tileable PBR material, so it can repeat across large surfaces without visible borders.
You can download PNG/WEBP versions and use 1K, 2K, 4K and 8K download options when available on the page.
Yes. The download options and engine-mapped ZIP workflow are designed for Blender, Unreal Engine, Unity Standard, URP and HDRP material pipelines.
Yes. The texture is available under the AITextured free commercial license. Review the license page for redistribution and AI-training restrictions.

Build, preview, and export seamless PBR materials. Generate full map sets from a single image, inspect them in a real-time WebGL viewer, and re-package maps for Unreal, Unity, and Blender—directly in your browser.
AI text-to-texture: type a prompt and get a seamless, tileable base image ready for PBR workflows (great starting point for materials).
Create a full PBR set (Normal, Roughness, AO, Metallic, etc.) from a single image. Seamless and tiling-friendly.
Instant WebGL viewer: inspect materials on a sphere, plane, and cube. Check tiling and lighting in real time.
Re-packages maps per engine: Unreal (BaseColor + ORM), Unity (Mask/MetallicSmoothness), Blender (separate channels).
PNG ↔ JPG ↔ SVG: fast convert, SVG rasterize, embed/trace options, quality & background controls.