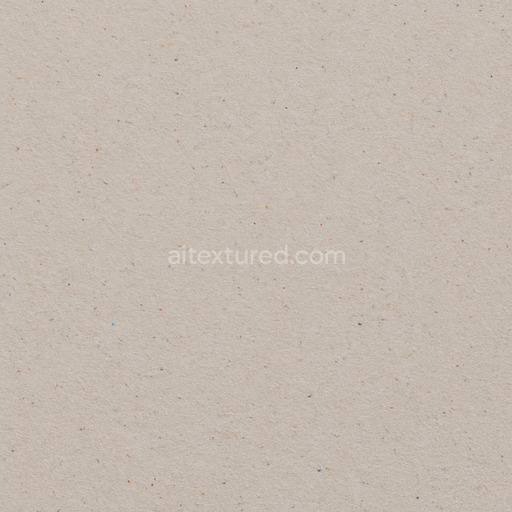
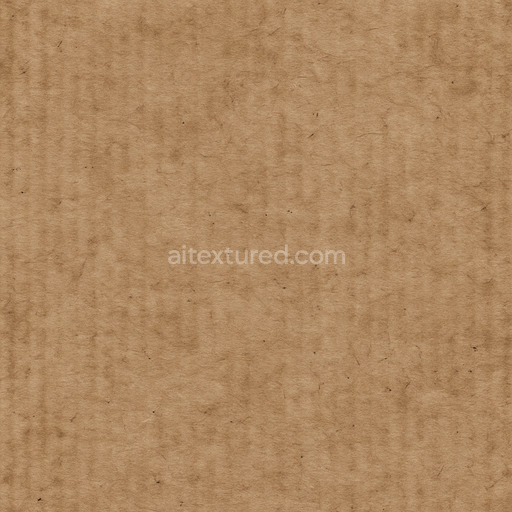
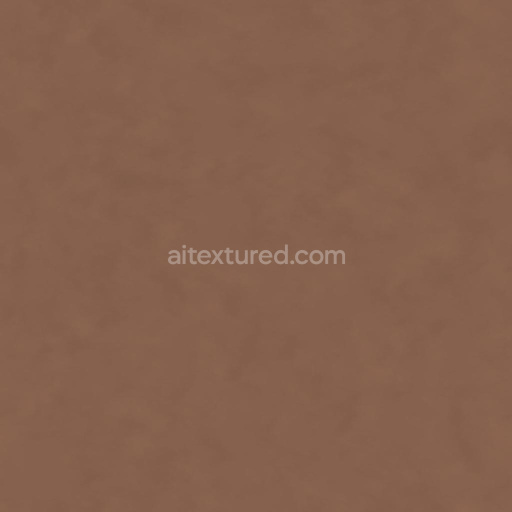
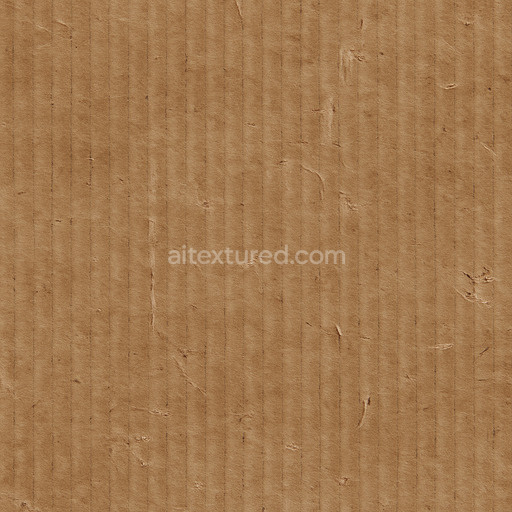
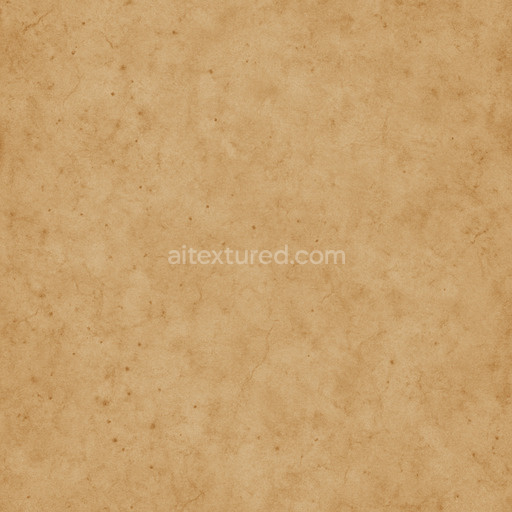
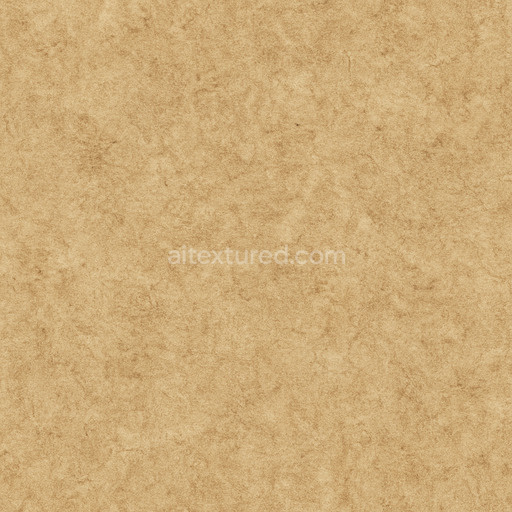
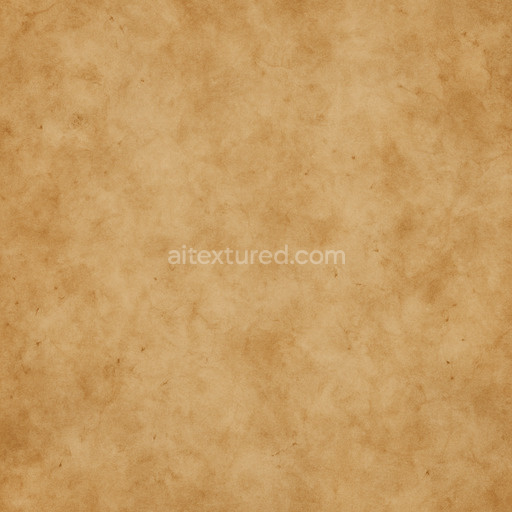
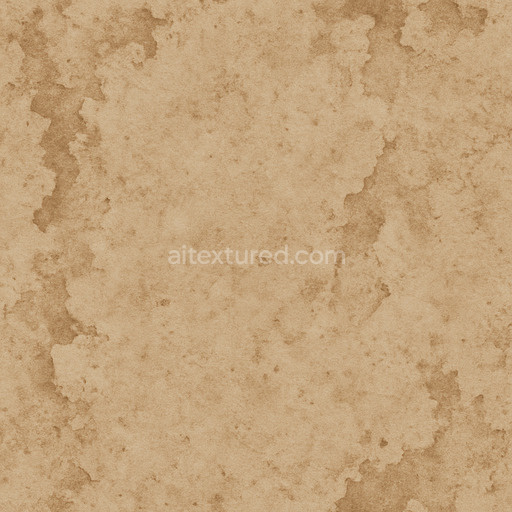
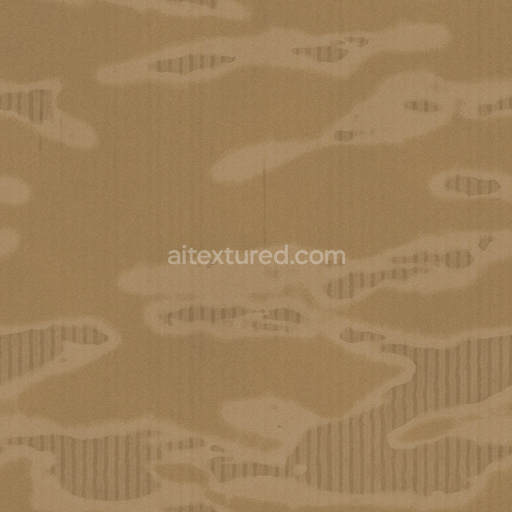
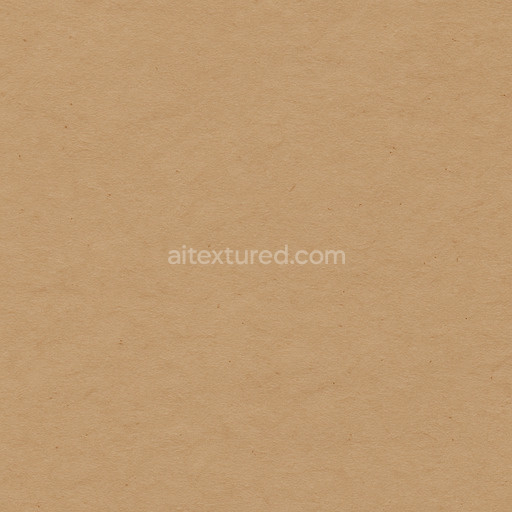
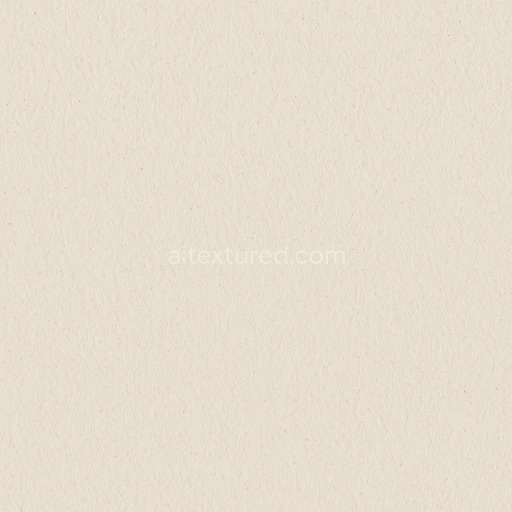
Smooth Recycled Paper Seamless Texture
Seamless texture (tileable) · PNG, WEBP, PBR ZIP. License: AITextured Free Commercial License (FCL) v1.1. Free personal and commercial use. Raw resale, standalone redistribution, mirroring/scraping, competing asset packs, and AI/ML training are not allowed without written permission. Attribution is not required, but appreciated..

| ID | green-wallpaper-with-shiny-diamond-golden-pattern-free-pbr |
|---|---|
| Category | Paper |
| Formats | PNG, WEBP, PBR ZIP |
| Size | 1k (1024x1024px), 2k (2048x2048px), 4k (4096x4096px), 8k (8192x8192px) |
| Color | sRGB |
| Tileable | Yes |
This green wallpaper showcases a luxurious and timeless design, featuring a shiny golden diamond pattern that repeats seamlessly across its surface. The base material simulates a fine paper substrate with a subtle fibrous texture, lending an organic yet refined appearance that enhances the overall aesthetic. The green base color is achieved through rich pigments, possibly derived from natural dyes or finely ground mineral pigments, providing a consistent and deep hue. The adhesive binder is subtly implied through the smooth integration of the golden pattern onto the green background, ensuring the metallic elements appear naturally fused rather than superficially applied. Slight wear and mild aging effects are incorporated into the texture, introducing realistic imperfections and gentle weathering that contribute to the tactile authenticity and visual depth of the wallpaper.
From a materials and composition perspective, the shimmering golden diamonds mimic metallic coatings or foil stamping, represented effectively in the PBR metallic channel to deliver convincing metalness and reflective highlights. The normal map captures delicate embossing and minor surface irregularities within the diamond shapes, giving a subtle sense of raised texture. Roughness values vary thoughtfully across the surface, with the golden diamonds exhibiting a polished sheen that contrasts with the softer, matte finish of the green paper areas, resulting in a dynamic interaction with light. Ambient occlusion enhances shadowing within the crevices of the pattern, while height or displacement maps simulate the tactile relief and raised contours, further contributing to the wallpaper’s realistic surface feel and depth.
This texture is provided in an impressive 8K resolution, ensuring high-fidelity detail suitable for close-up renders and large-scale visualizations. It is fully optimized for seamless integration into popular 3D software such as Blender, Unreal Engine, and Unity, making it a versatile asset for architectural visualization, interior design, or digital art projects. For optimal practical use, it is recommended to carefully adjust the UV scale to preserve the clarity and crispness of the diamond pattern when viewed up close. Additionally, fine-tuning the roughness values allows control over the balance between glossiness and matte finishes, enabling users to adapt the wallpaper’s appearance to varying lighting conditions and stylistic preferences.
Import the texture maps into Blender with sRGB color space for albedo/base color and Non-Color for normal, roughness, metallic, AO, height, and ORM maps. Connect normal maps through a Normal Map node, then adjust UV scale with a Mapping node so the material repeats naturally on your model.
For the full step-by-step setup, see How to Use Seamless Textures in Blender. Browse related material examples in wood, concrete, and metal.
Yes. This texture is designed as a seamless tileable PBR material, so it can repeat across large surfaces without visible borders.
You can download PNG/WEBP versions and use 1K, 2K, 4K and 8K download options when available on the page.
Yes. The download options and engine-mapped ZIP workflow are designed for Blender, Unreal Engine, Unity Standard, URP and HDRP material pipelines.
Yes. The texture is available under the AITextured free commercial license. Review the license page for redistribution and AI-training restrictions.


Build, preview, and export seamless PBR materials. Generate full map sets from a single image, inspect them in a real-time WebGL viewer, and re-package maps for Unreal, Unity, and Blender—directly in your browser.
AI text-to-texture: type a prompt and get a seamless, tileable base image ready for PBR workflows (great starting point for materials).
Create a full PBR set (Normal, Roughness, AO, Metallic, etc.) from a single image. Seamless and tiling-friendly.
Instant WebGL viewer: inspect materials on a sphere, plane, and cube. Check tiling and lighting in real time.
Re-packages maps per engine: Unreal (BaseColor + ORM), Unity (Mask/MetallicSmoothness), Blender (separate channels).
PNG ↔ JPG ↔ SVG: fast convert, SVG rasterize, embed/trace options, quality & background controls.