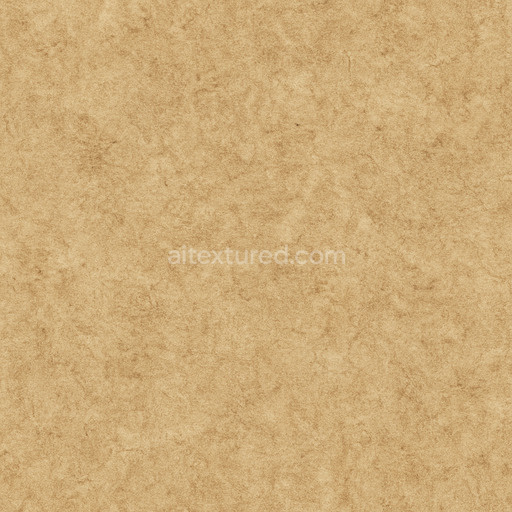
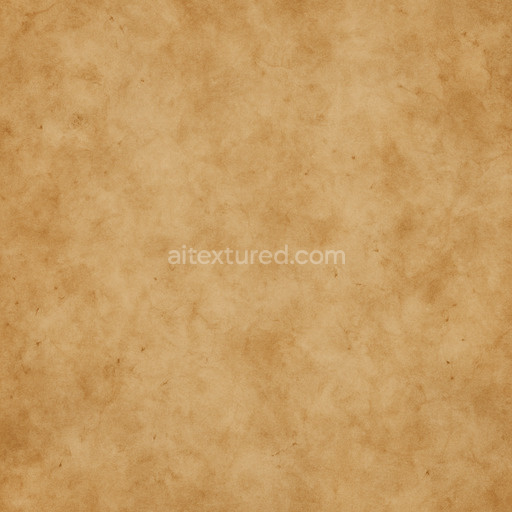
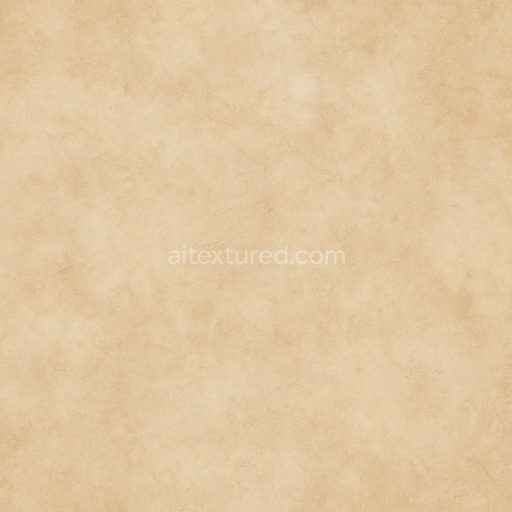
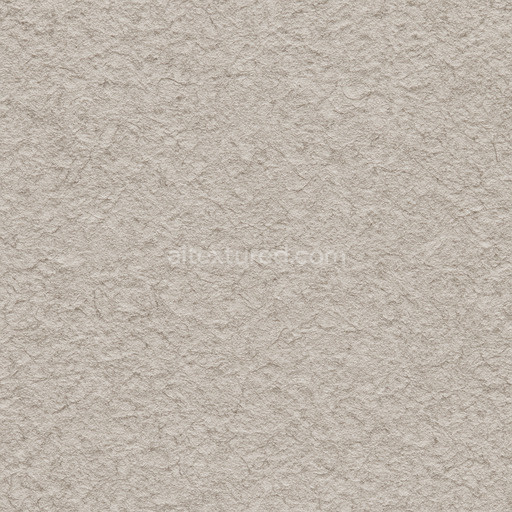
Coarse Parchment Seamless Texture
Seamless texture (tileable) · PNG, WEBP, PBR ZIP. License: AITextured Free Commercial License (FCL) v1.1. Free personal and commercial use. Raw resale, standalone redistribution, mirroring/scraping, competing asset packs, and AI/ML training are not allowed without written permission. Attribution is not required, but appreciated..

| ID | glossy-brown-duct-tape-texture-free-pbr |
|---|---|
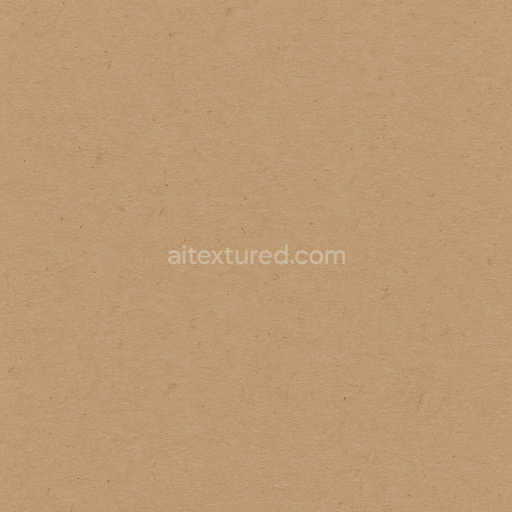
| Category | Paper |
| Formats | PNG, WEBP, PBR ZIP |
| Size | 1k (1024x1024px), 2k (2048x2048px), 4k (4096x4096px), 8k (8192x8192px) |
| Color | sRGB |
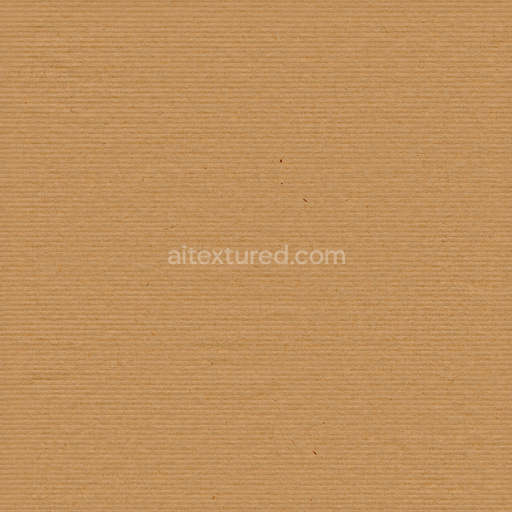
| Tileable | Yes |
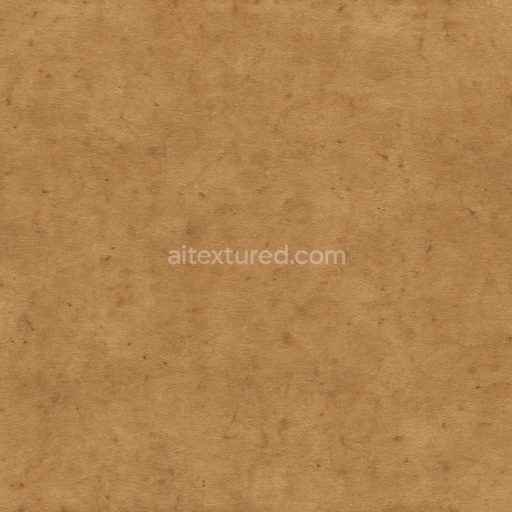
This high-quality, seamless glossy brown duct tape texture is meticulously crafted to replicate the intricate material properties of industrial-grade duct tape. At its core, the base substrate consists of a flexible polymer film reinforced with tightly woven synthetic fibers, providing notable strength and durability. This robust fiber matrix is coated with a glossy adhesive binder that forms a smooth yet subtly irregular surface finish, emblematic of duct tape’s laminated composition. The rich brown color results from a carefully balanced combination of organic pigments and synthetic dyes embedded within the polymer matrix, ensuring a consistent and natural hue. Fine fiber orientations and delicate creases introduce subtle variations that enhance the texture’s realism, while slight weathering effects—such as minor abrasions and surface wear—are integrated to maintain the characteristic sheen without appearing overly matte or excessively worn.
Within a physically based rendering (PBR) workflow, this texture excels by accurately conveying the material’s physical properties across multiple channels. The BaseColor (Albedo) channel captures the warm brown tone along with nuanced tonal shifts created by the fiber weave and adhesive layering beneath the surface. The Normal map highlights the fine fabric weave and minute surface imperfections, imparting tactile depth under varied lighting conditions. Roughness values range from low to medium, reflecting the glossy nature of the adhesive layer while allowing some light diffusion from the underlying fibrous structure. The Metallic channel remains effectively zero, as the duct tape’s composition of non-metallic polymers and synthetic fibers does not produce metallic reflections. Ambient Occlusion enhances shadowing within fiber intersections and creases, while the Height/Displacement map defines subtle surface undulations, improving parallax effects and depth perception in 3D environments.
Rendered at a resolution of up to 8K, this texture is optimized for seamless tiling and fully compatible with leading 3D applications such as Blender, Unreal Engine, and Unity. It offers exceptional detail suitable for close-up visualizations, game assets, and realistic product renderings without compromising performance. For practical use, adjusting the UV scale to match the real-world dimensions of duct tape is recommended to preserve material authenticity. Additionally, fine-tuning the roughness parameter can simulate varying adhesive wear levels—from freshly applied, glossy surfaces to slightly dulled, weathered finishes—enhancing versatility across different project requirements. This glossy brown duct tape PBR texture provides a reliable and realistic foundation for projects demanding detailed and authentic duct tape materials with a high-quality finish.
Import the texture maps into Blender with sRGB color space for albedo/base color and Non-Color for normal, roughness, metallic, AO, height, and ORM maps. Connect normal maps through a Normal Map node, then adjust UV scale with a Mapping node so the material repeats naturally on your model.
For the full step-by-step setup, see How to Use Seamless Textures in Blender. Browse related material examples in wood, concrete, and metal.
Yes. This texture is designed as a seamless tileable PBR material, so it can repeat across large surfaces without visible borders.
You can download PNG/WEBP versions and use 1K, 2K, 4K and 8K download options when available on the page.
Yes. The download options and engine-mapped ZIP workflow are designed for Blender, Unreal Engine, Unity Standard, URP and HDRP material pipelines.
Yes. The texture is available under the AITextured free commercial license. Review the license page for redistribution and AI-training restrictions.


Build, preview, and export seamless PBR materials. Generate full map sets from a single image, inspect them in a real-time WebGL viewer, and re-package maps for Unreal, Unity, and Blender—directly in your browser.
AI text-to-texture: type a prompt and get a seamless, tileable base image ready for PBR workflows (great starting point for materials).
Create a full PBR set (Normal, Roughness, AO, Metallic, etc.) from a single image. Seamless and tiling-friendly.
Instant WebGL viewer: inspect materials on a sphere, plane, and cube. Check tiling and lighting in real time.
Re-packages maps per engine: Unreal (BaseColor + ORM), Unity (Mask/MetallicSmoothness), Blender (separate channels).
PNG ↔ JPG ↔ SVG: fast convert, SVG rasterize, embed/trace options, quality & background controls.