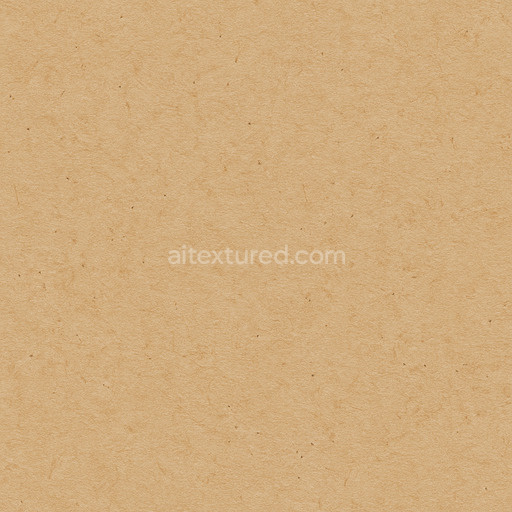
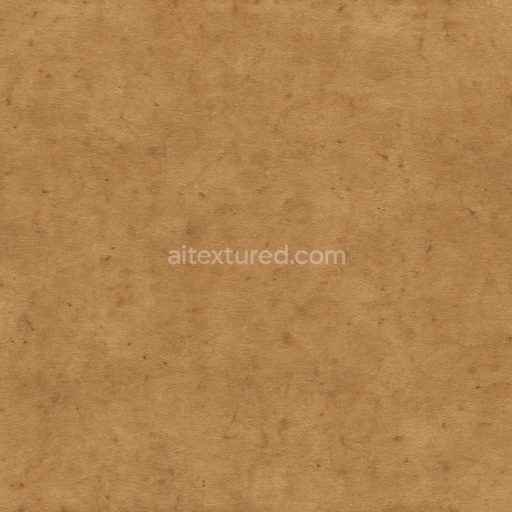
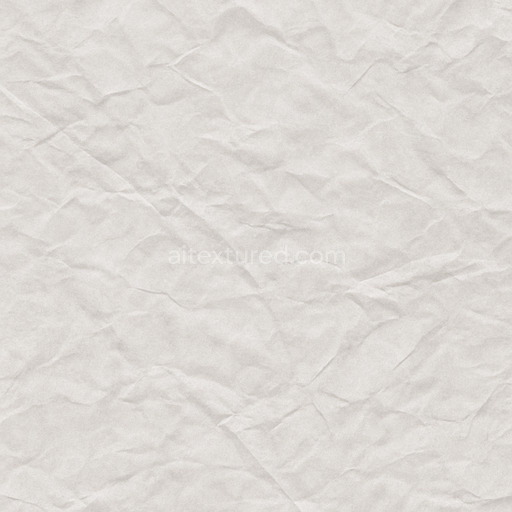
Fine Recycled Paper Seamless Texture
Seamless texture (tileable) · PNG, WEBP, PBR ZIP. License: AITextured Free Commercial License (FCL) v1.1. Free personal and commercial use. Raw resale, standalone redistribution, mirroring/scraping, competing asset packs, and AI/ML training are not allowed without written permission. Attribution is not required, but appreciated..

| ID | worn-cardboard-texture-seamless |
|---|---|
| Category | Paper |
| Formats | PNG, WEBP, PBR ZIP |
| Size | 1k (1024x1024px), 2k (2048x2048px), 4k (4096x4096px), 8k (8192x8192px) |
| Color | sRGB |
| Tileable | Yes |
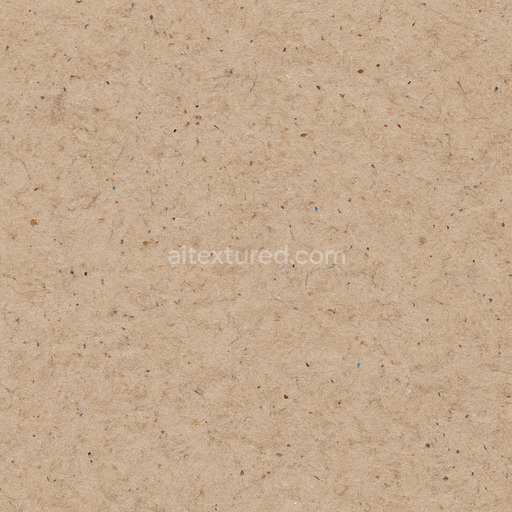
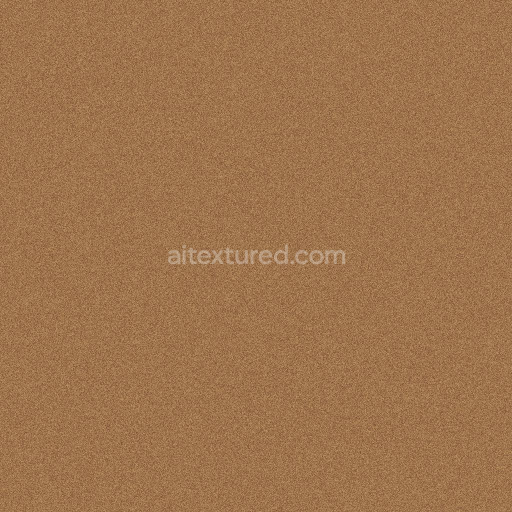
The worn cardboard texture seamless high resolution up to 8K authentically captures the complex organic makeup and aged character of weathered cardboard sheets making it an outstanding asset for realistic material creation in 3D environments. Cardboard is primarily composed of cellulose fibers derived from wood pulp which are bonded together with adhesives to provide structural integrity while preserving a naturally porous and fibrous surface. Over time exposure to moisture friction and repeated handling leads to subtle weathering effects such as fiber fraying compressions and gentle discoloration. These nuanced details are meticulously rendered in this generated seamless worn cardboard texture seamless high resolution up to 8K where the BaseColor/Albedo channel reflects muted earthy tones of faded browns and soft off-whites enriched by subtle pigment variations that simulate natural dyeing and wear patterns.
The Normal map highlights the fine grain orientation and surface irregularities emulating the rough layered paper substrates typical of cardboard. The Roughness channel skillfully balances matte and slightly reflective zones replicating worn spots and residual adhesive coatings. The Metallic channel remains minimal consistent with cardboard’s organic polymer-based nature which lacks metallic elements and ensures accurate PBR compatibility. Additional channels including Ambient Occlusion and Height/Displacement emphasize depth by accentuating creases fiber intersections and subtle elevations crucial for photorealistic renders and interactive 3D preview workflows. This tileable worn cardboard texture seamless high resolution up to 8K is designed for seamless integration across modern digital pipelines such as Blender Unreal Engine and Unity delivering high fidelity and flawless tiling performance.
For optimal results maintaining consistent UV scale across your assets is recommended to preserve texel density and avoid pattern distortion particularly on expansive UV islands. Fine-tuning roughness values allows customization of the material’s appearance from dusty matte cardboard to areas exhibiting a slight sheen reminiscent of adhesive residues or varnish layers enhancing realism. Incorporating this PBR material worn cardboard texture seamless high resolution up to 8K into your material library significantly streamlines paper textures workflows providing a versatile and reliable solution that minimizes repetitive artifacts often seen in auto-generated patterns. This ensures a polished cohesive final look for your 3D scenes architectural visualizations game environments and product mockups where realistic surface detail and material layering are essential.
Import the texture maps into Blender with sRGB color space for albedo/base color and Non-Color for normal, roughness, metallic, AO, height, and ORM maps. Connect normal maps through a Normal Map node, then adjust UV scale with a Mapping node so the material repeats naturally on your model.
For the full step-by-step setup, see How to Use Seamless Textures in Blender. Browse related material examples in wood, concrete, and metal.
Yes. This texture is designed as a seamless tileable PBR material, so it can repeat across large surfaces without visible borders.
You can download PNG/WEBP versions and use 1K, 2K, 4K and 8K download options when available on the page.
Yes. The download options and engine-mapped ZIP workflow are designed for Blender, Unreal Engine, Unity Standard, URP and HDRP material pipelines.
Yes. The texture is available under the AITextured free commercial license. Review the license page for redistribution and AI-training restrictions.


Build, preview, and export seamless PBR materials. Generate full map sets from a single image, inspect them in a real-time WebGL viewer, and re-package maps for Unreal, Unity, and Blender—directly in your browser.
AI text-to-texture: type a prompt and get a seamless, tileable base image ready for PBR workflows (great starting point for materials).
Create a full PBR set (Normal, Roughness, AO, Metallic, etc.) from a single image. Seamless and tiling-friendly.
Instant WebGL viewer: inspect materials on a sphere, plane, and cube. Check tiling and lighting in real time.
Re-packages maps per engine: Unreal (BaseColor + ORM), Unity (Mask/MetallicSmoothness), Blender (separate channels).
PNG ↔ JPG ↔ SVG: fast convert, SVG rasterize, embed/trace options, quality & background controls.